Thank you for visiting the Stitch page.
double cast on stitch
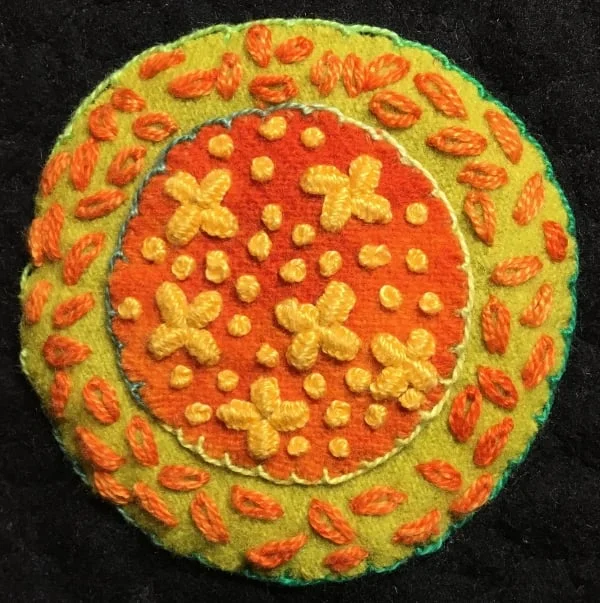
Double Cast On
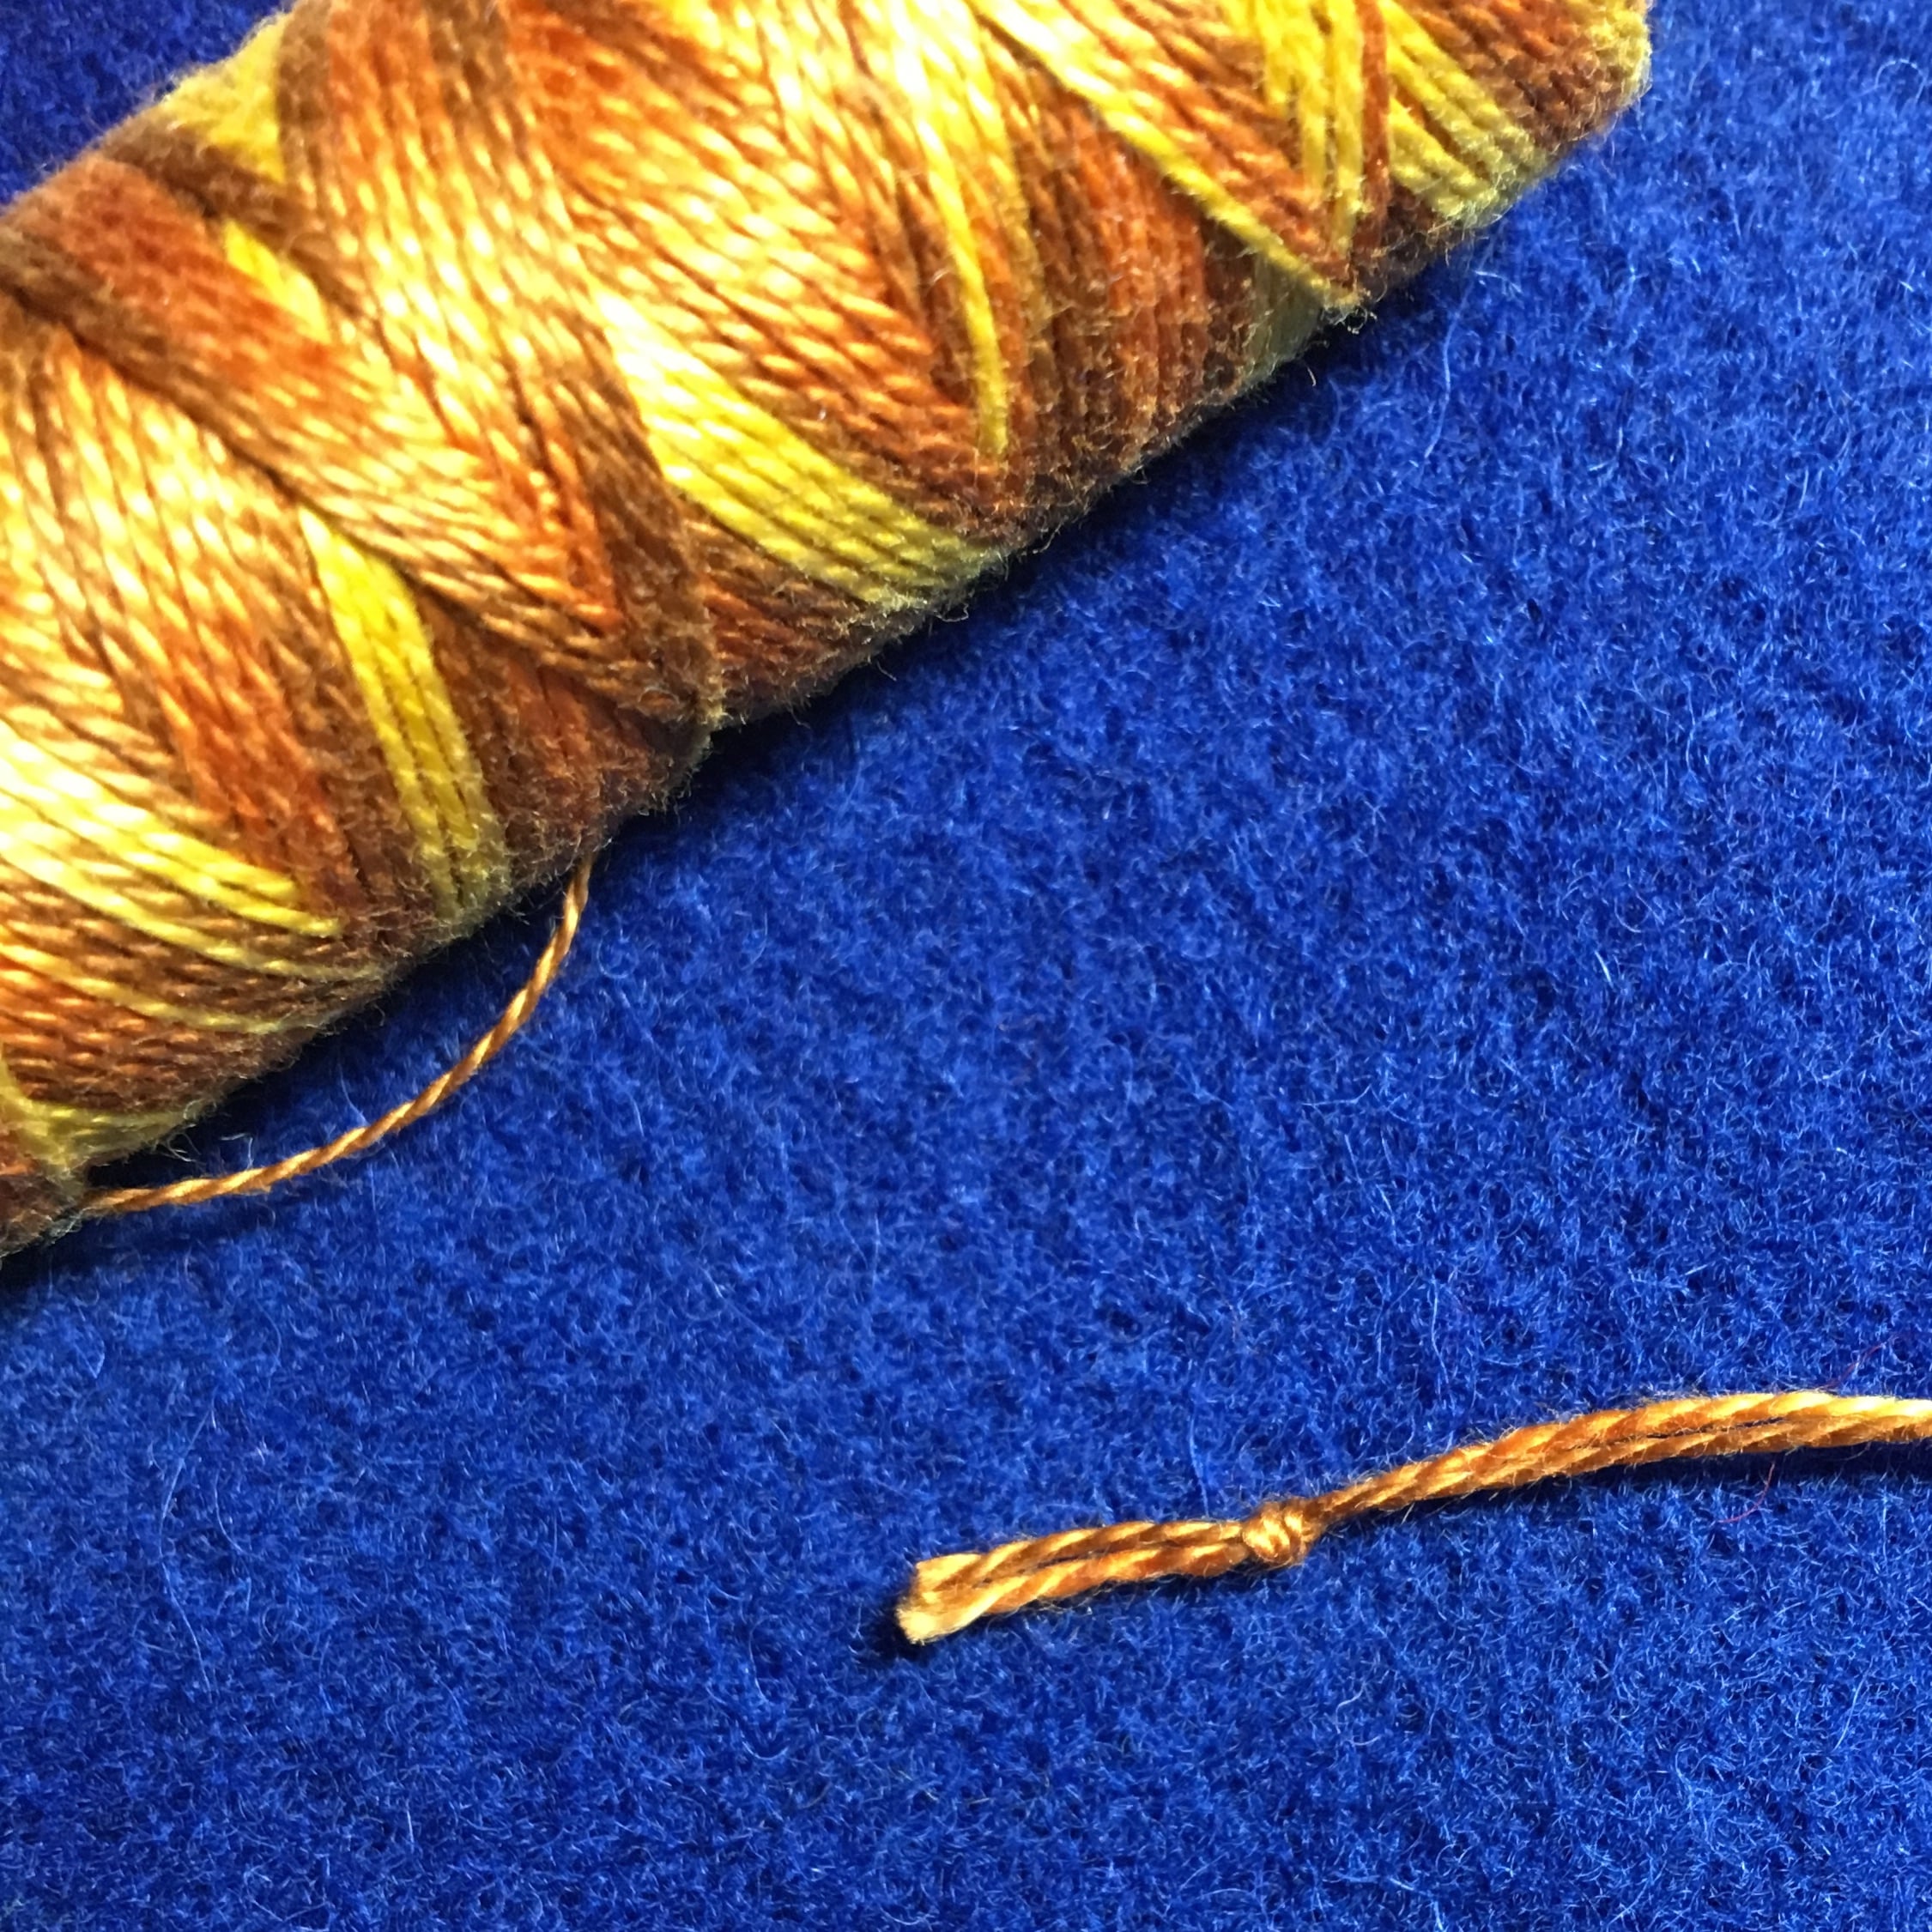
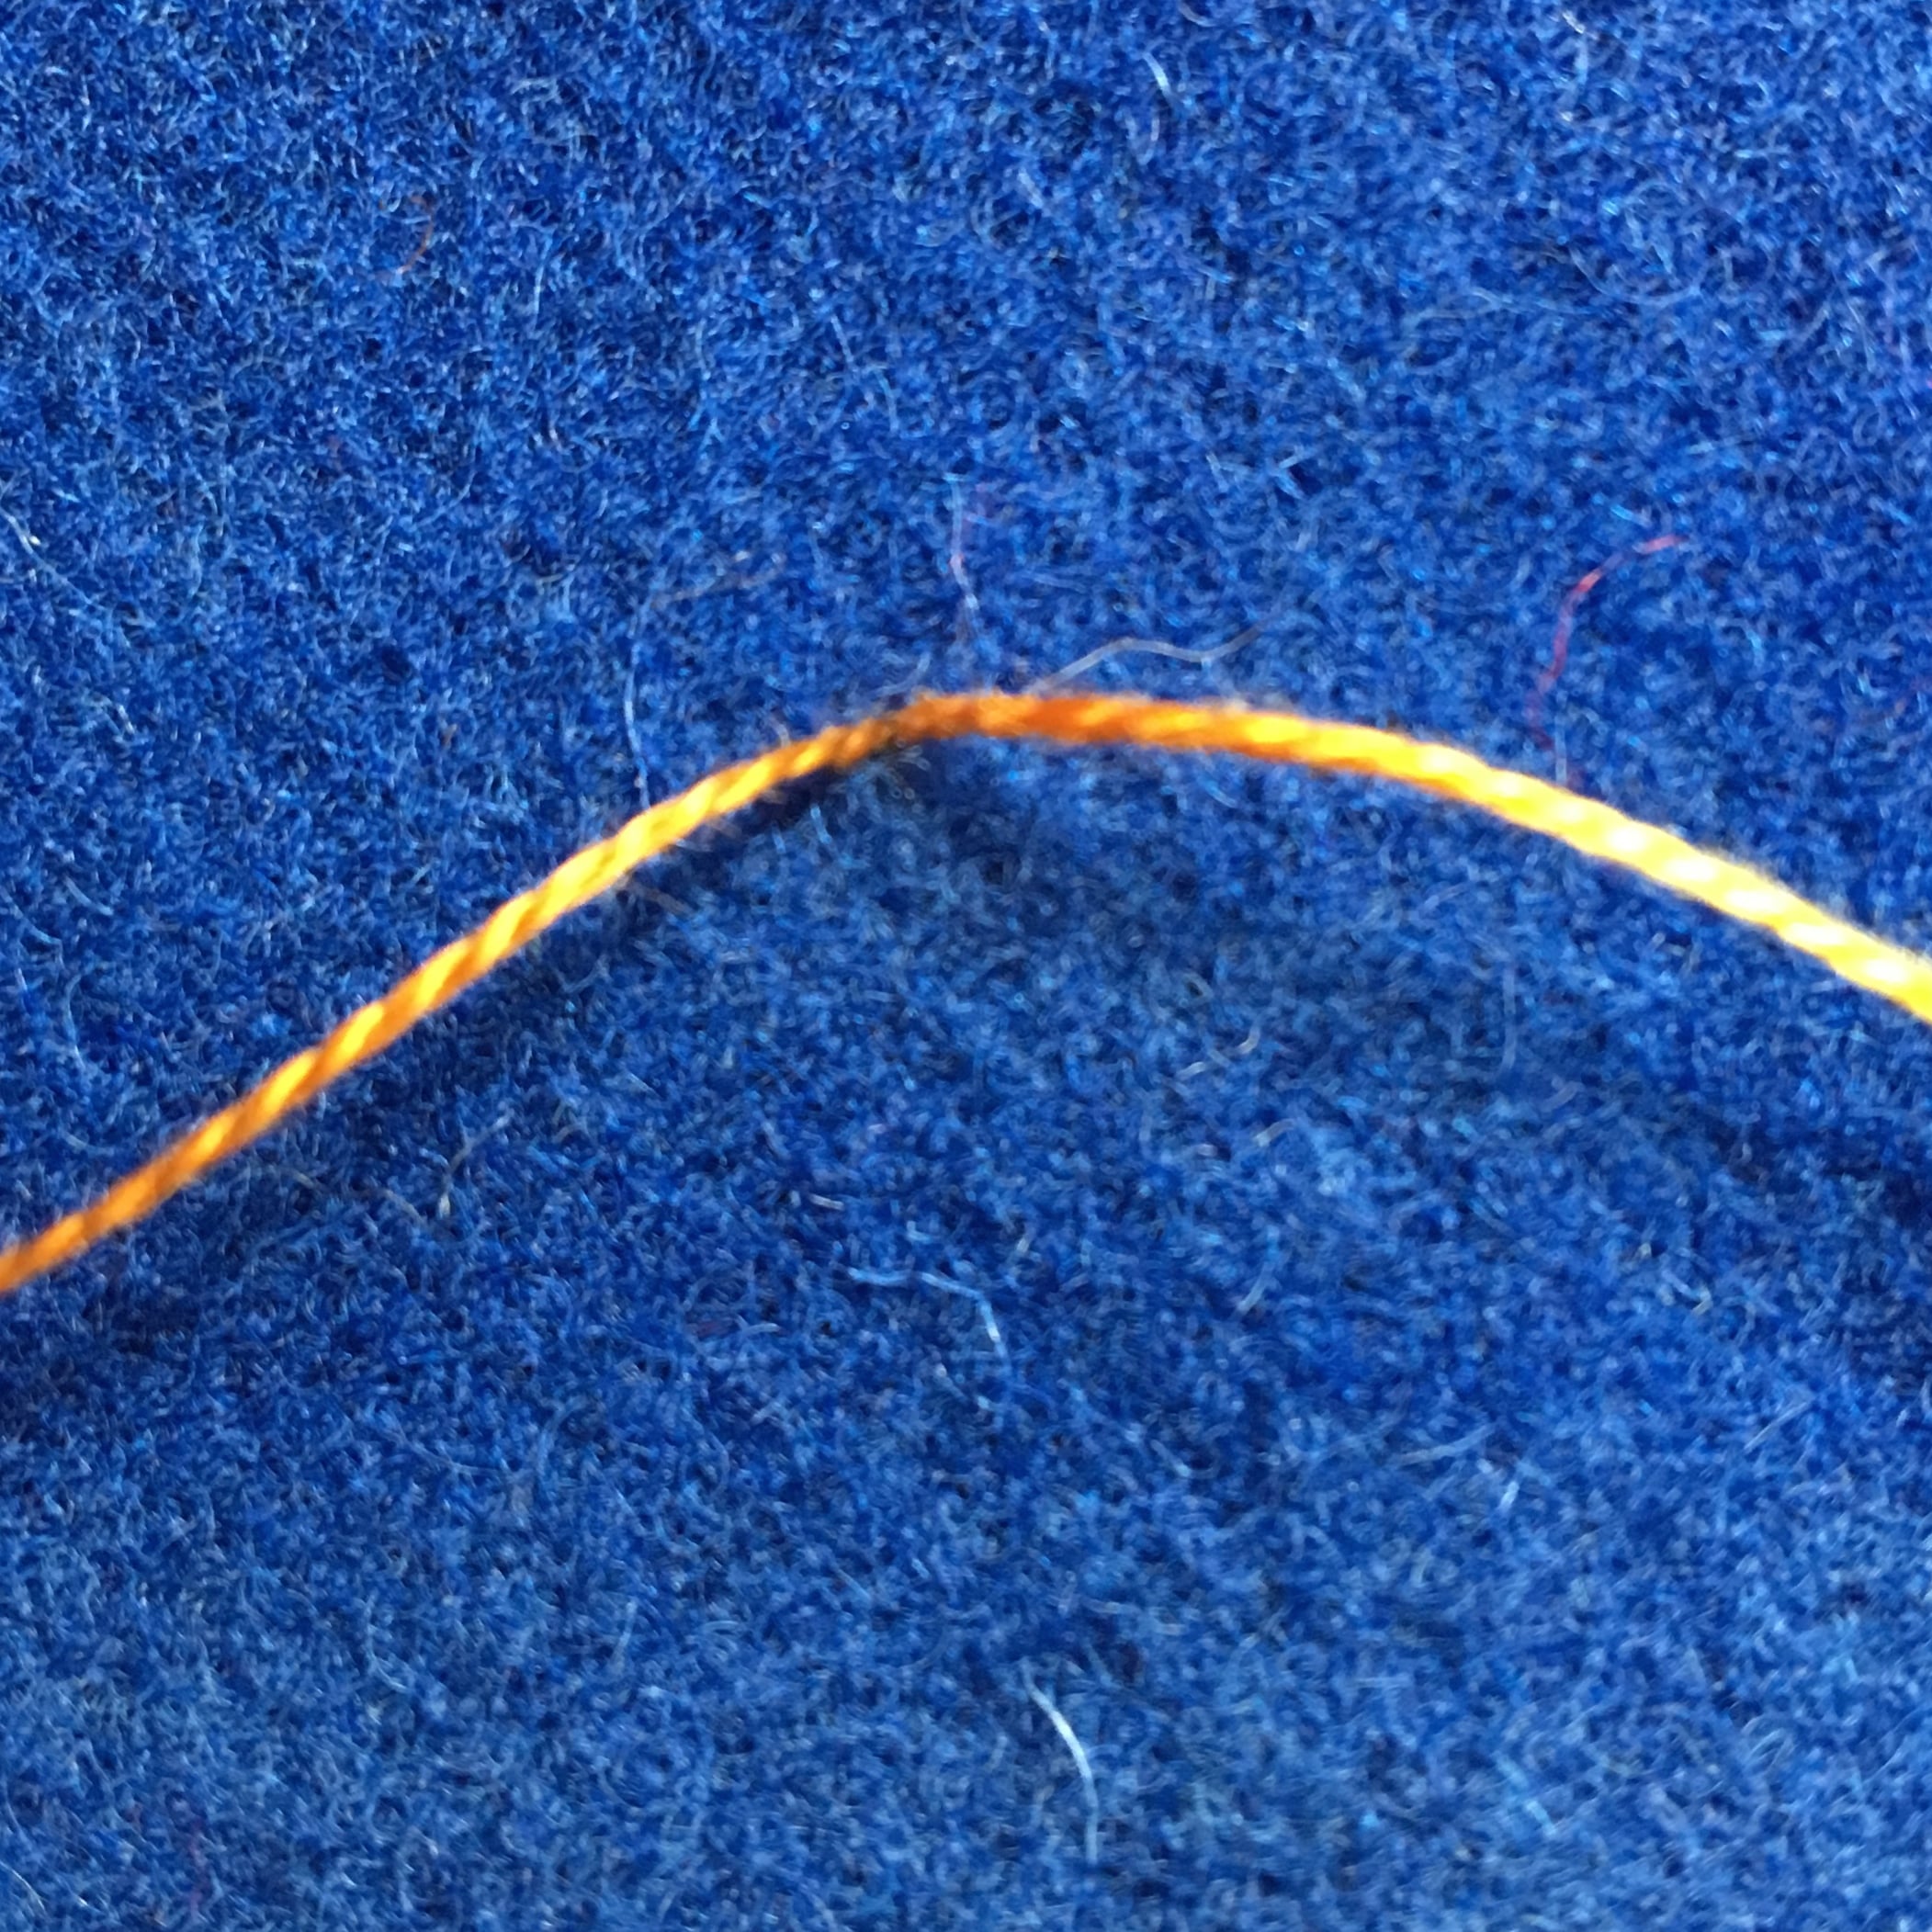
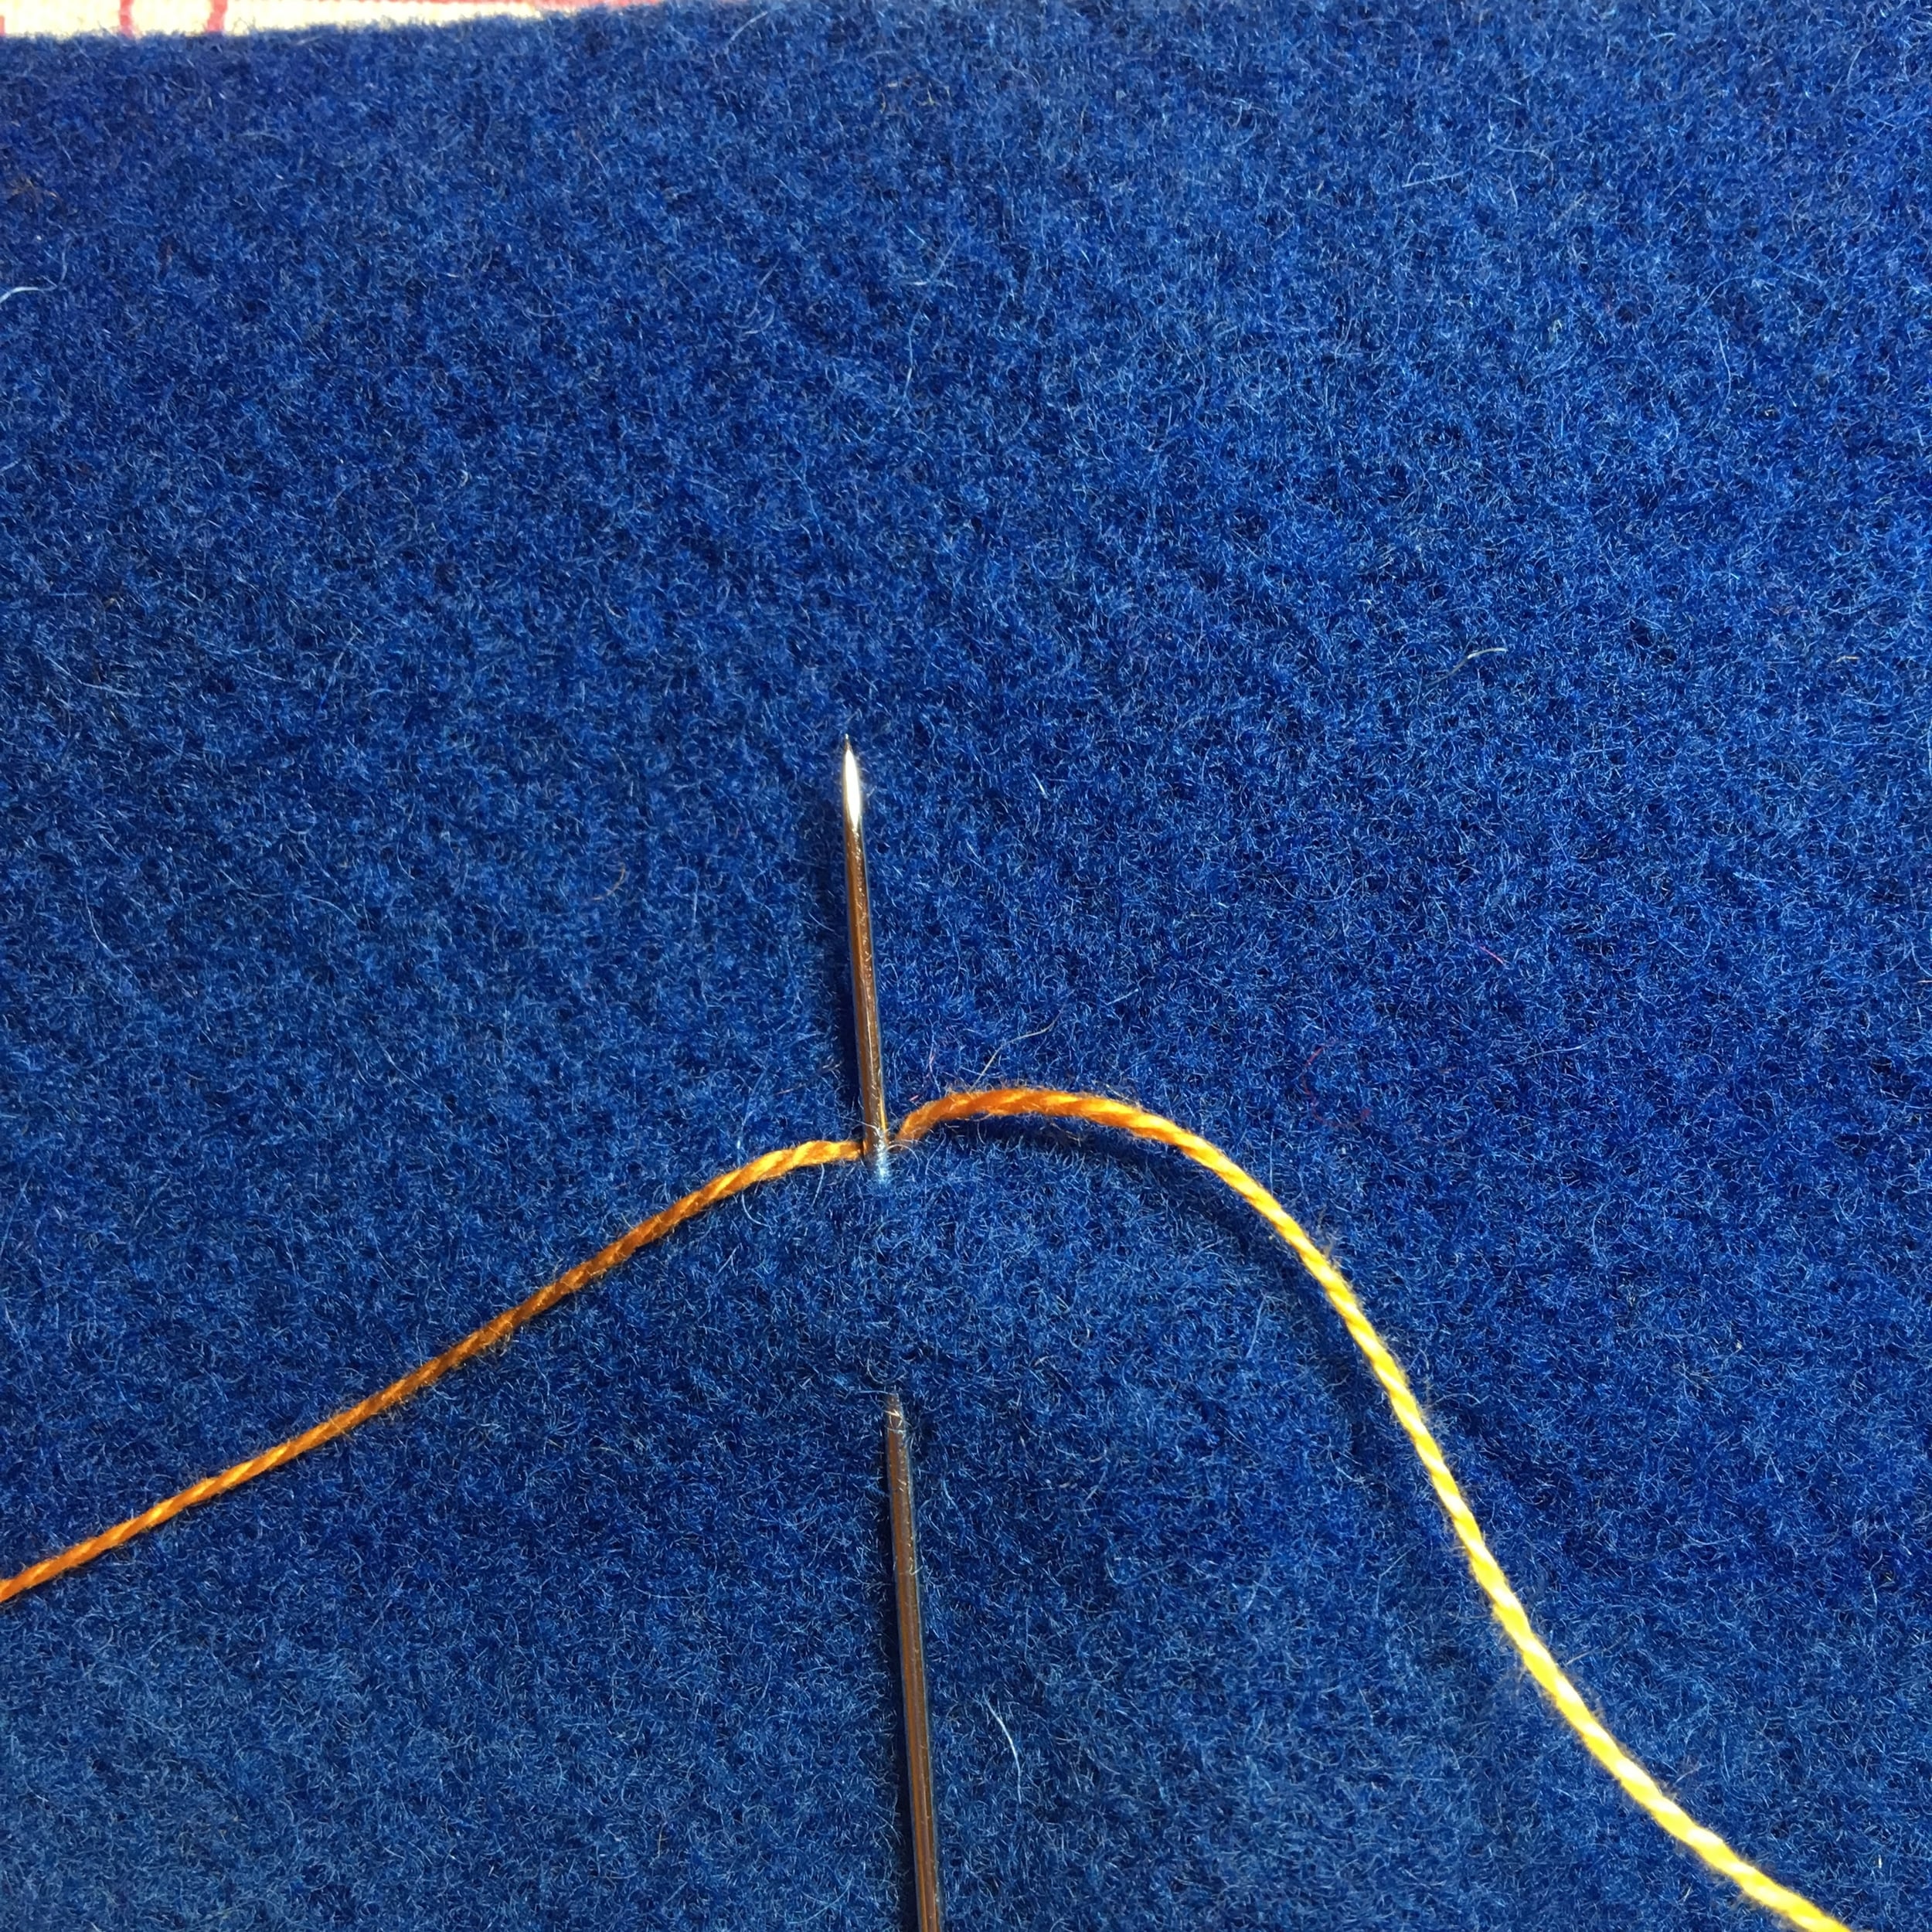
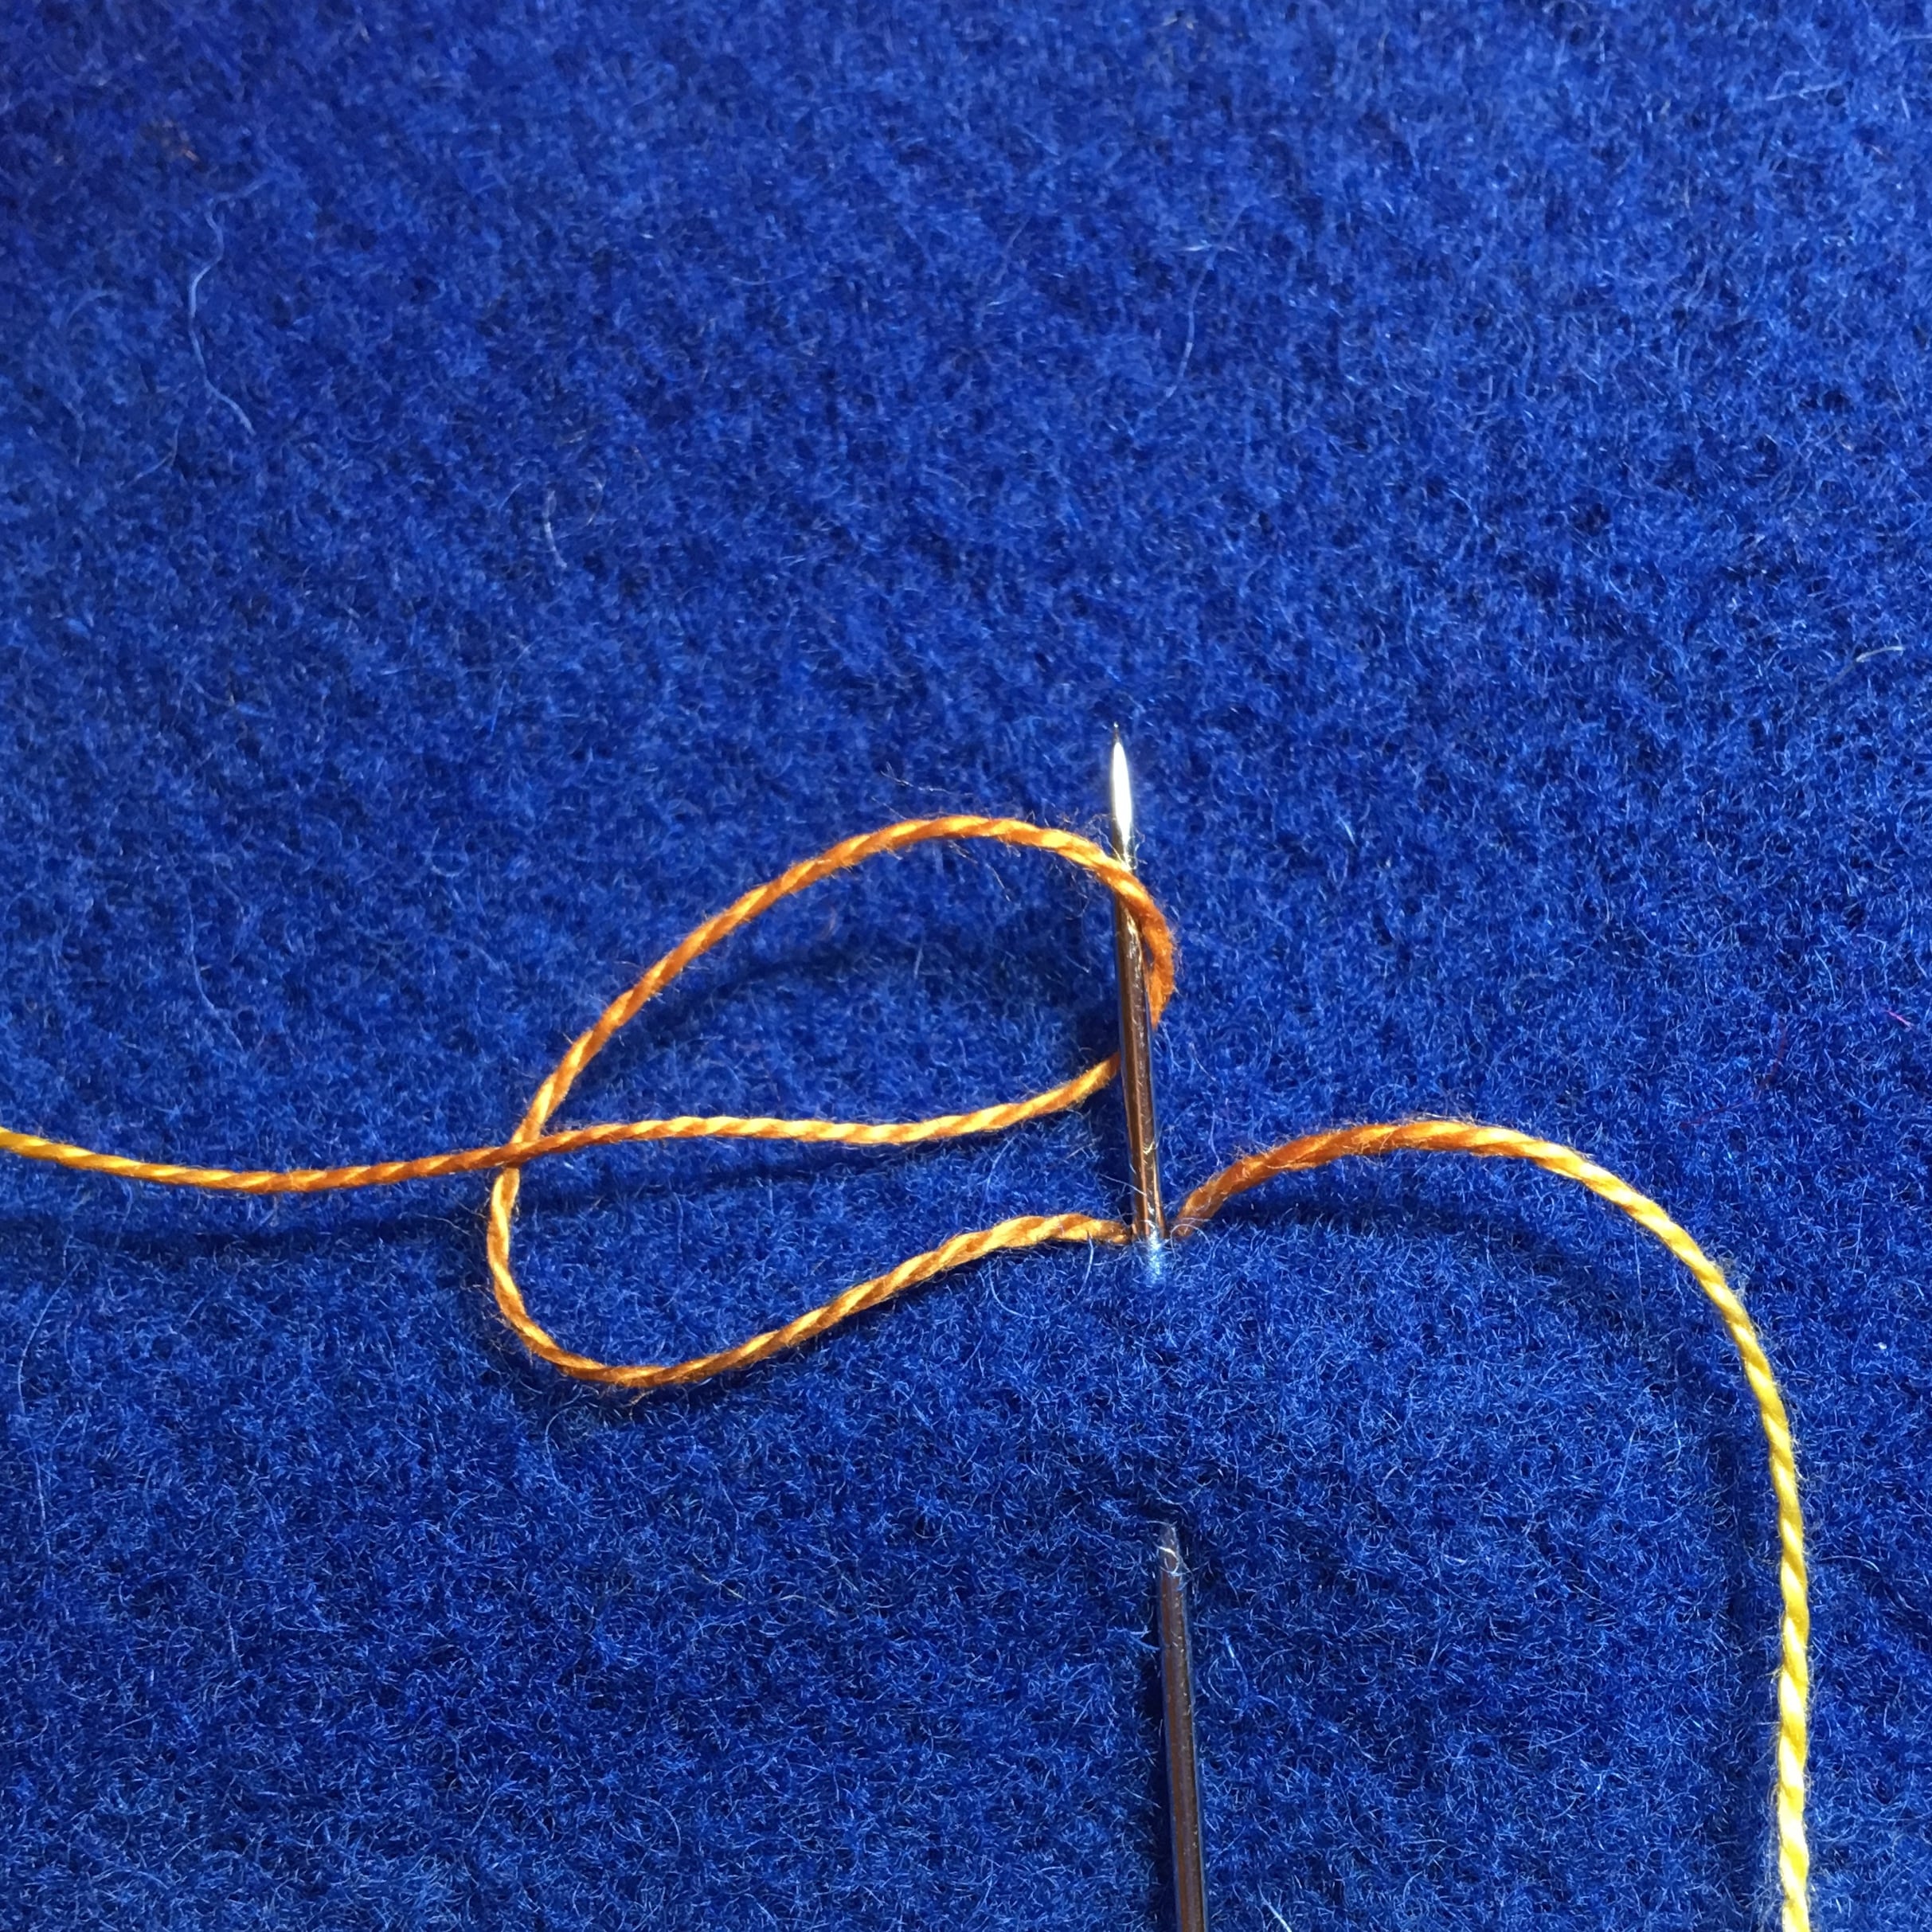


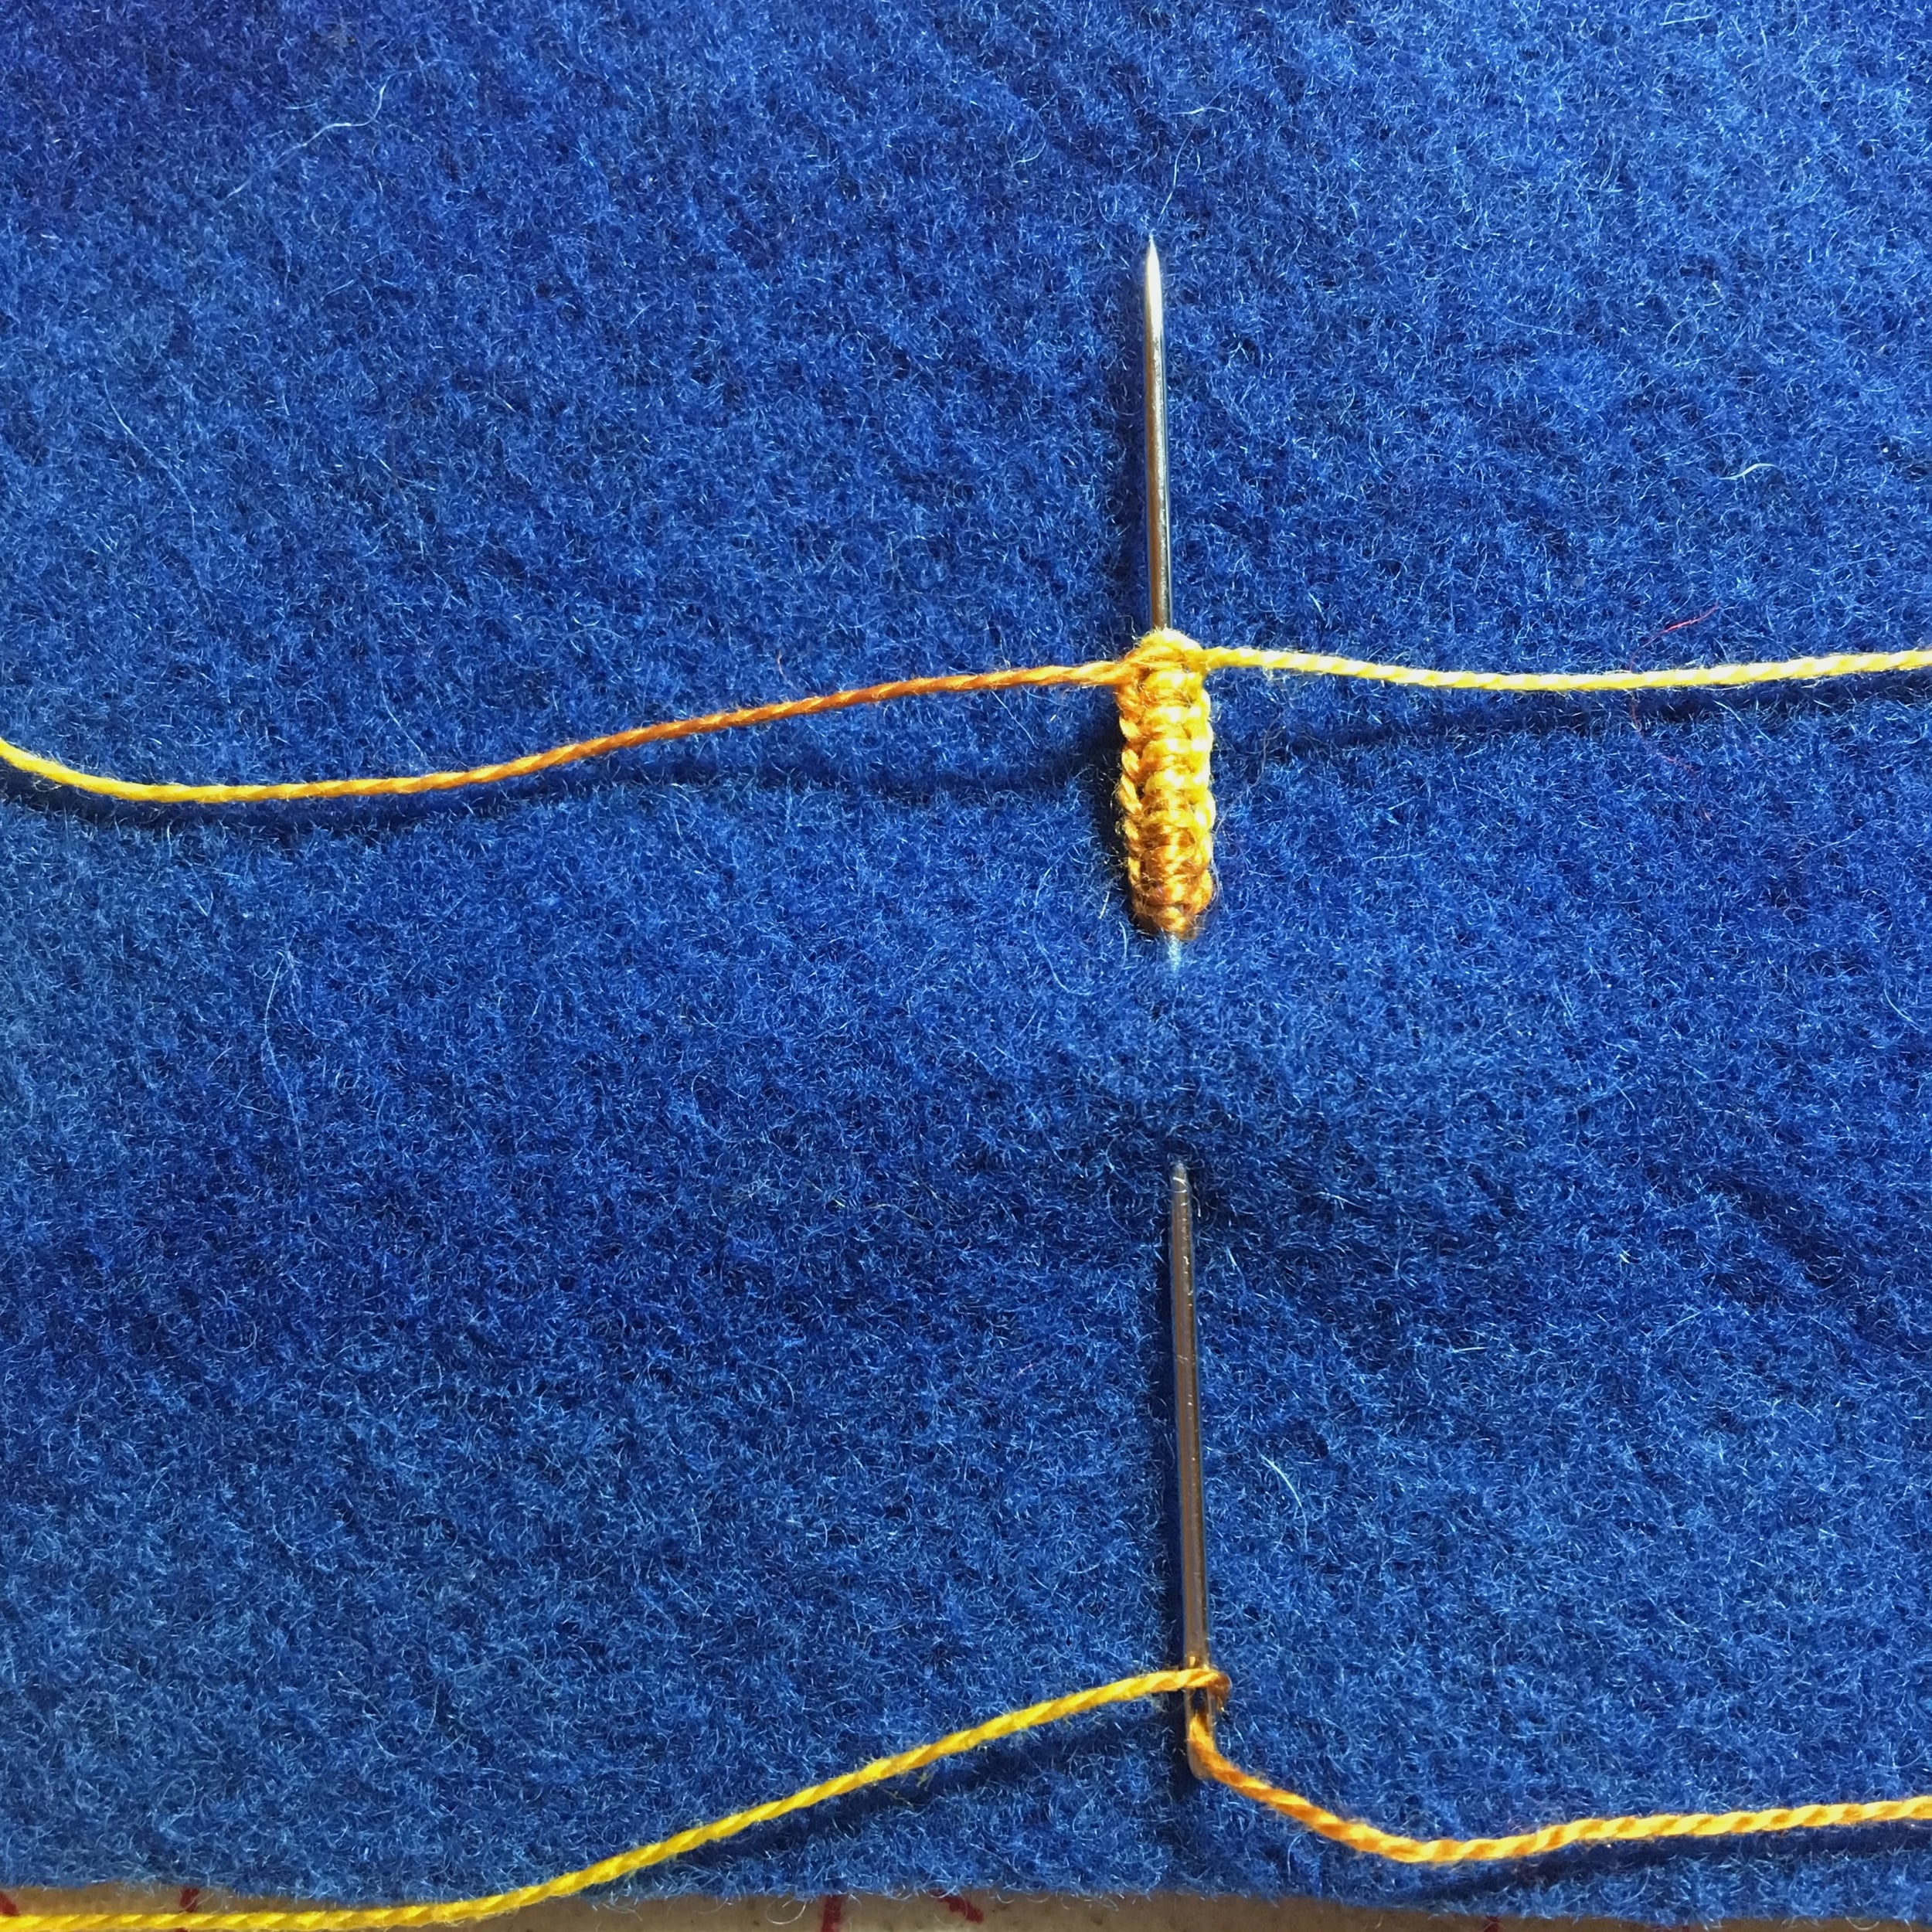
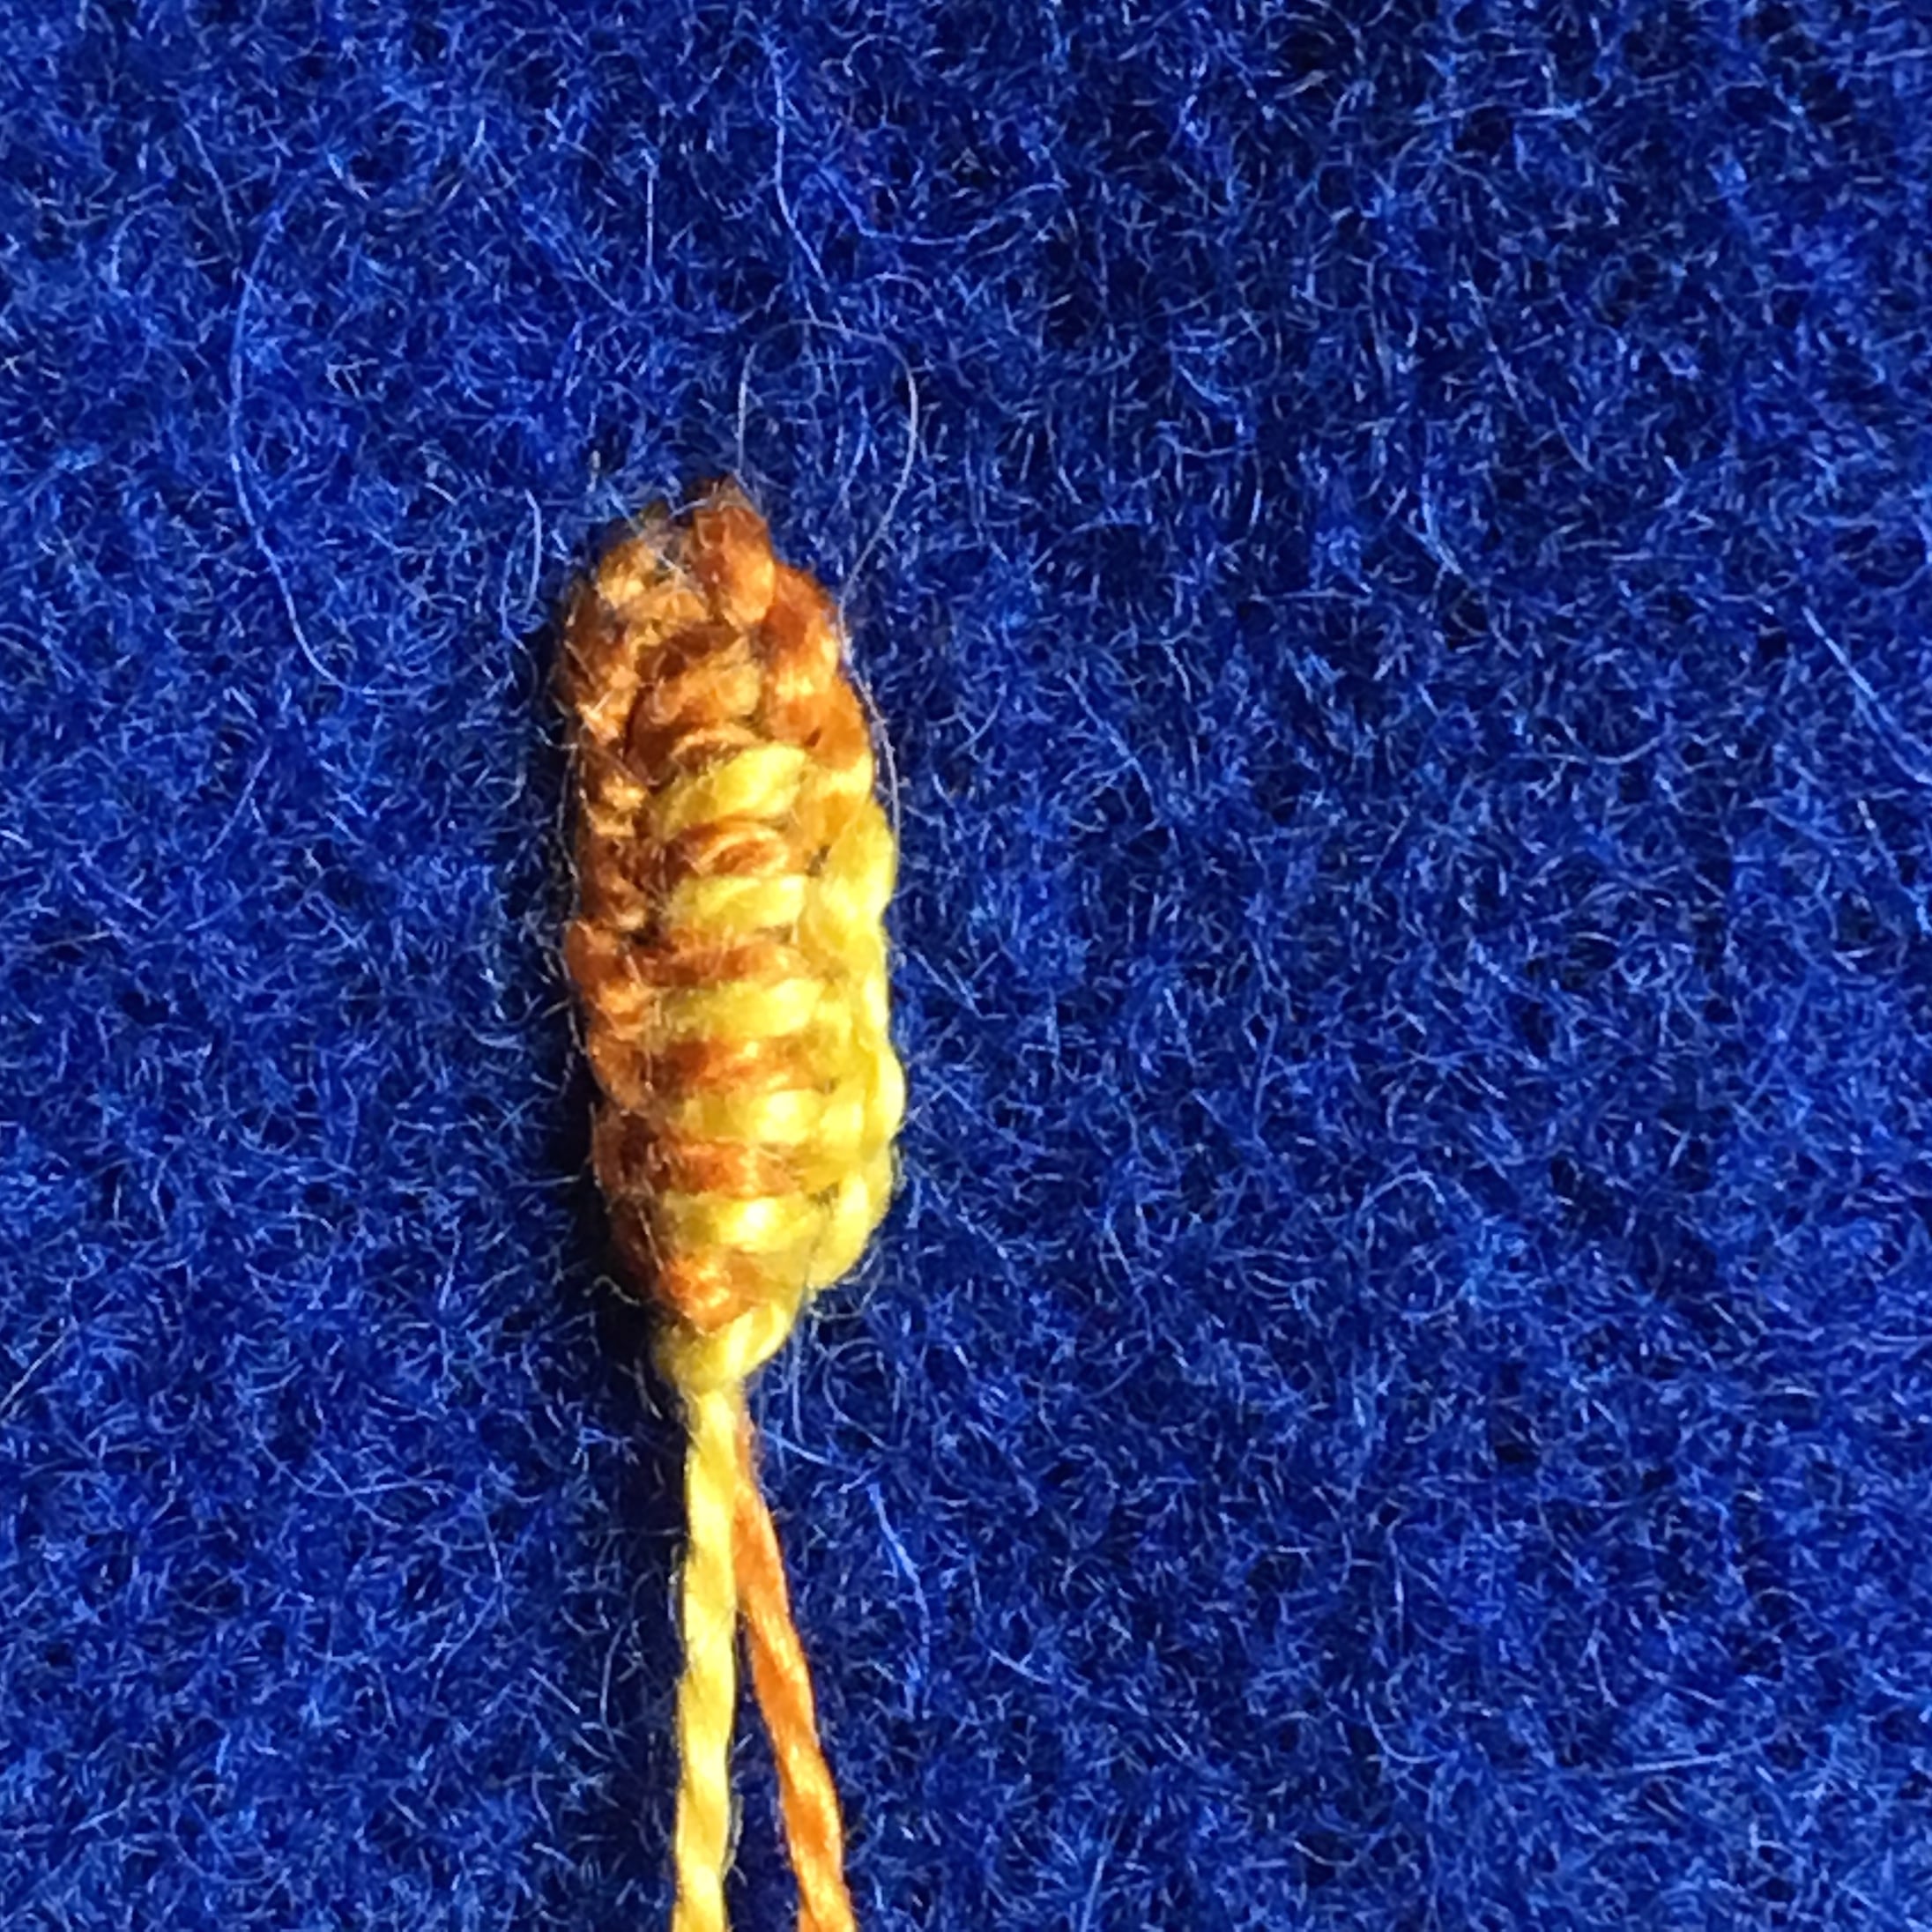
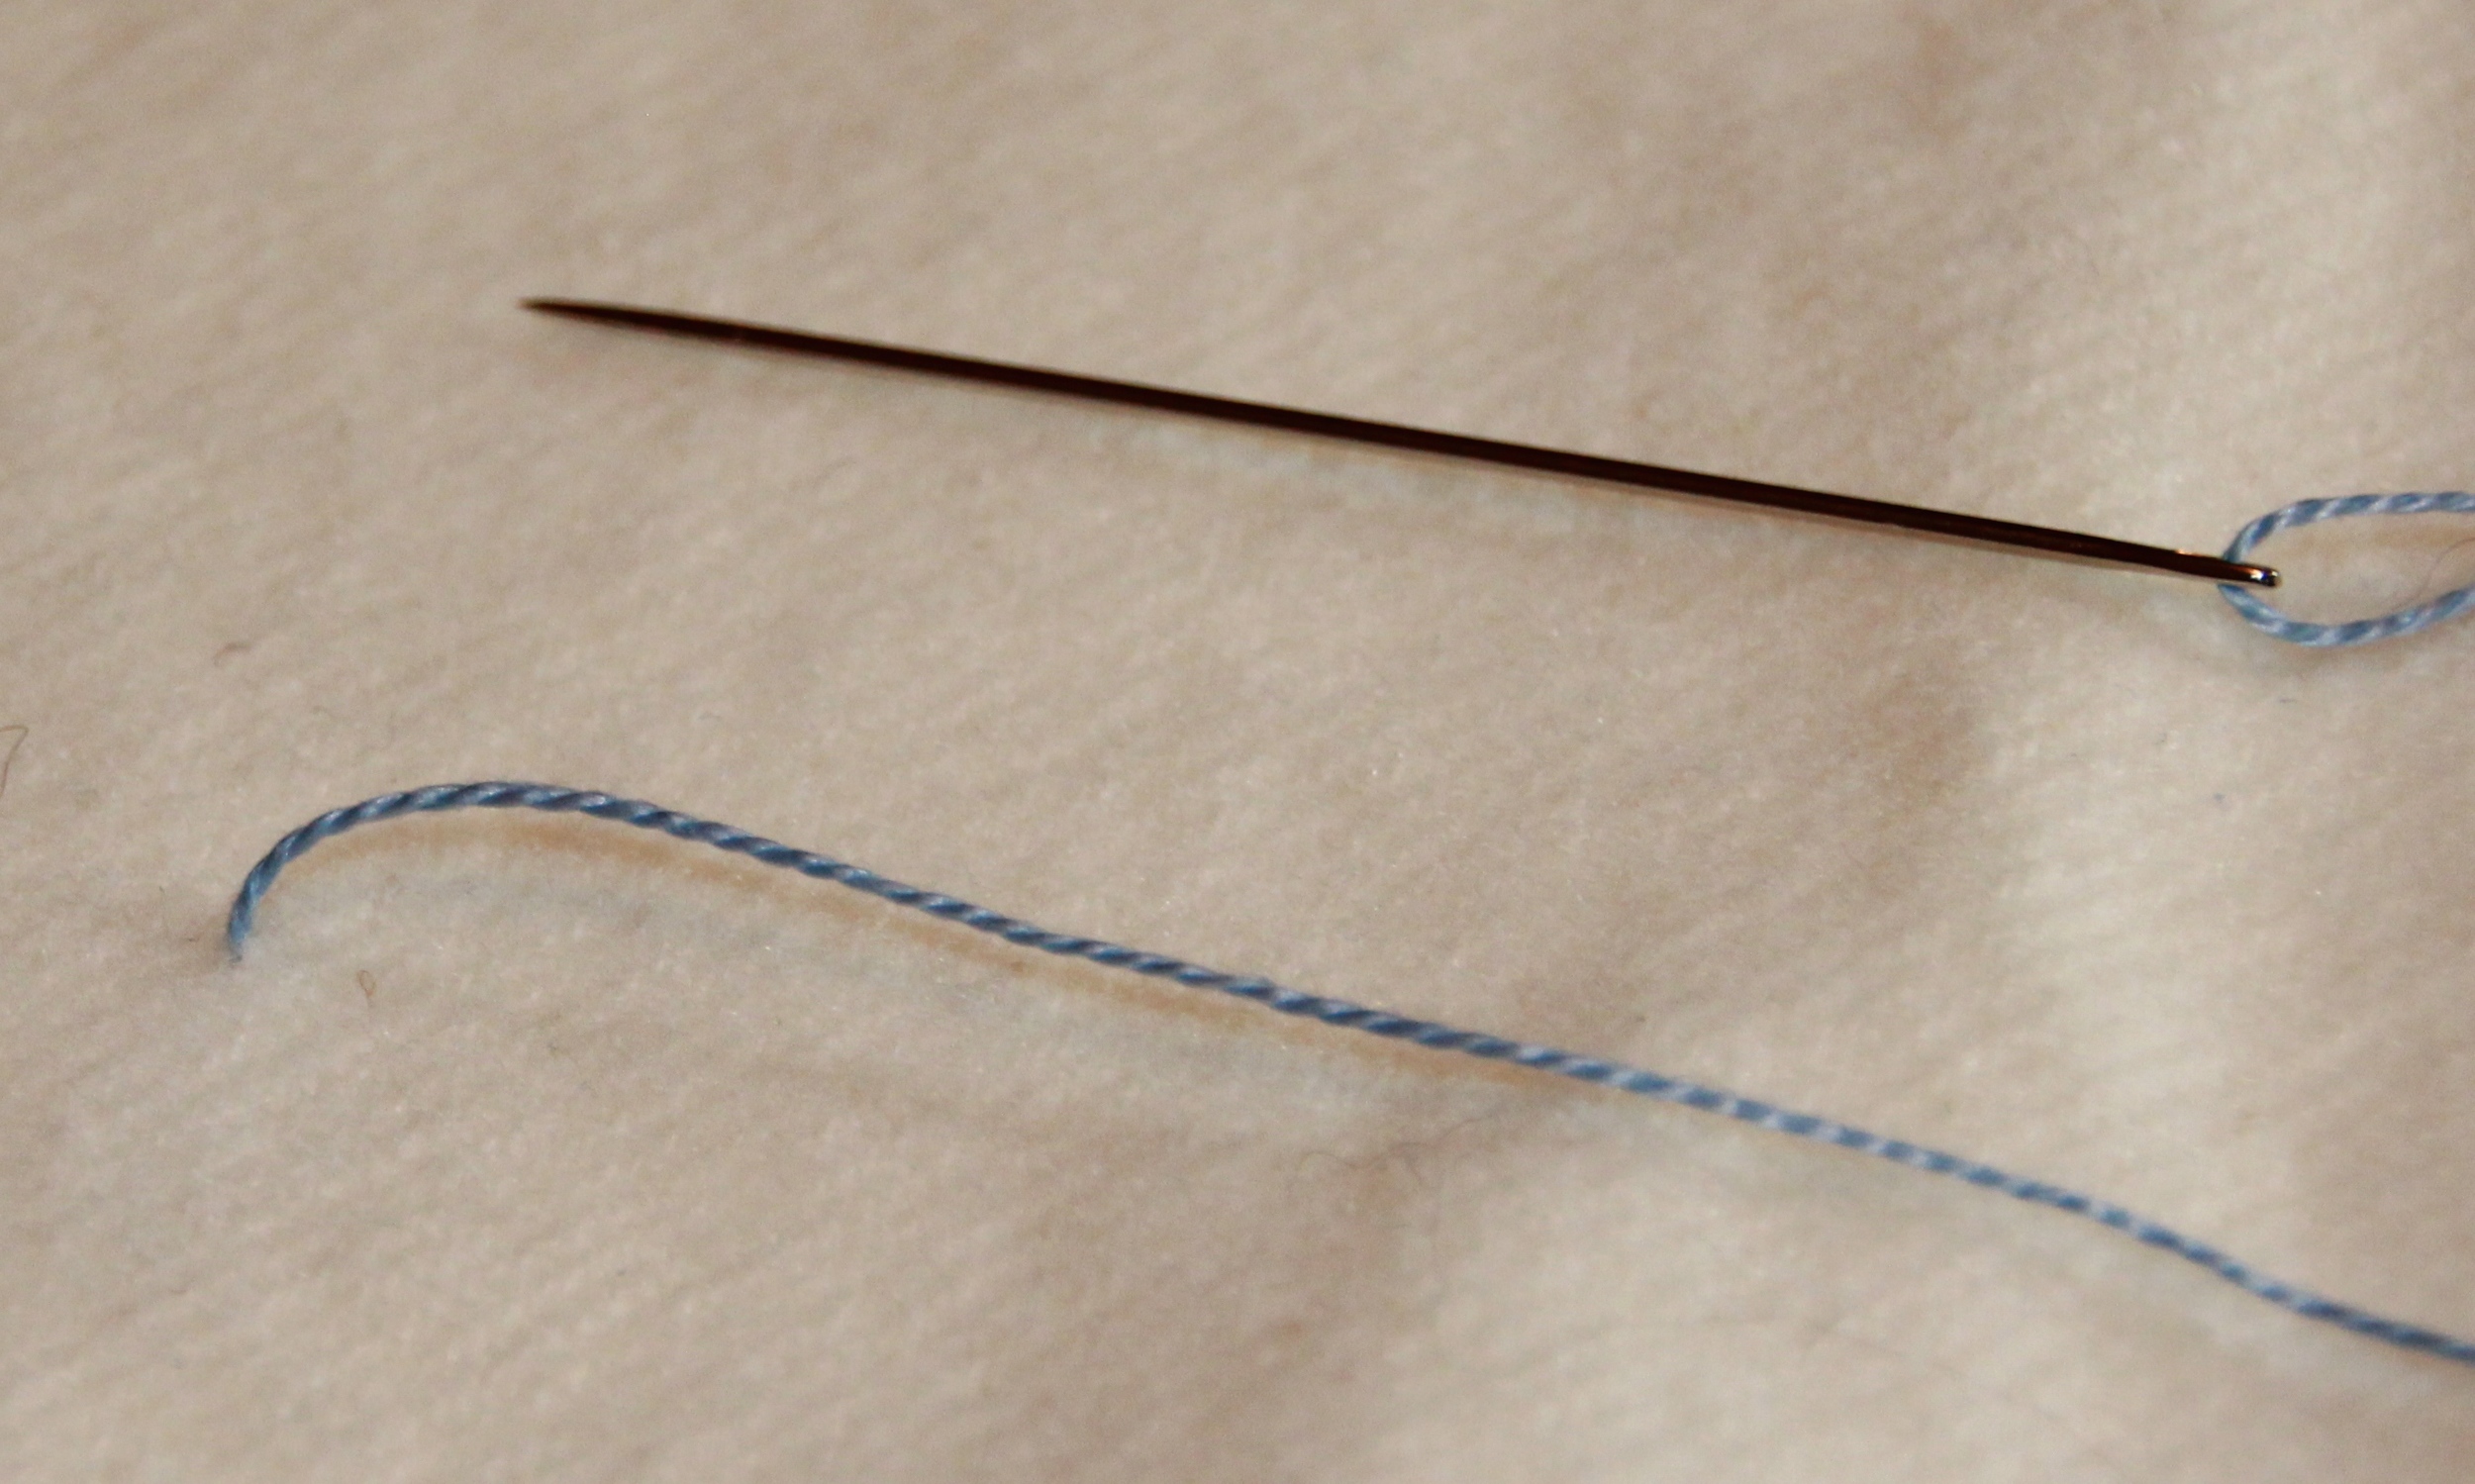
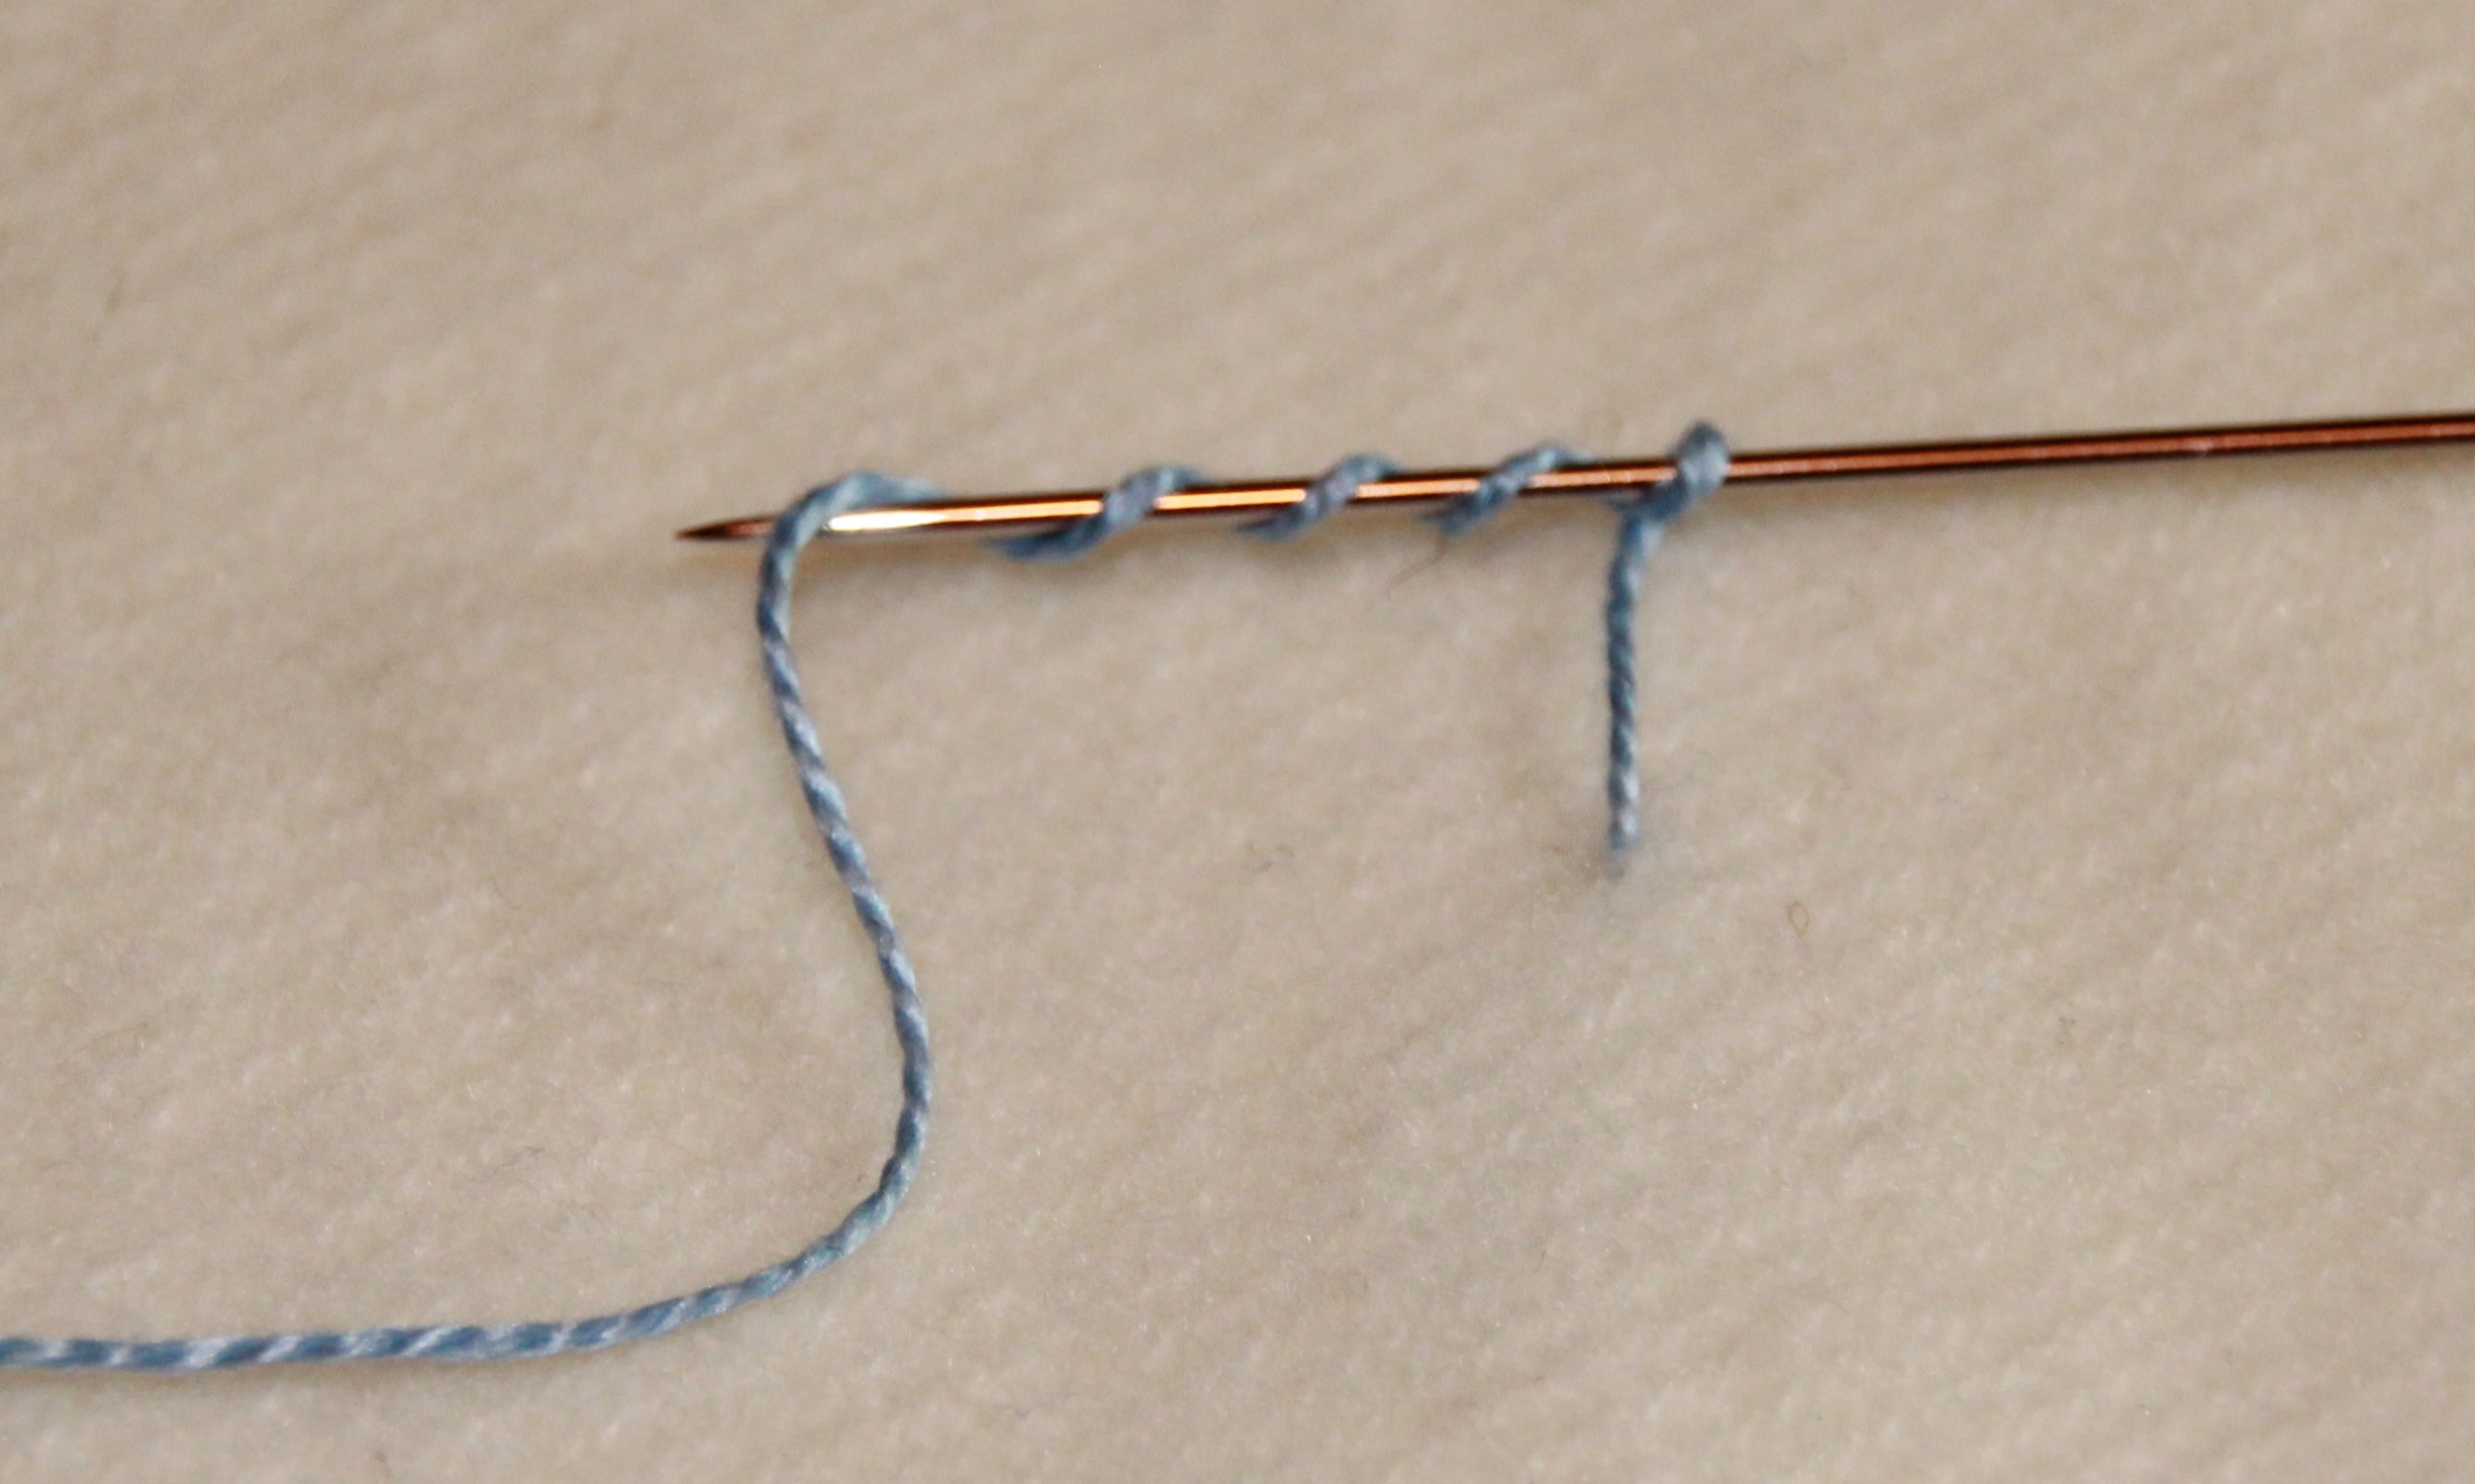
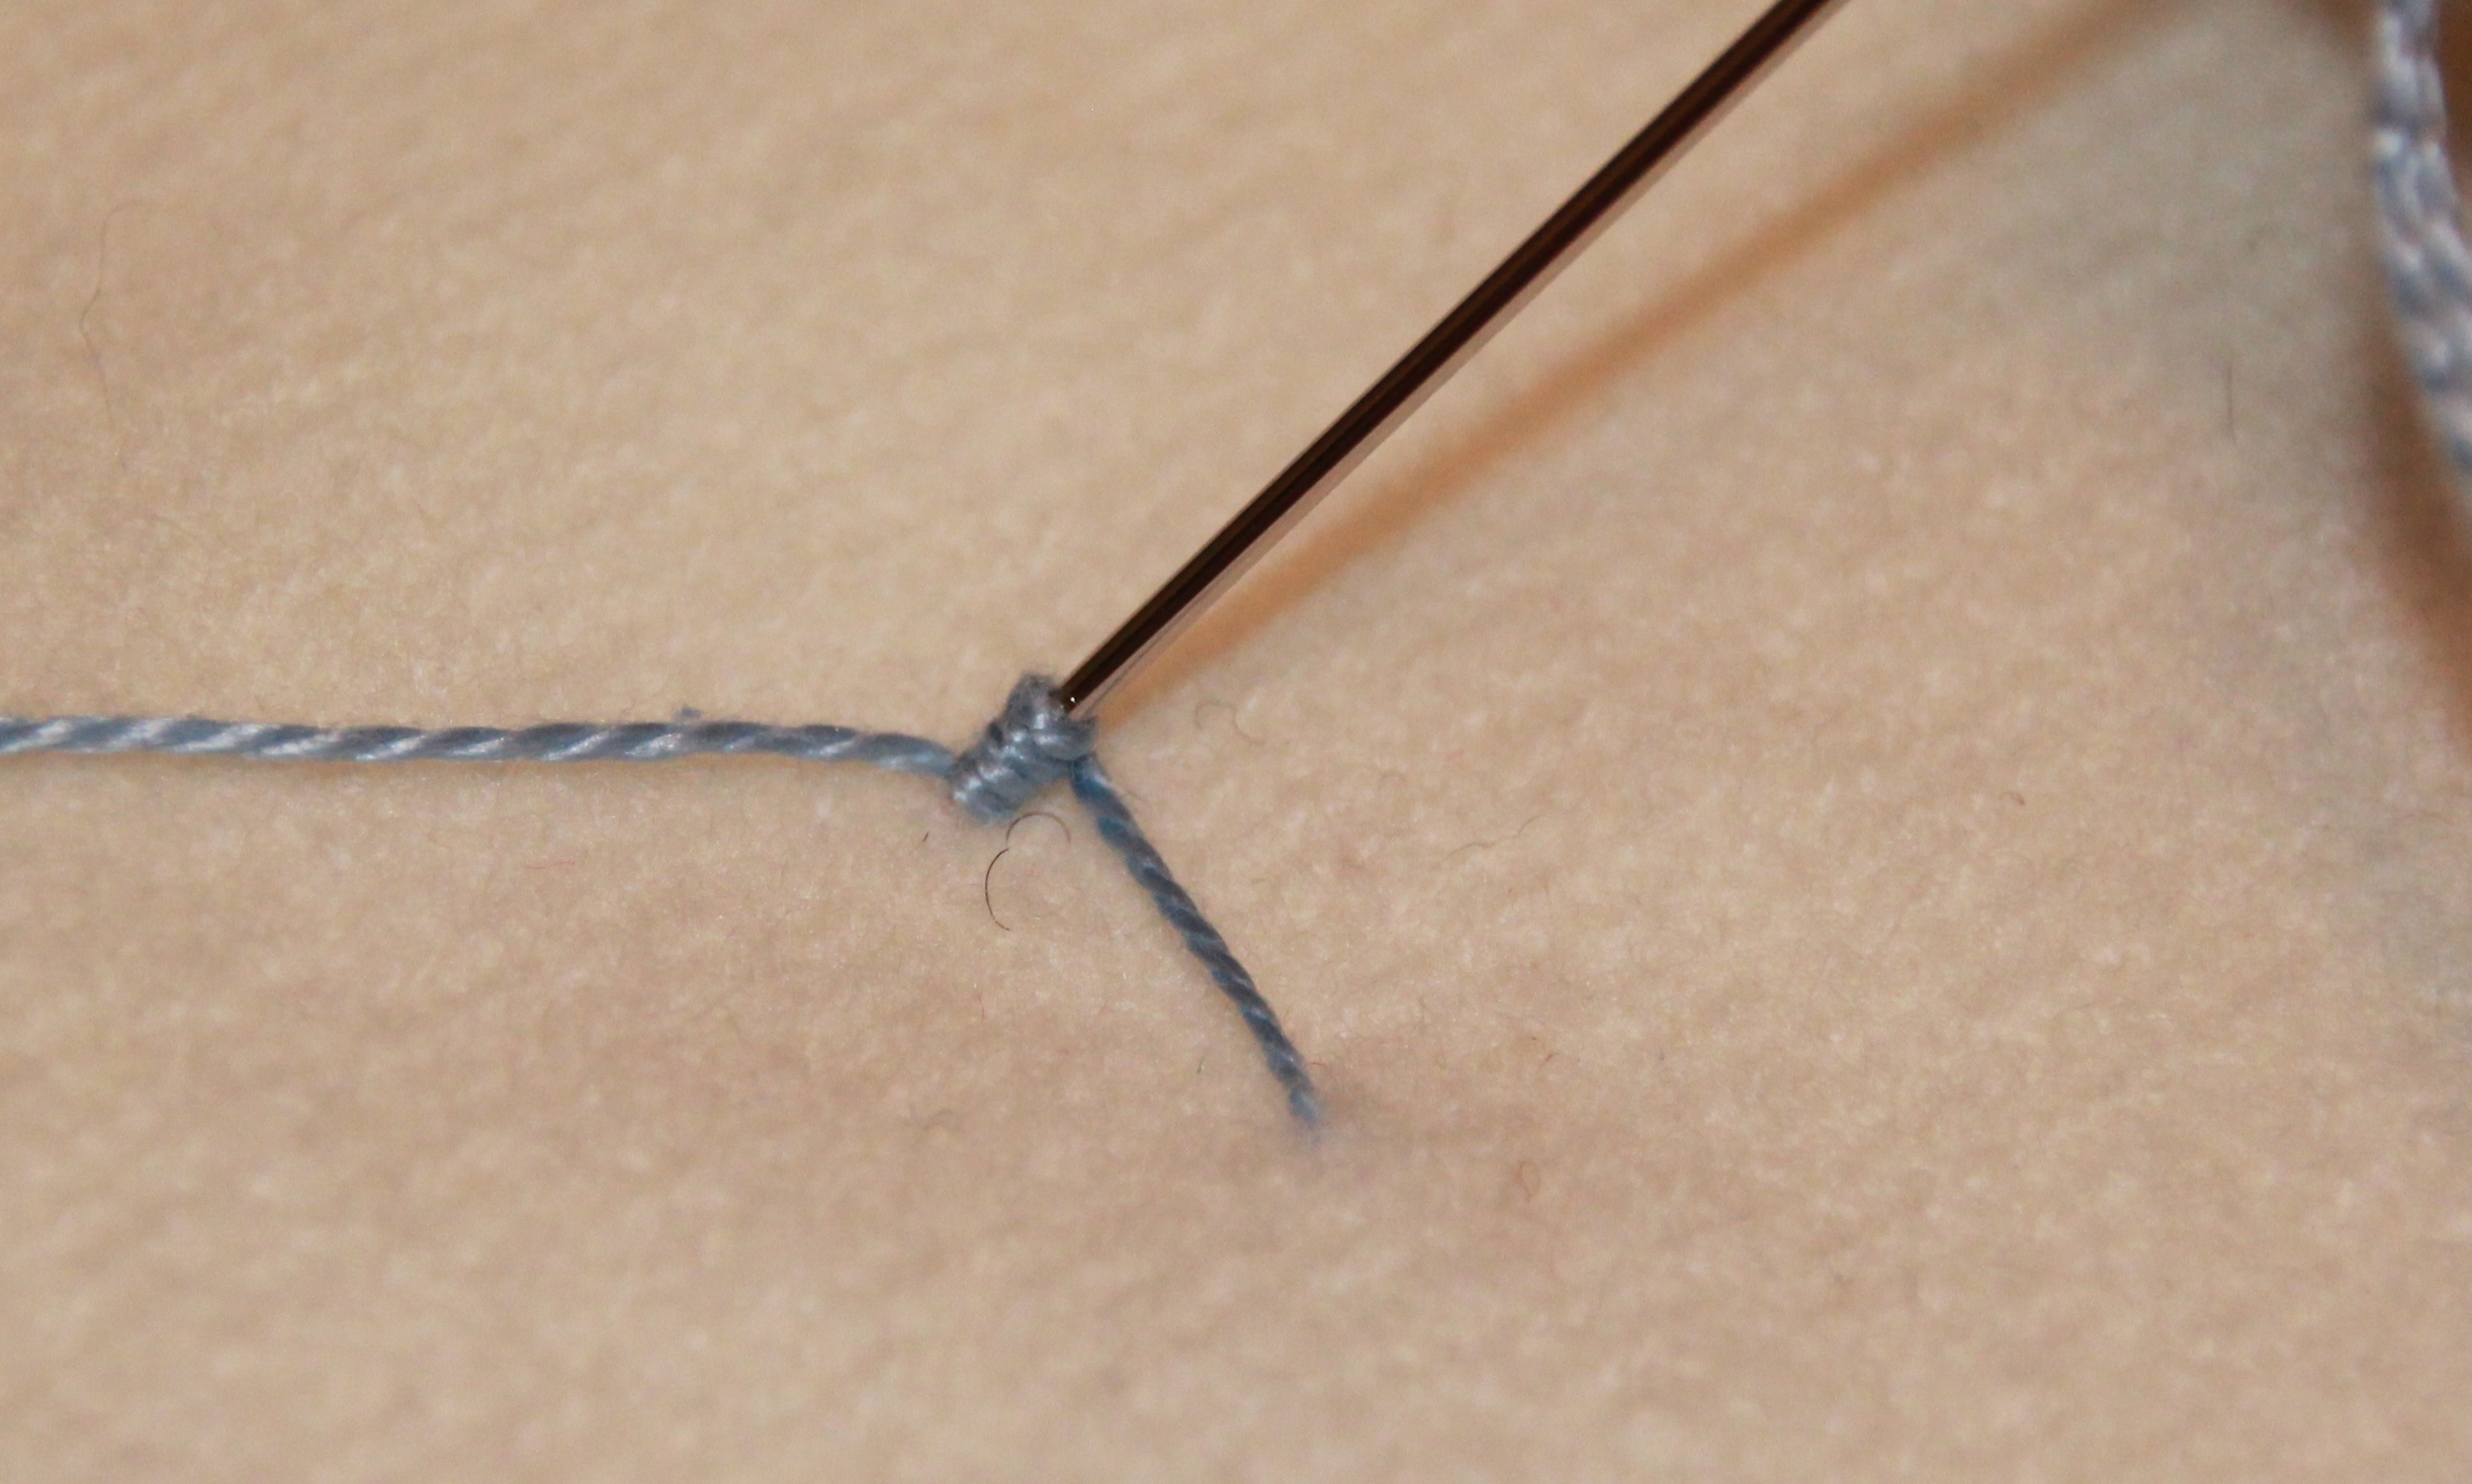
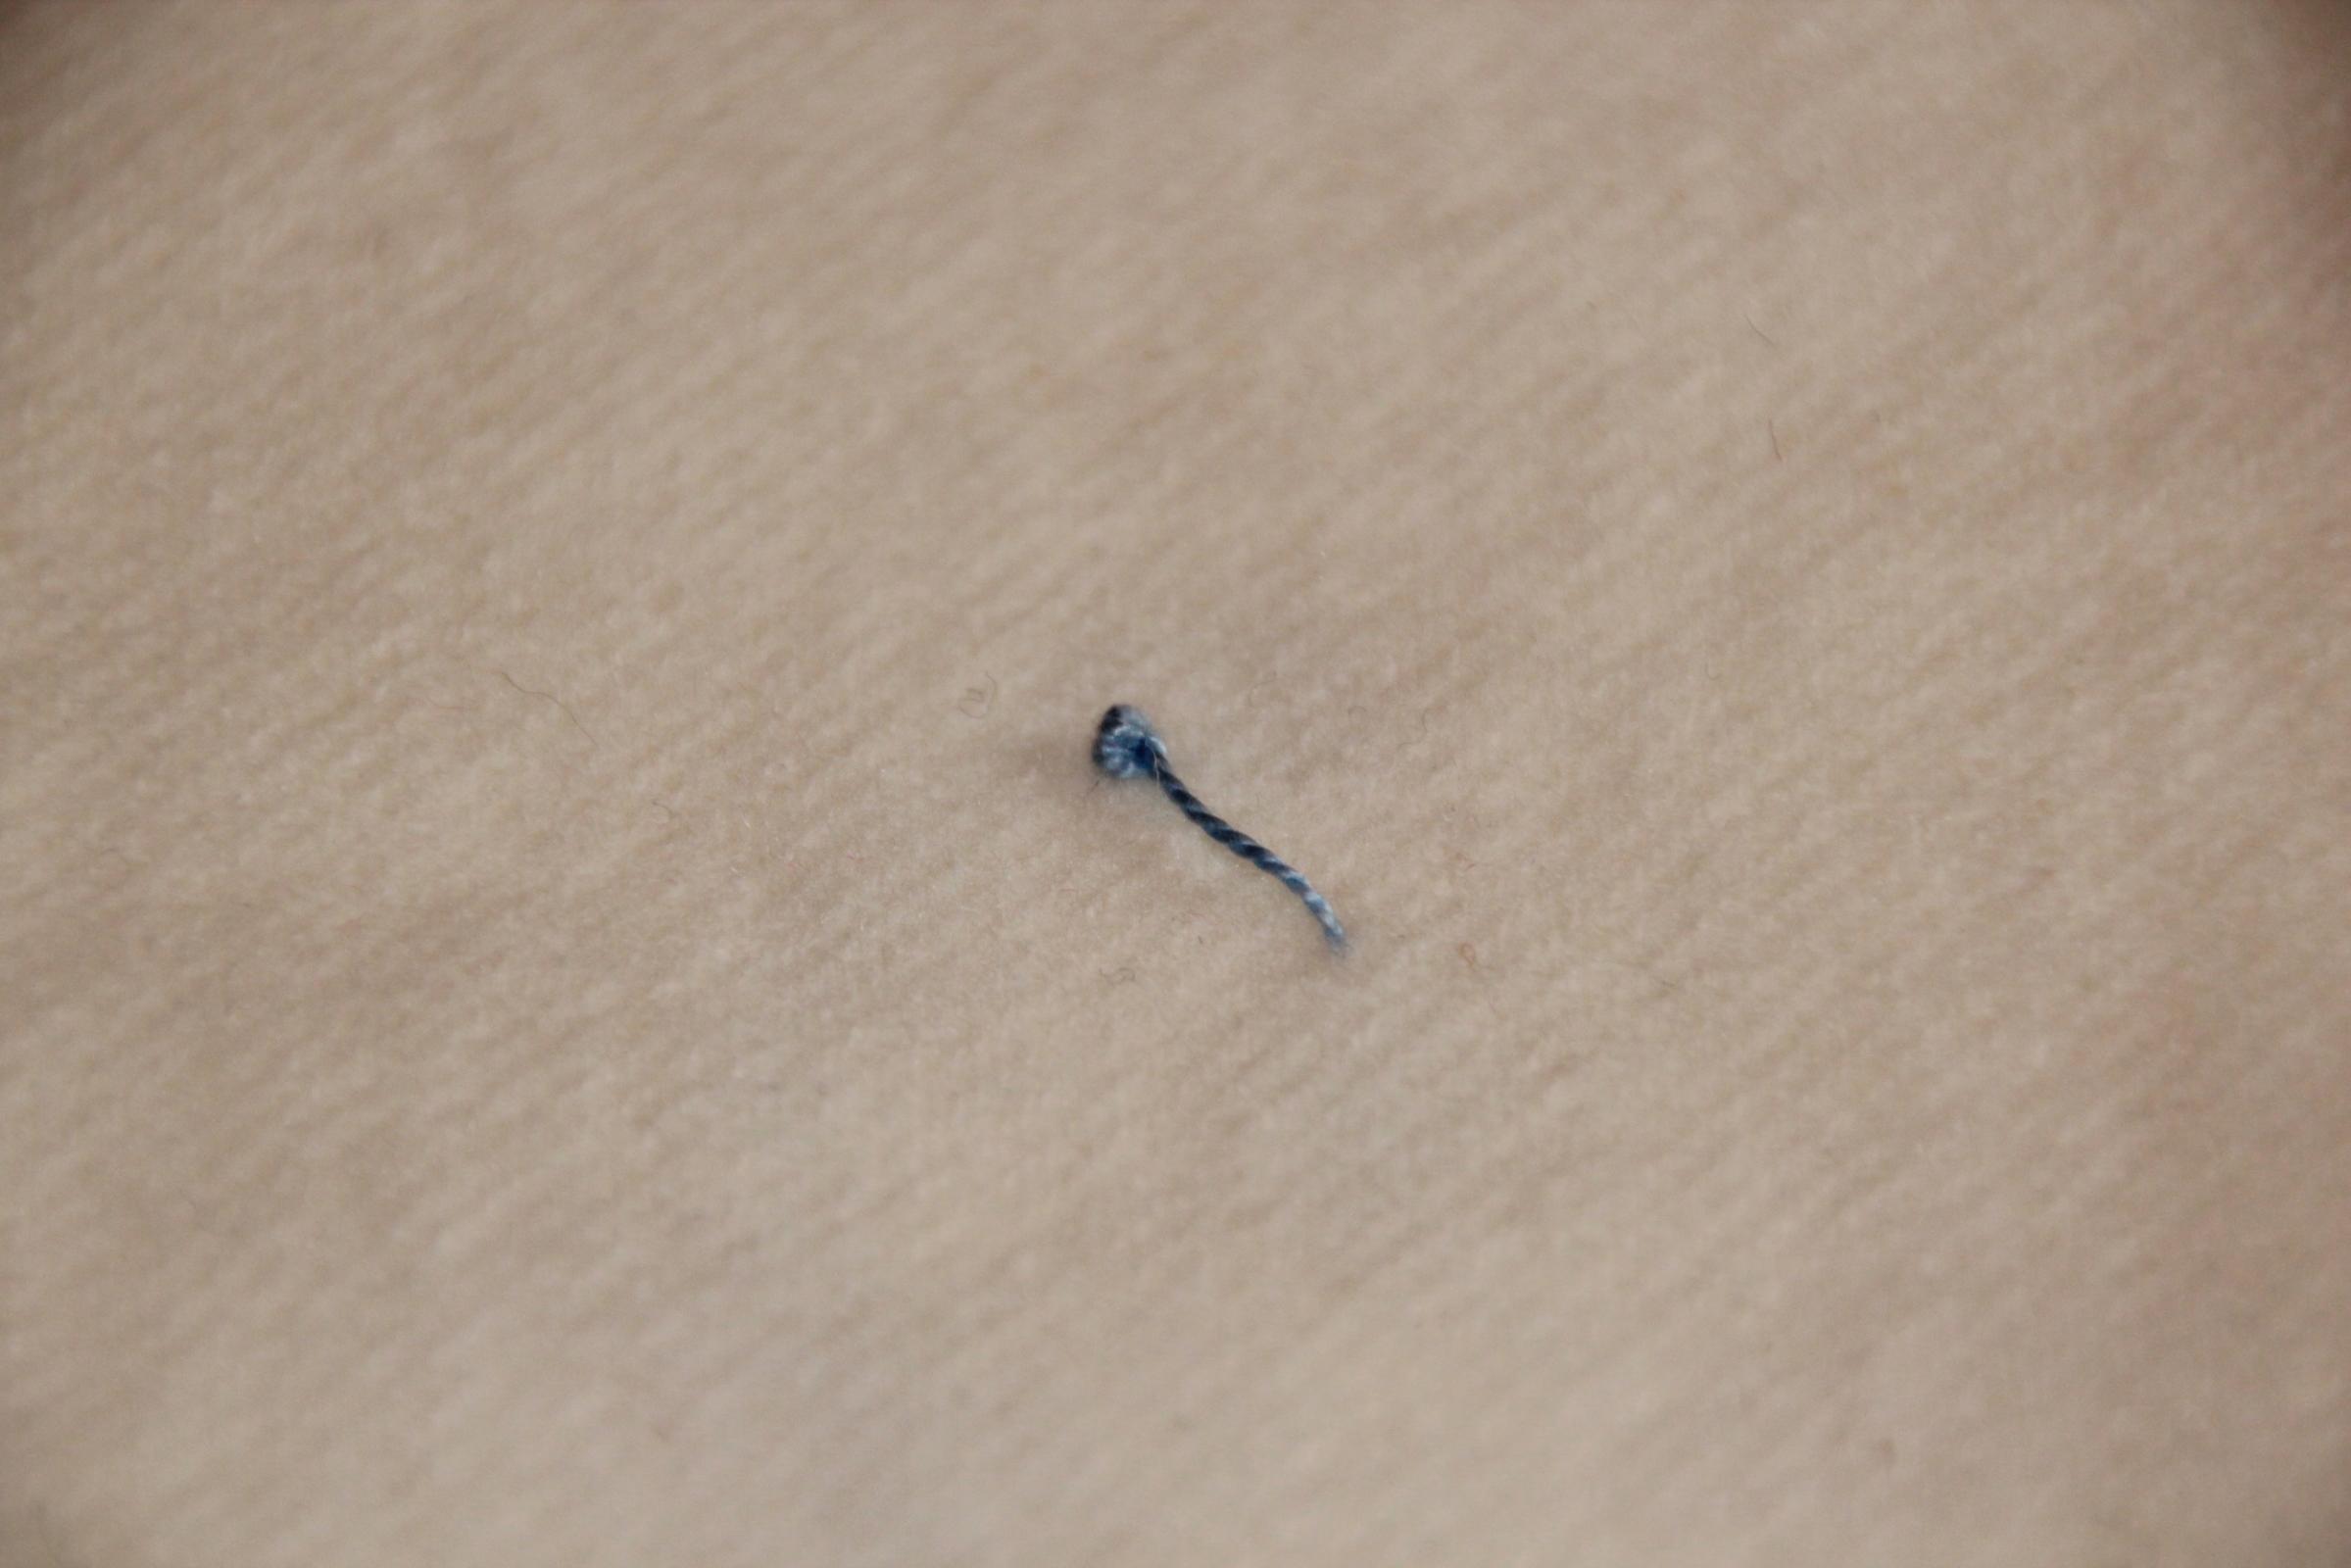
1.Begin with a 20" perle cotton thread through the needle and knotted so it is double. 2.Bring the needle up from behind and split the two threads to right and left. 3. Put the needle in the fabric 1/2" below where it entered and bring it up below where it entered. 4. Form a loop as you see in the photo using the thread on the left and slide it down.Do not pull tight. 5. Form a loop on the right and move it down. 6.Alternate back and forth until it is the approximate 1/2" in length. 7. Hold the stitches with your left hand and gently pull the needle through the stitches. When you do this you will be able to flip the stitches forward and pull the thread gently through. 8. You have completed one and are ready to start another.
closed fly stitch
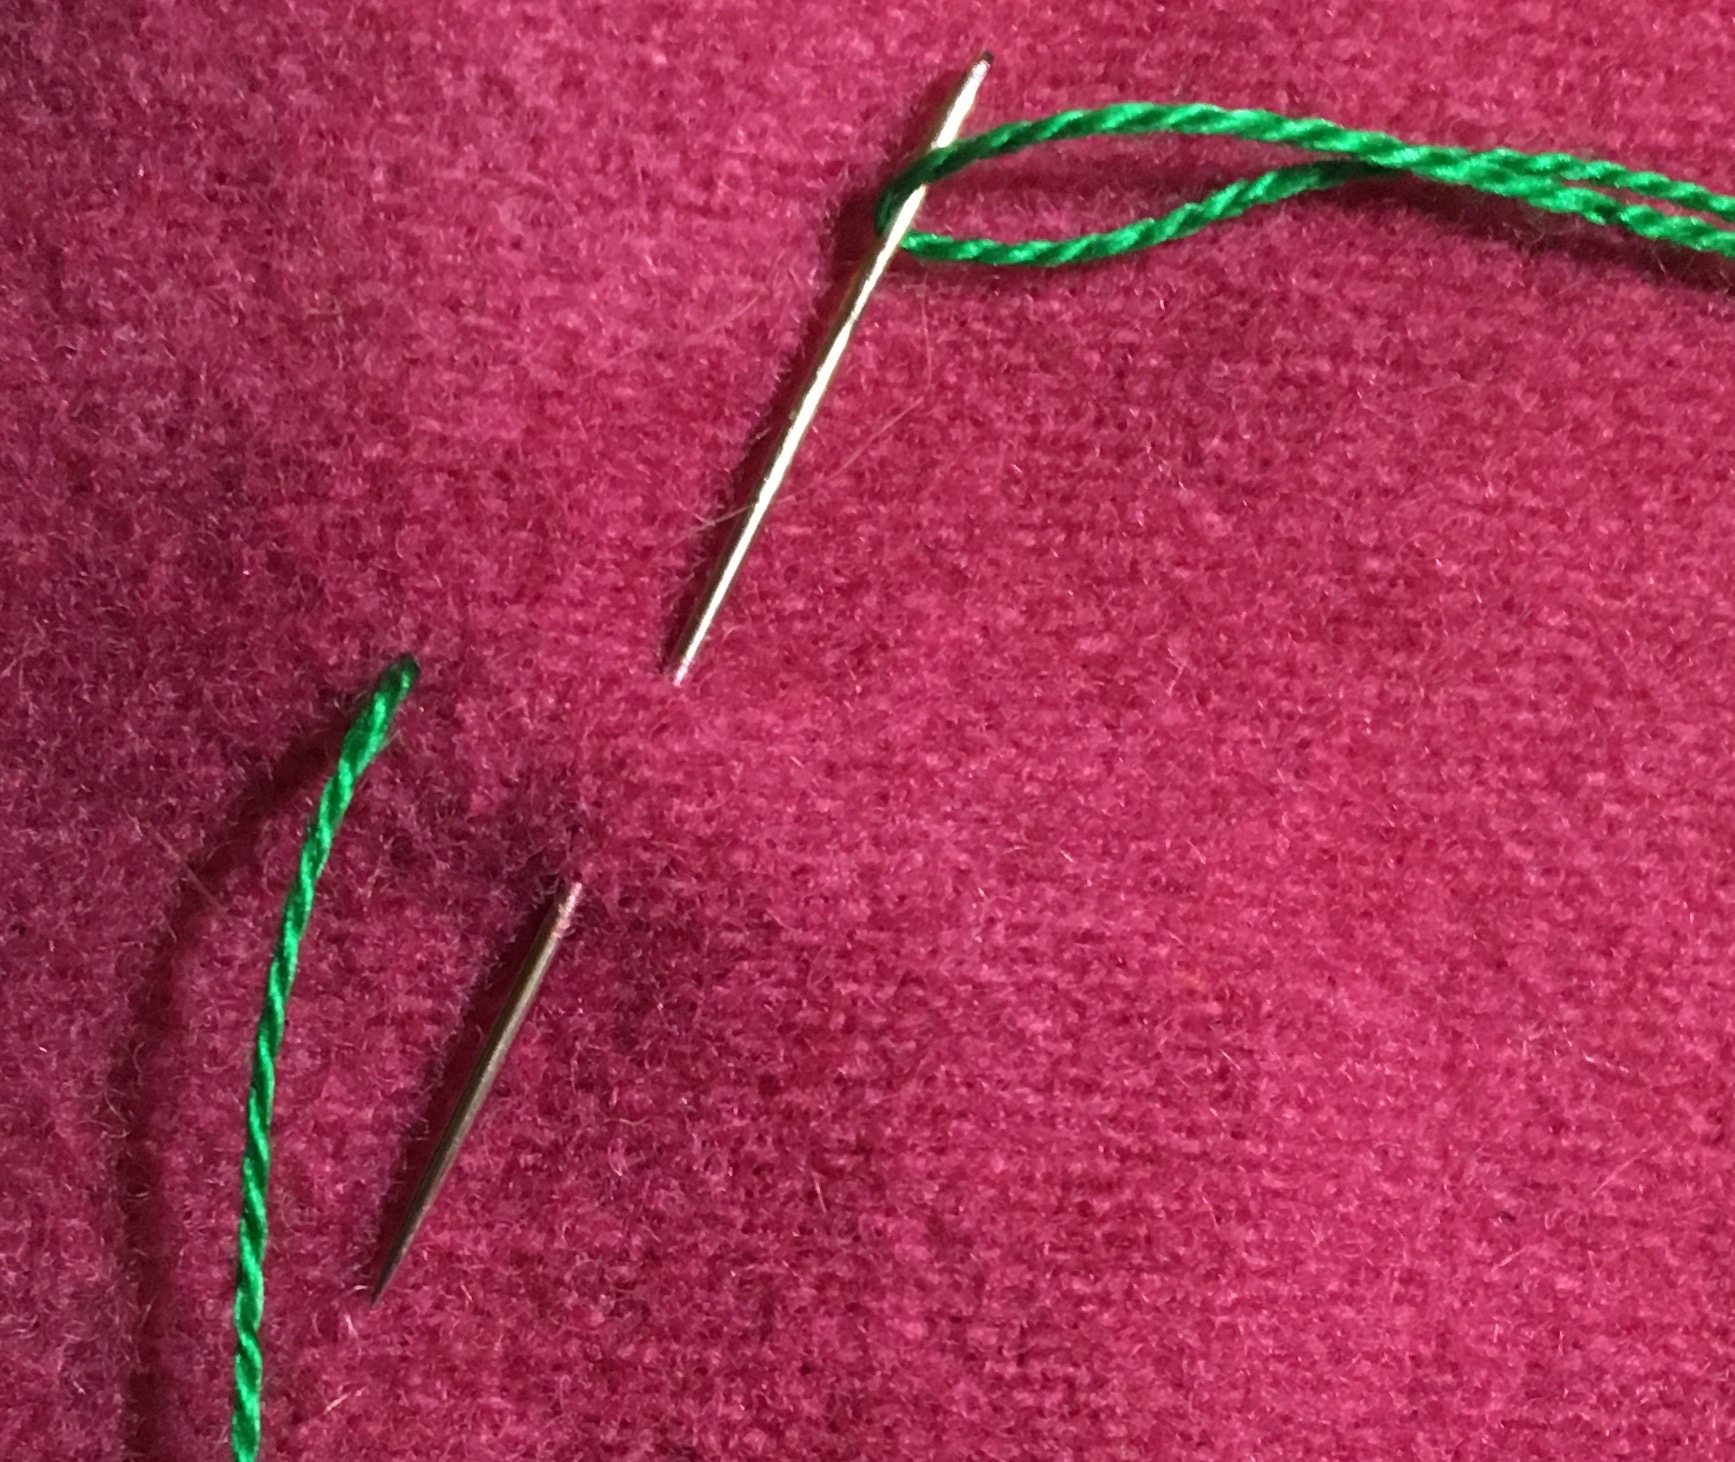
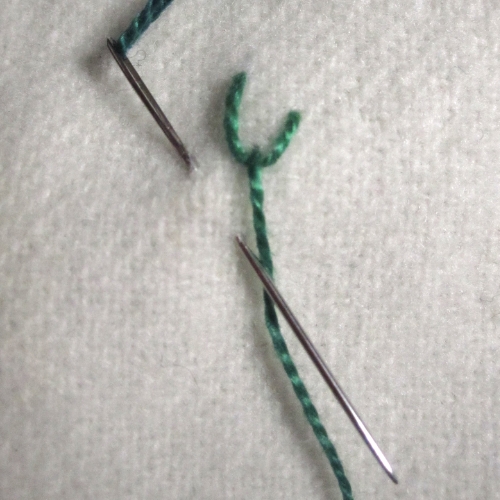
1. Bring the needle and thread up and then put it down into the fabric across from where it came up. Bring the needle up below the two points and centered. Refer to the photo.
2. Bring the needle straight down from the bottom of the V shape and bring it up as shown.
3. Switch to the right again and place the needle in the fabric to the right of the straignt stitch.
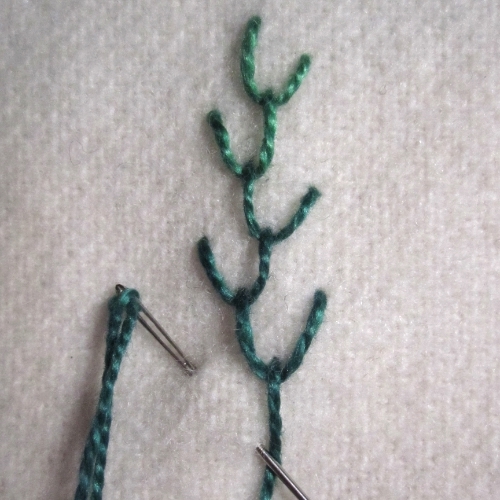
4. This line up of the Closed Fly Stitches can be used for veining on a leaf or a decorative stitch inside a shape or around an edge.
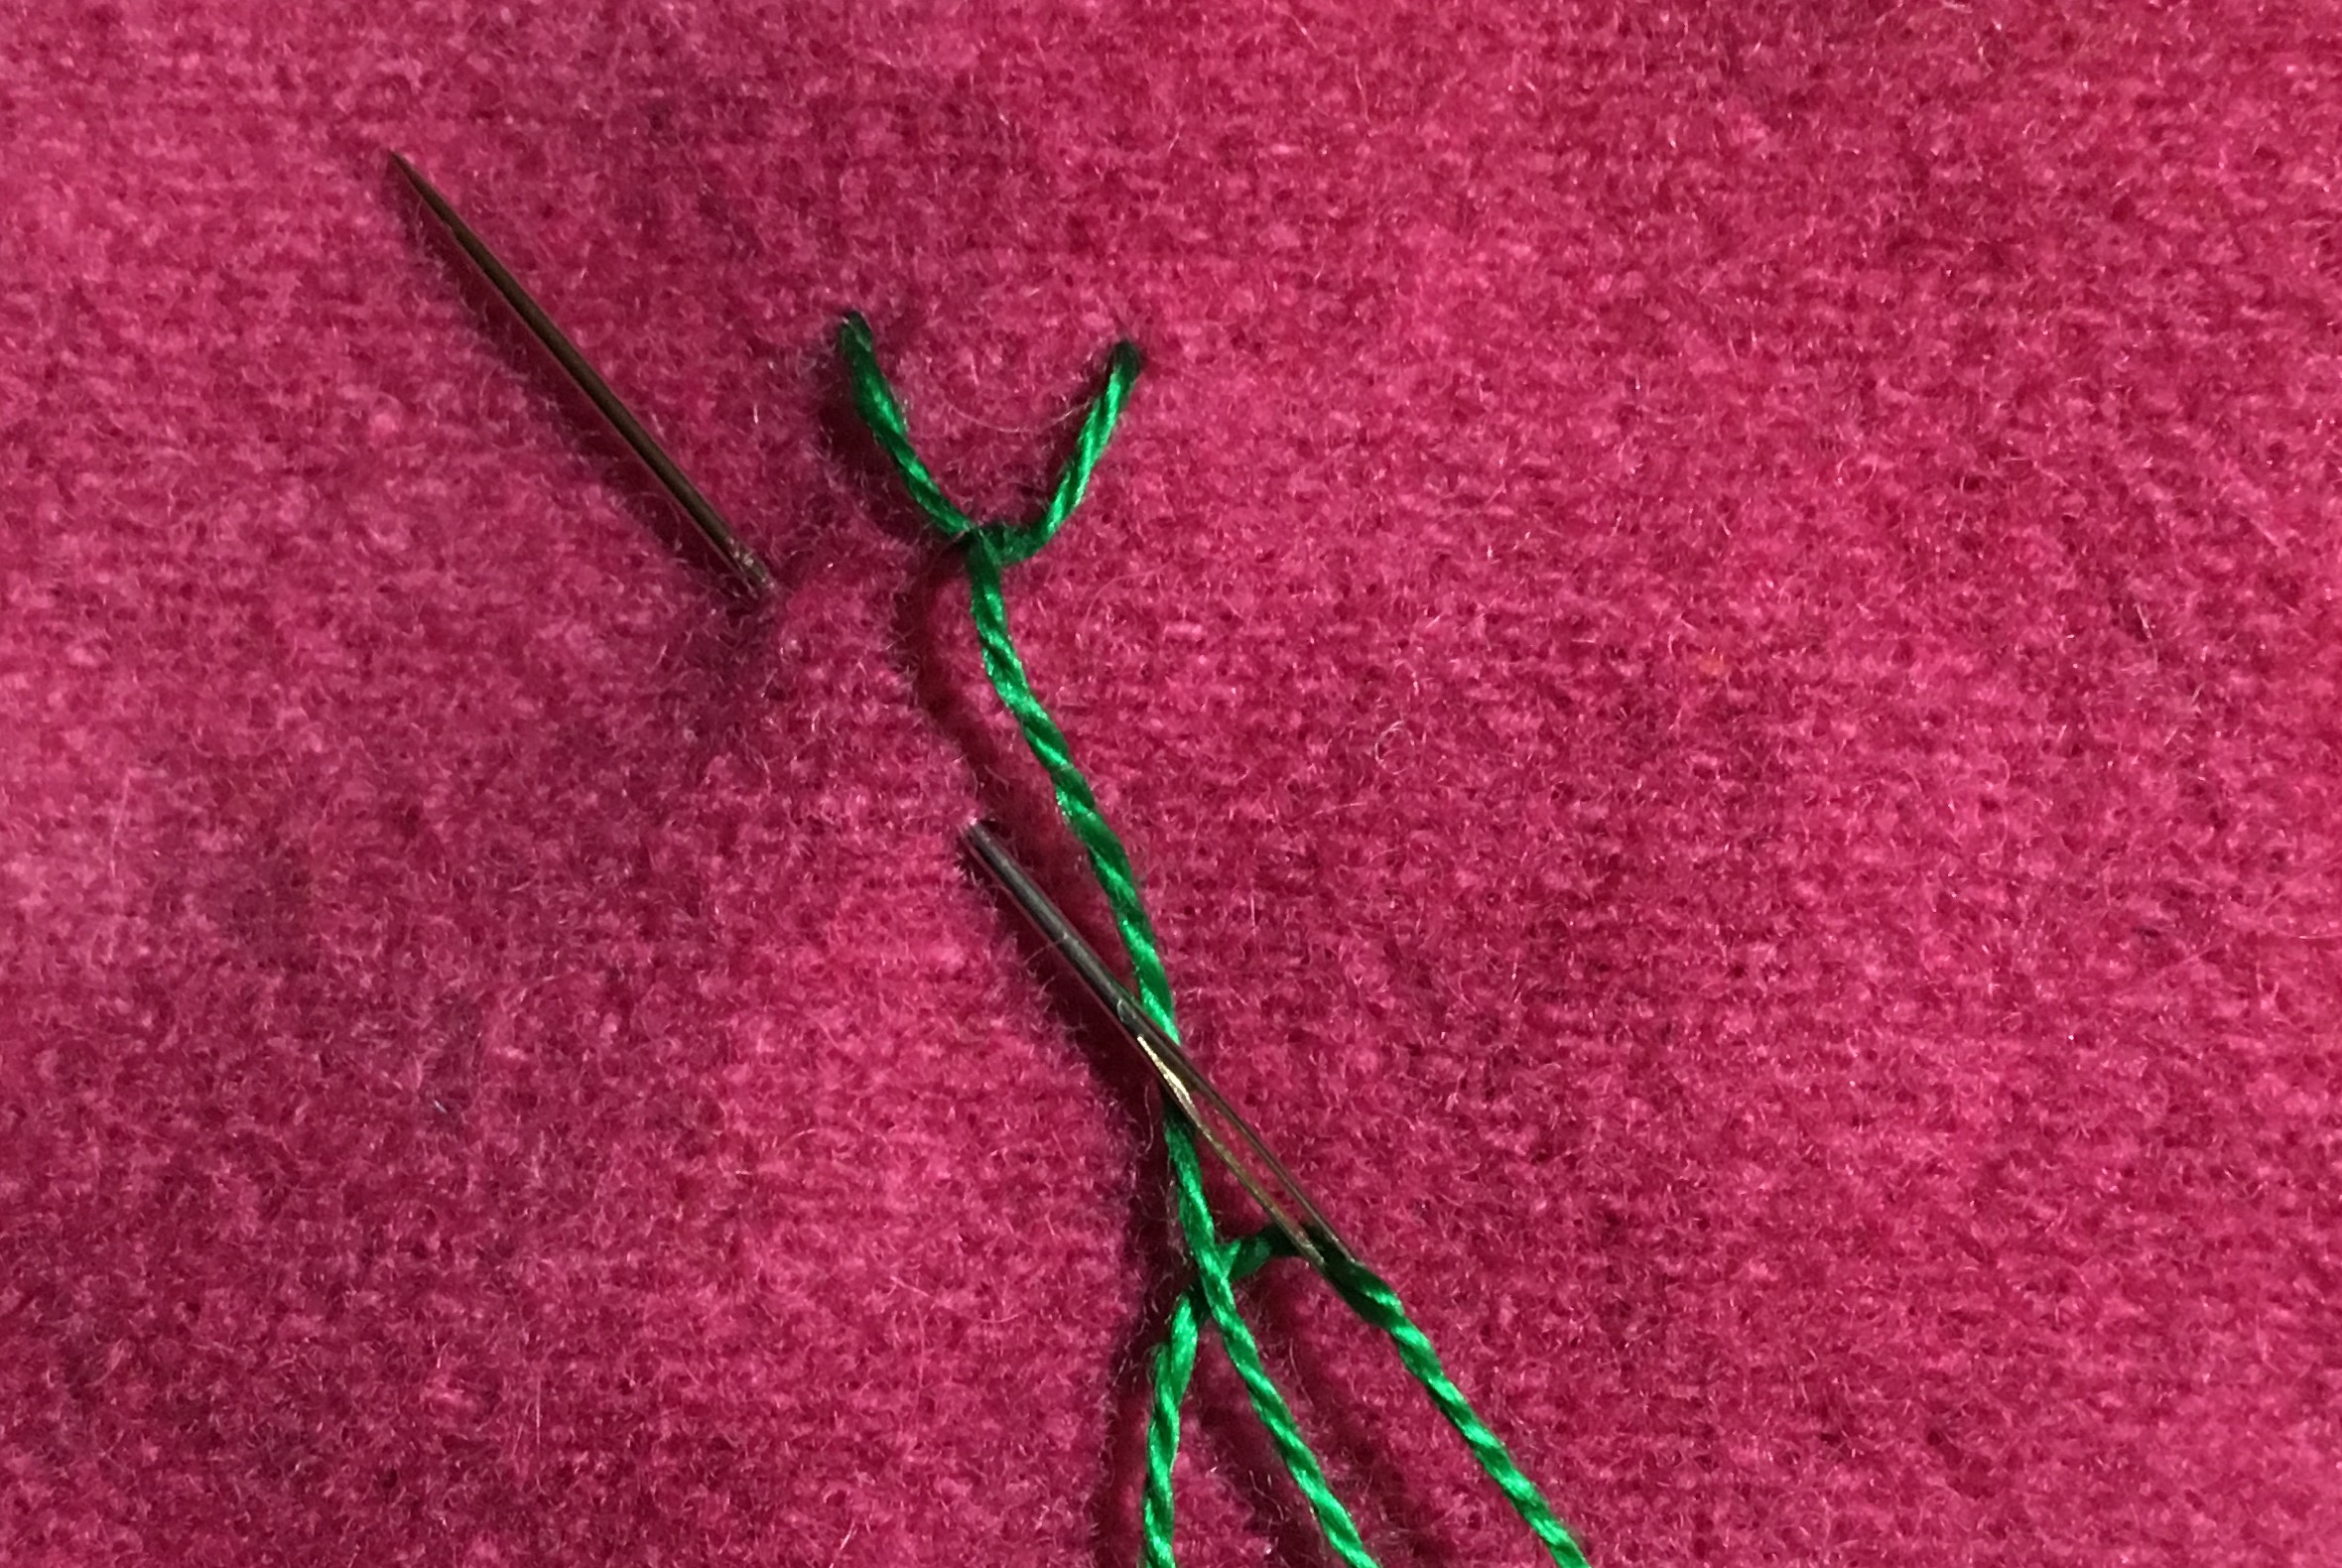
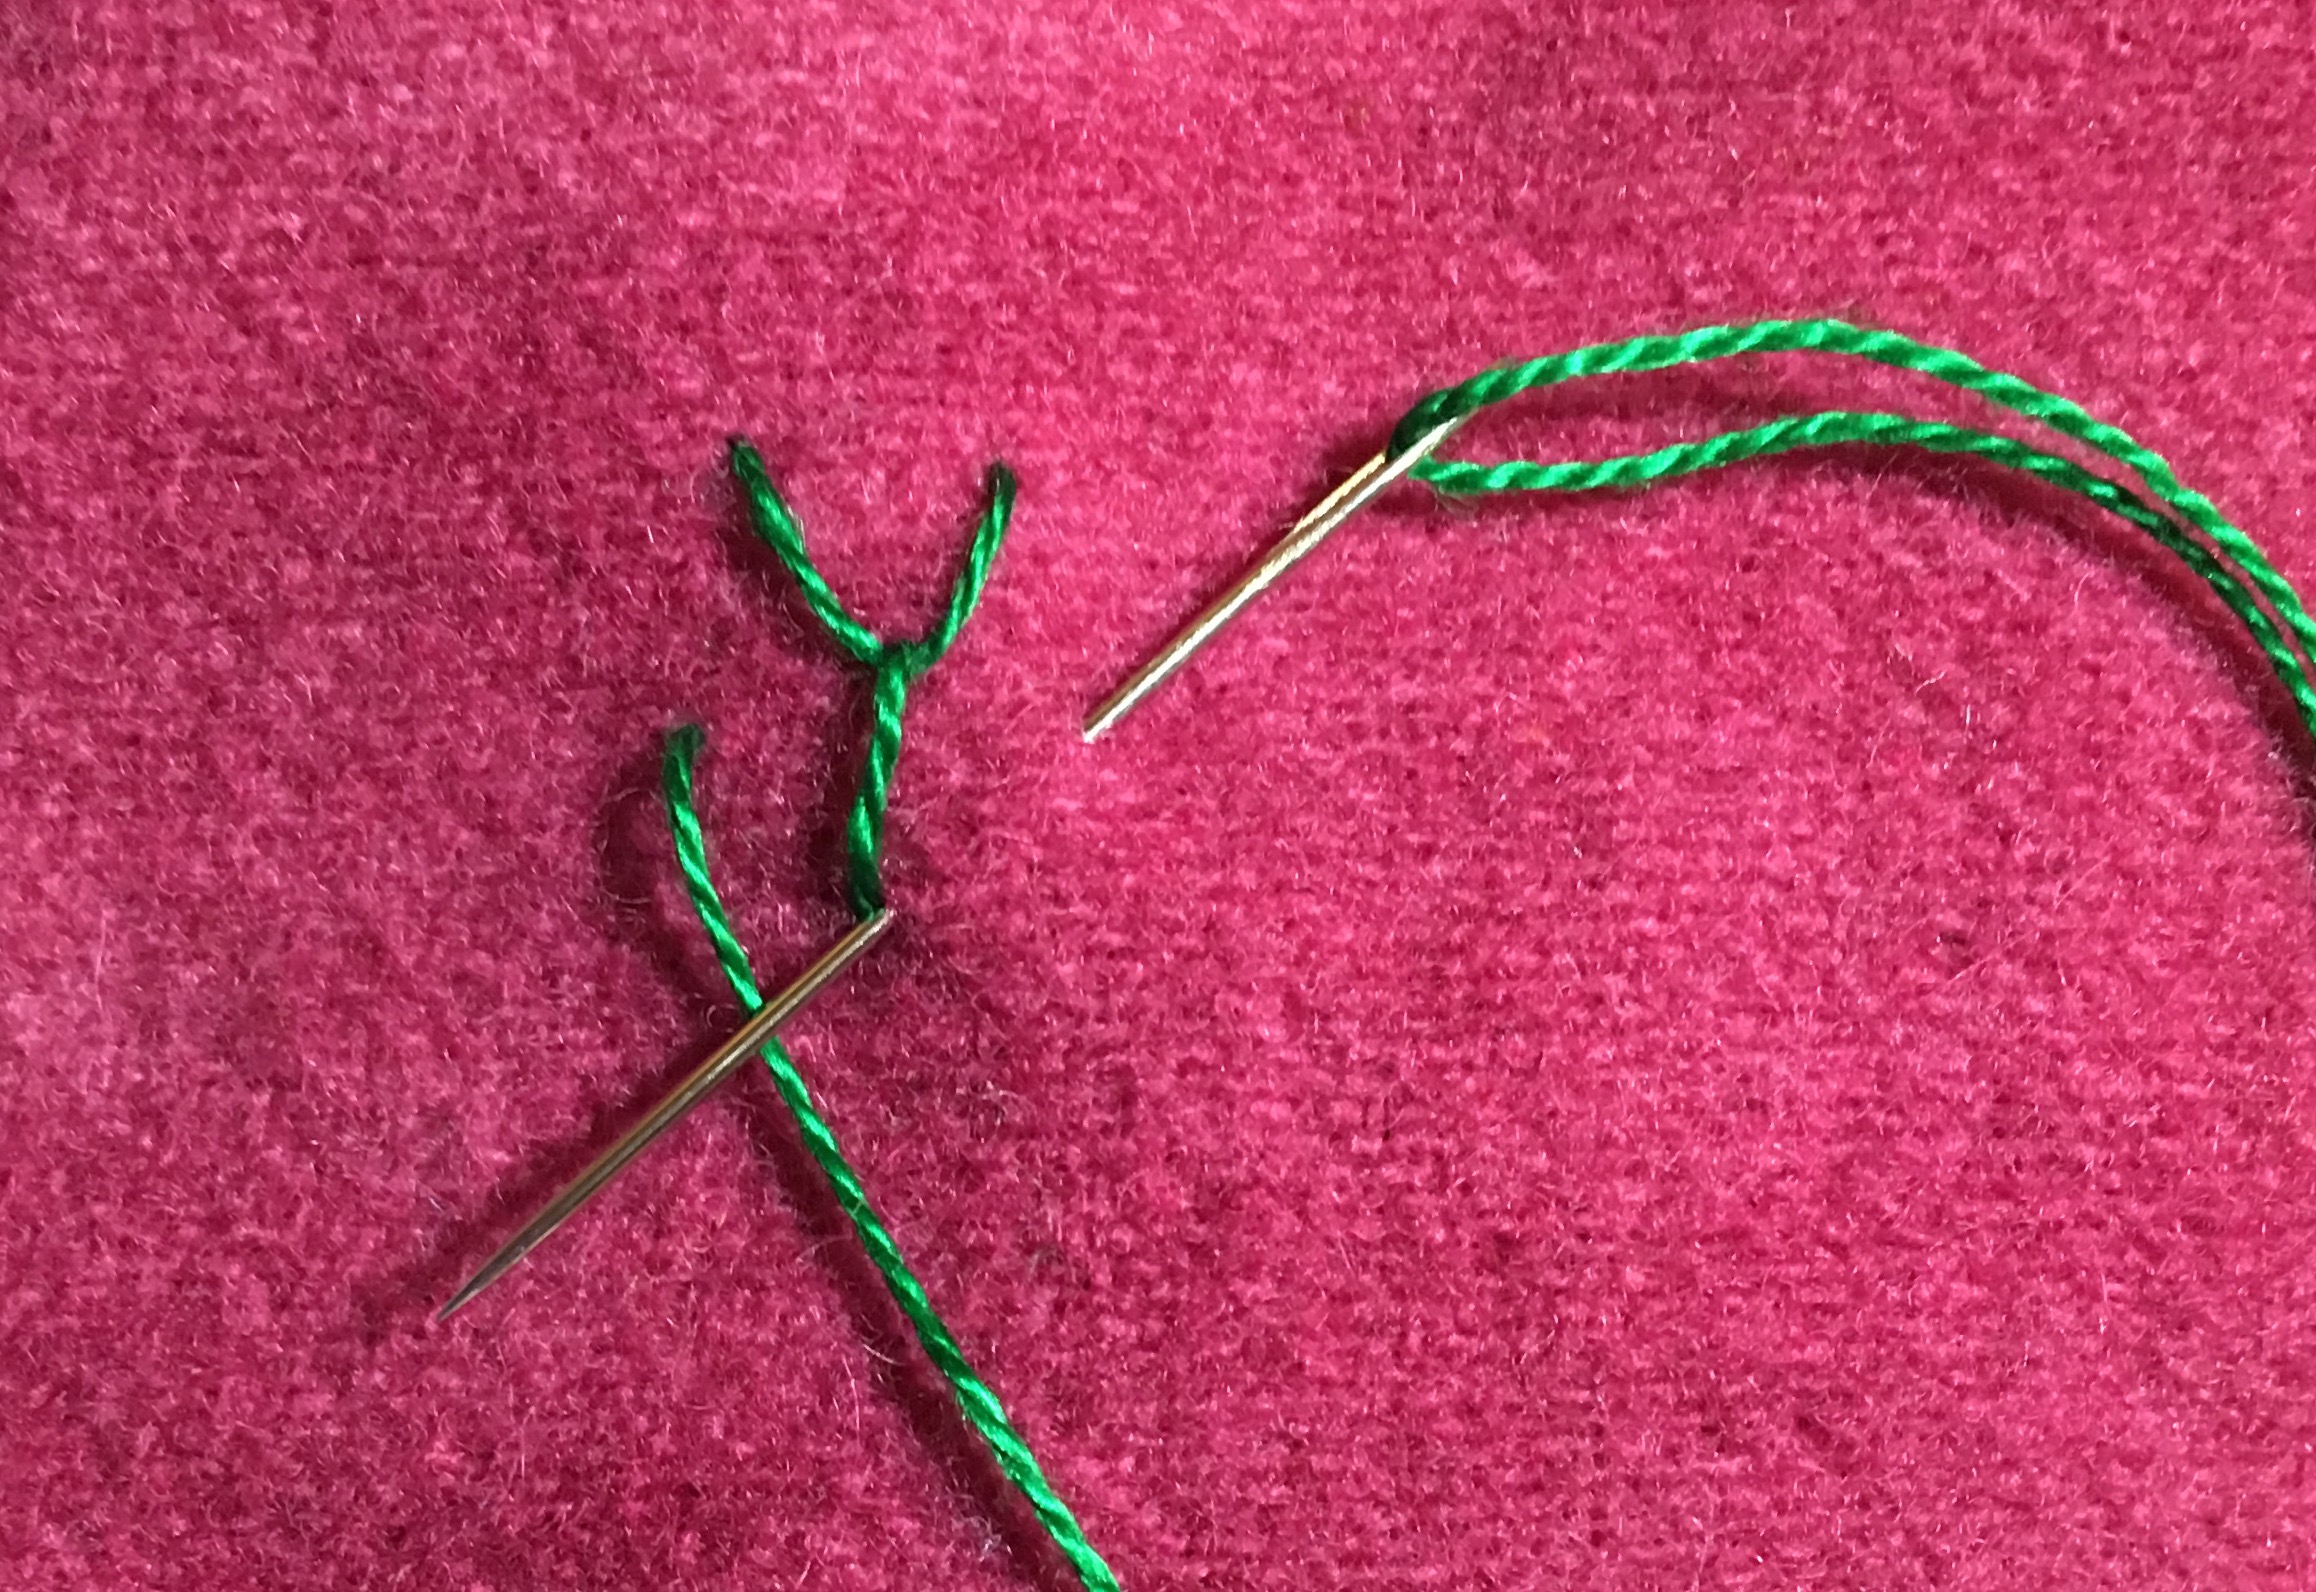
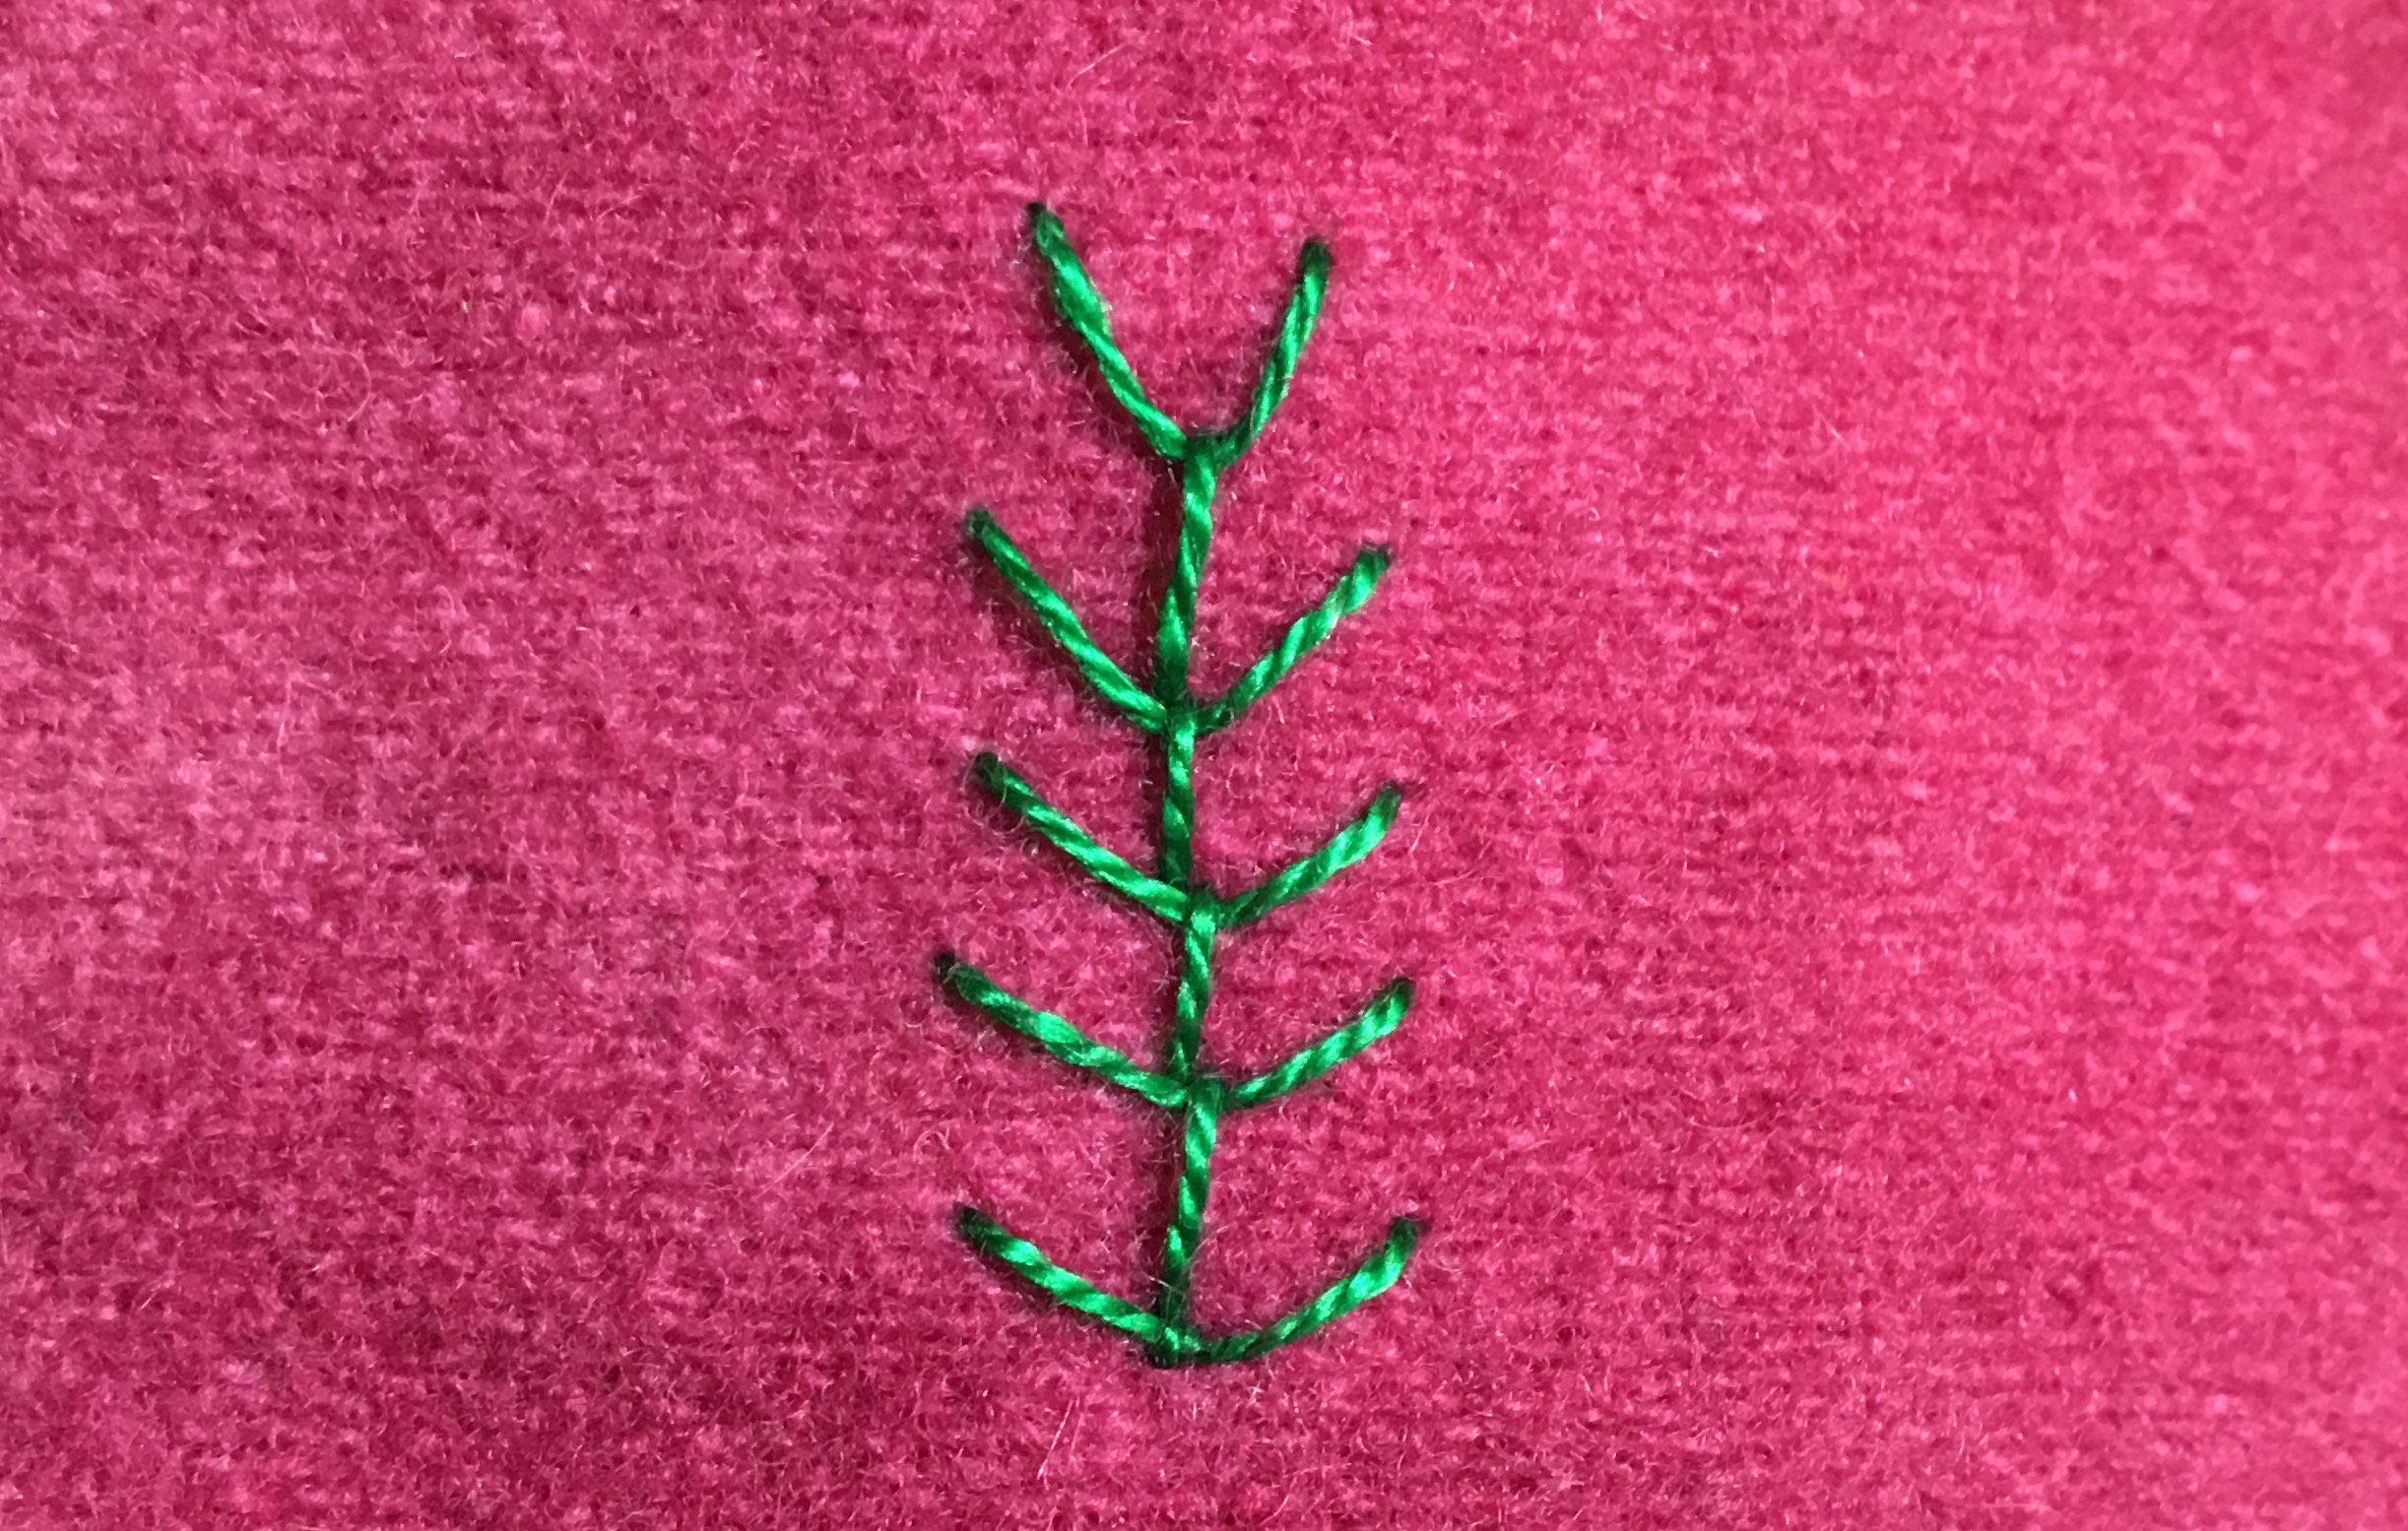
Feather stitch

Use a Size 24 Chenille needle.
1. Bring the needle up on the left and down to the right about 1/4" lower. Bring the needle up and pull gently.
2. Bring the needle to the left side of the stitch and go into the fabric to the left of where the thread came up. Pull gently.
3. Now go back to the right side in line with the stitch on the top right but in line with the lowest thread.The third photo shows a stitch being done on the left side.
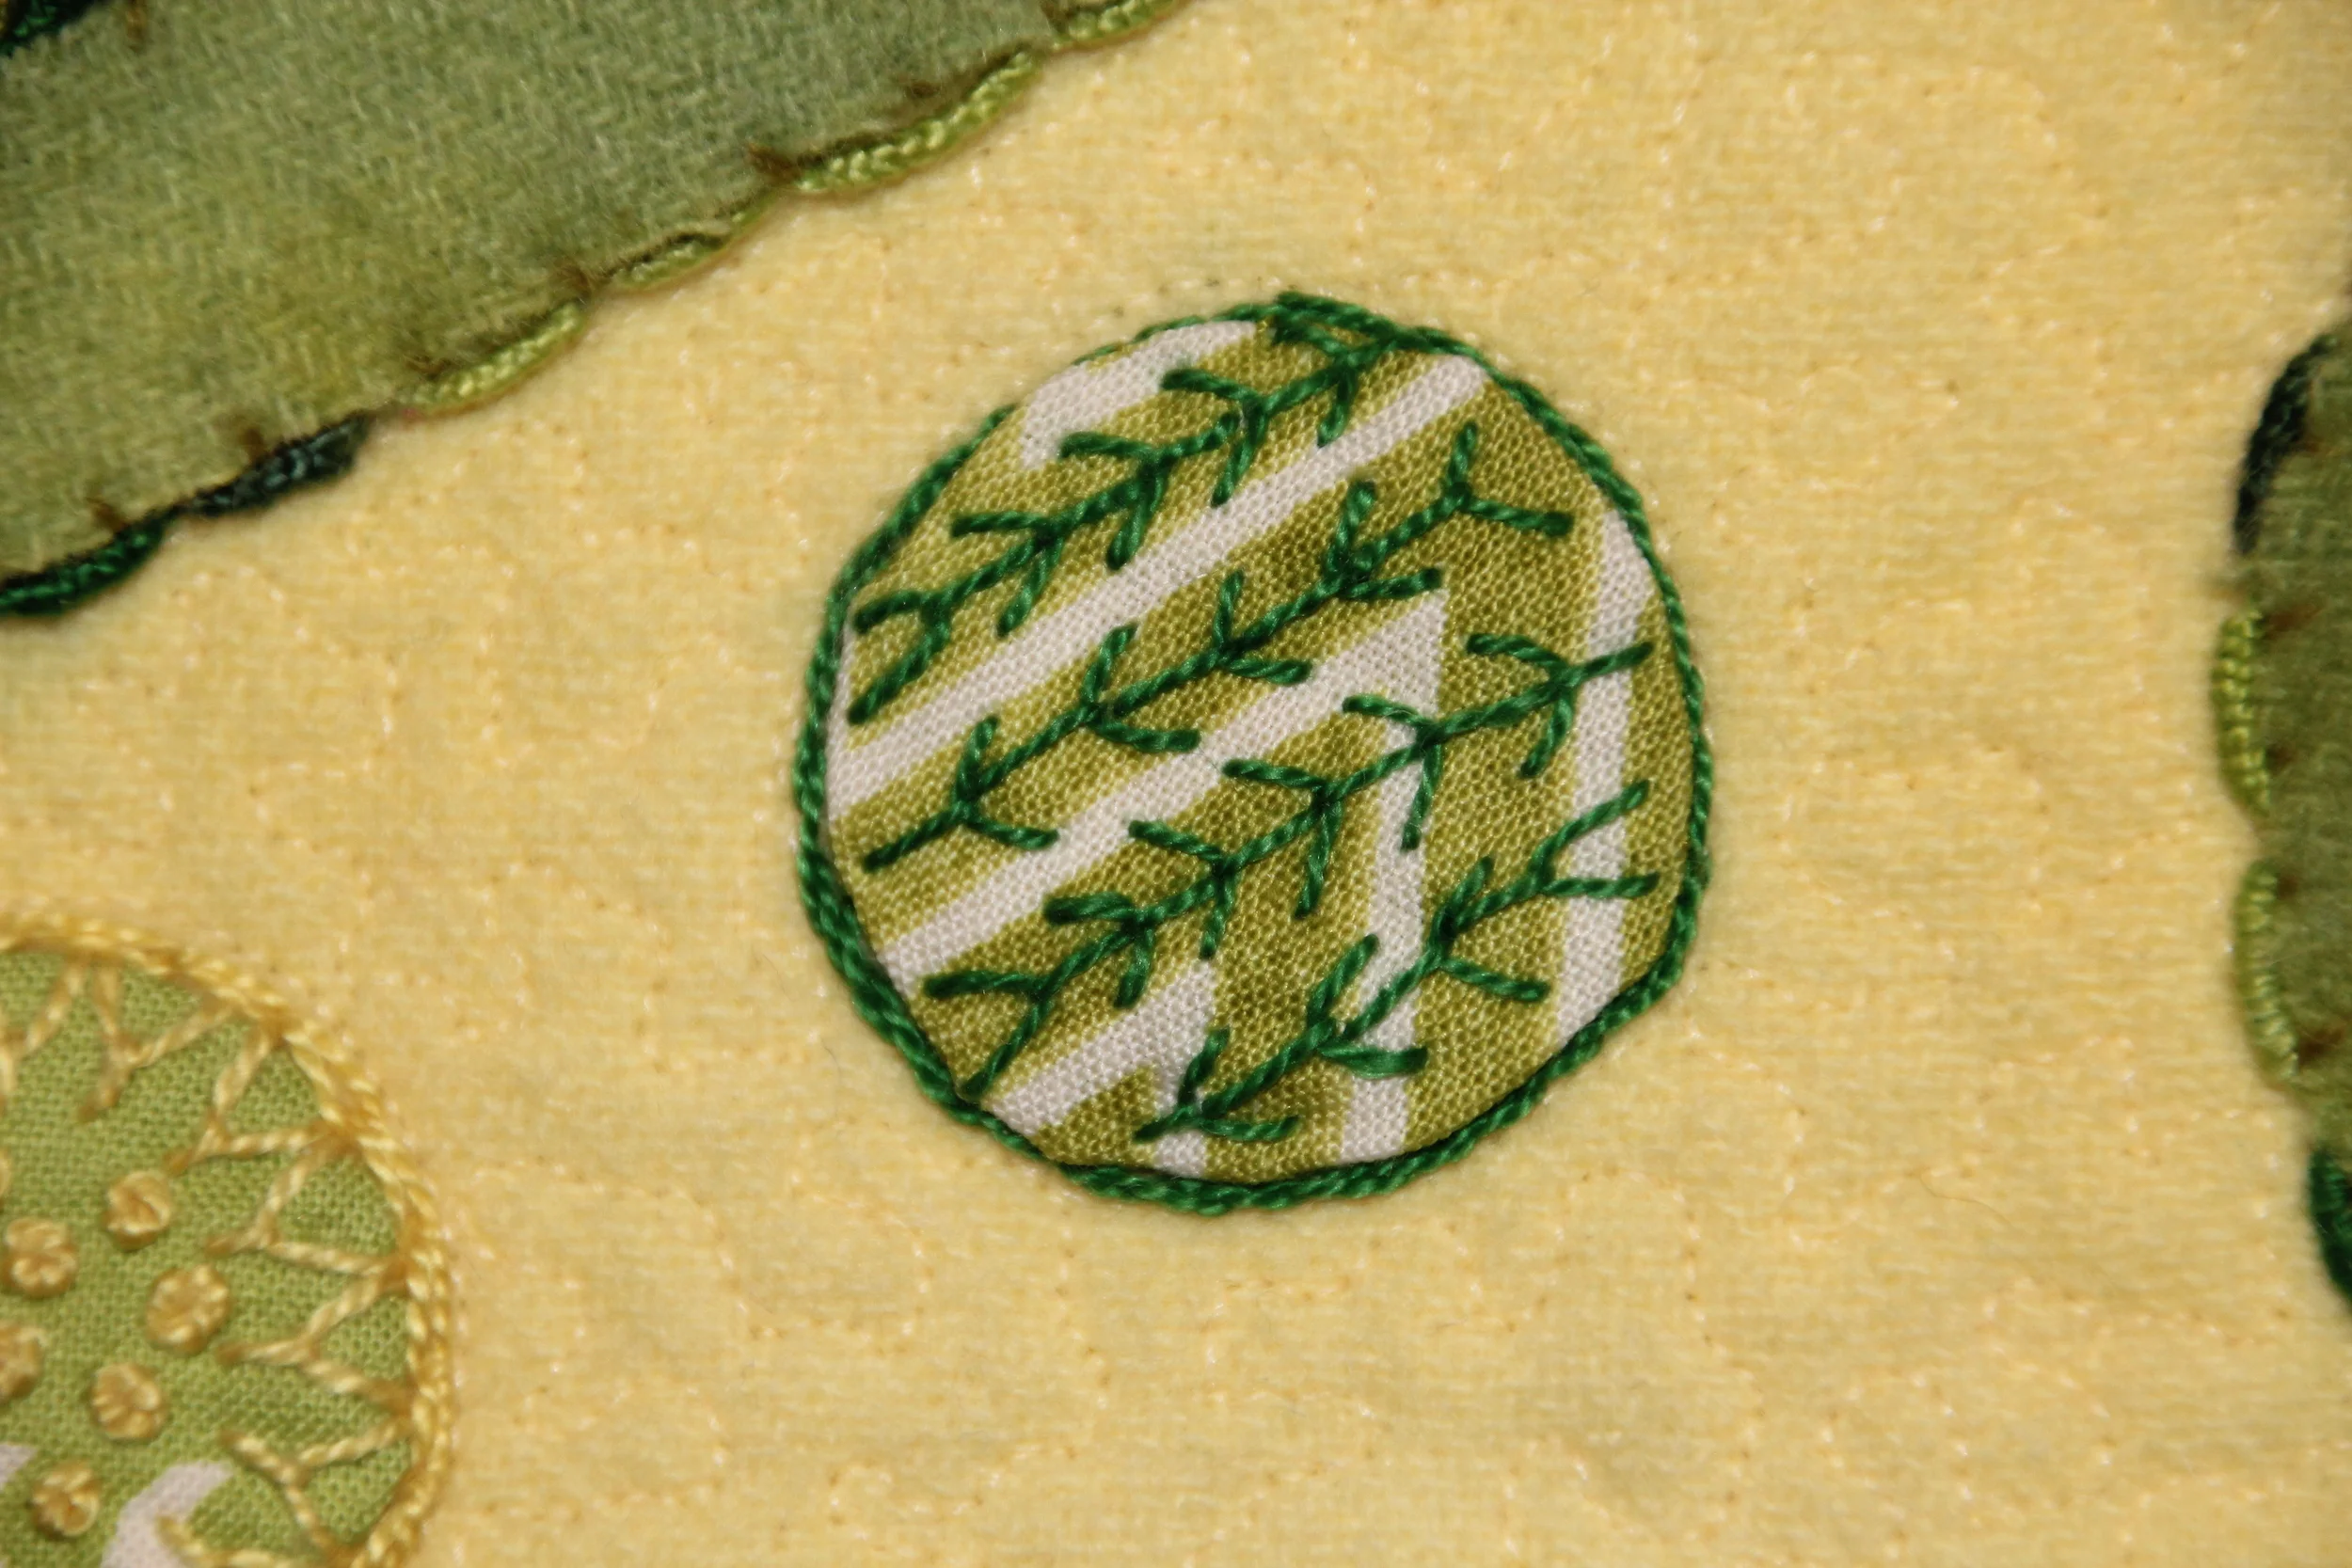
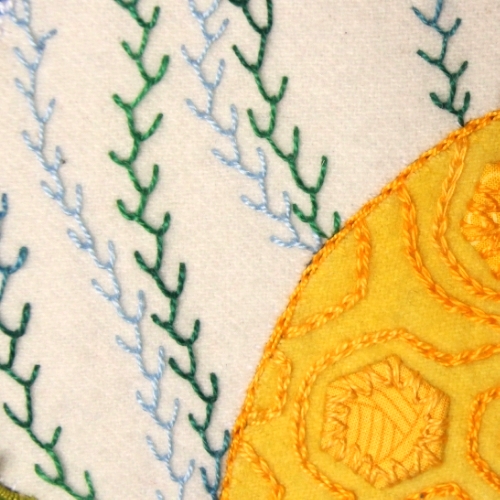
4. You Feather stitch can go in straight lines or wave like those do in the C
PISTiL STITCH
The Pistil Stitch is created by :
1. Use a Milliner's #1 needle. Bring the needle up.
2. Take the needle to the length you want the stitch to be.
3. Wrap the thread around the needle 4-5 times and put the point of the needle into the fabric. Hold the thread straight.
4. Pull through to the underside and a knot forms on the surface.
Palestrina Stitch

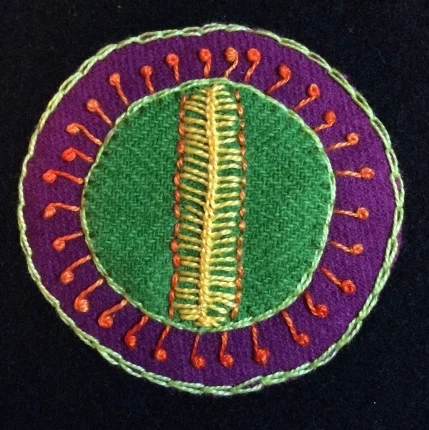
The Palestrina Stitch is done in white around the edge of the circle.

Woven picots
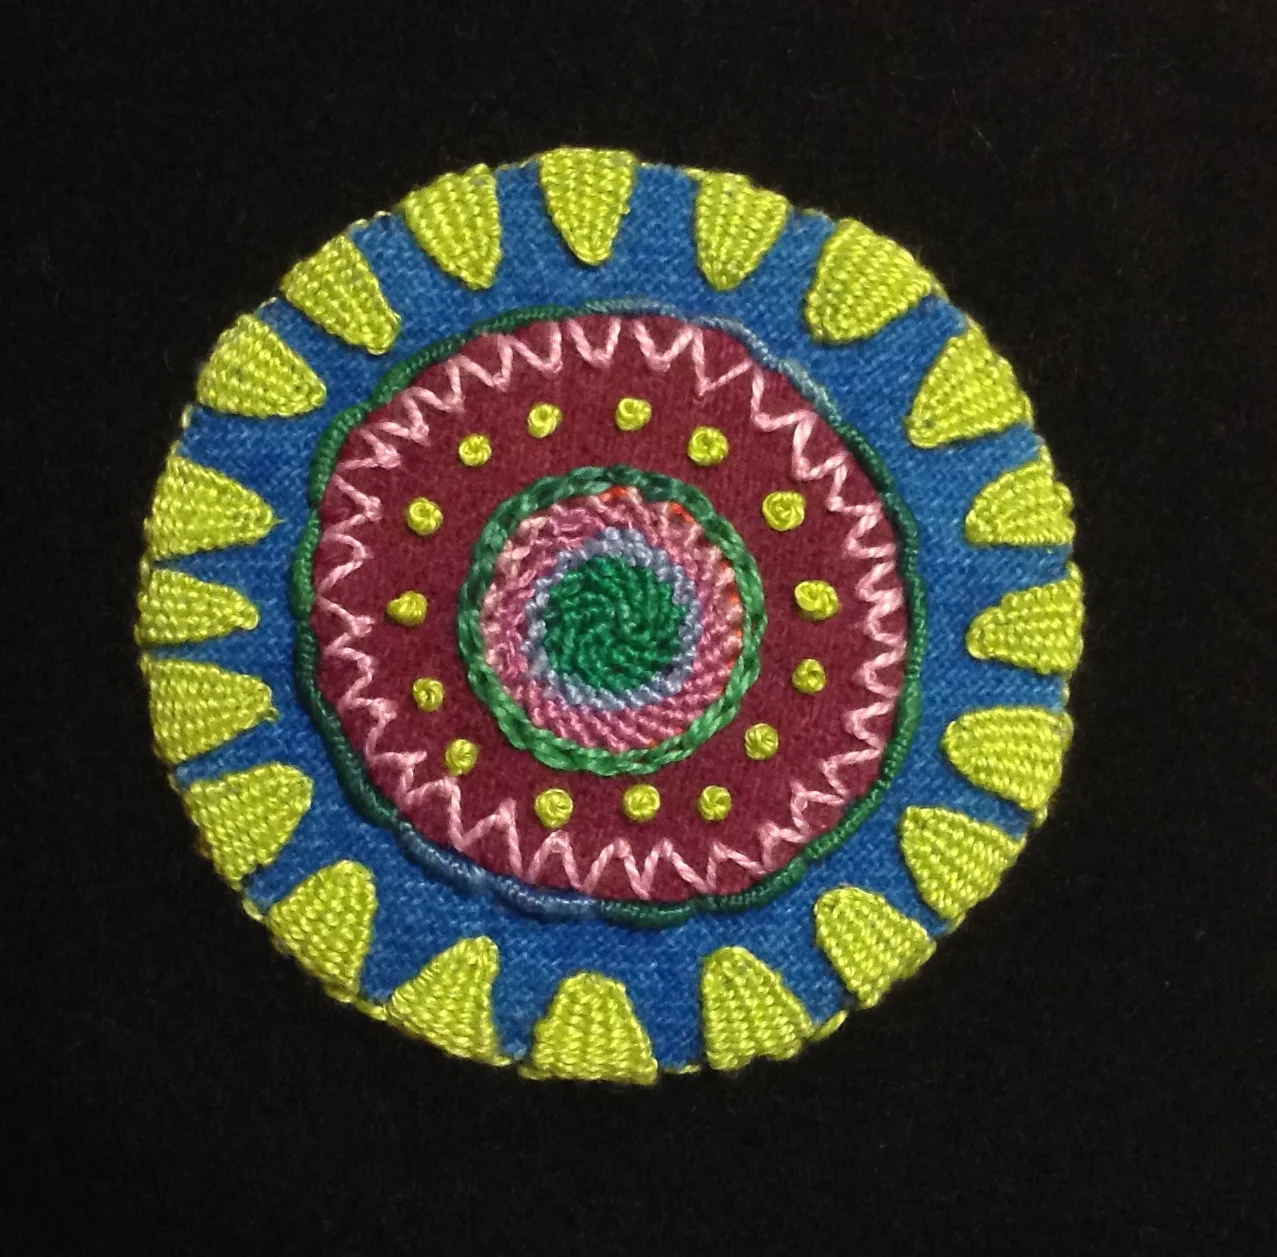
The Woven Picots are the triangular stitches on the edge of the circle.
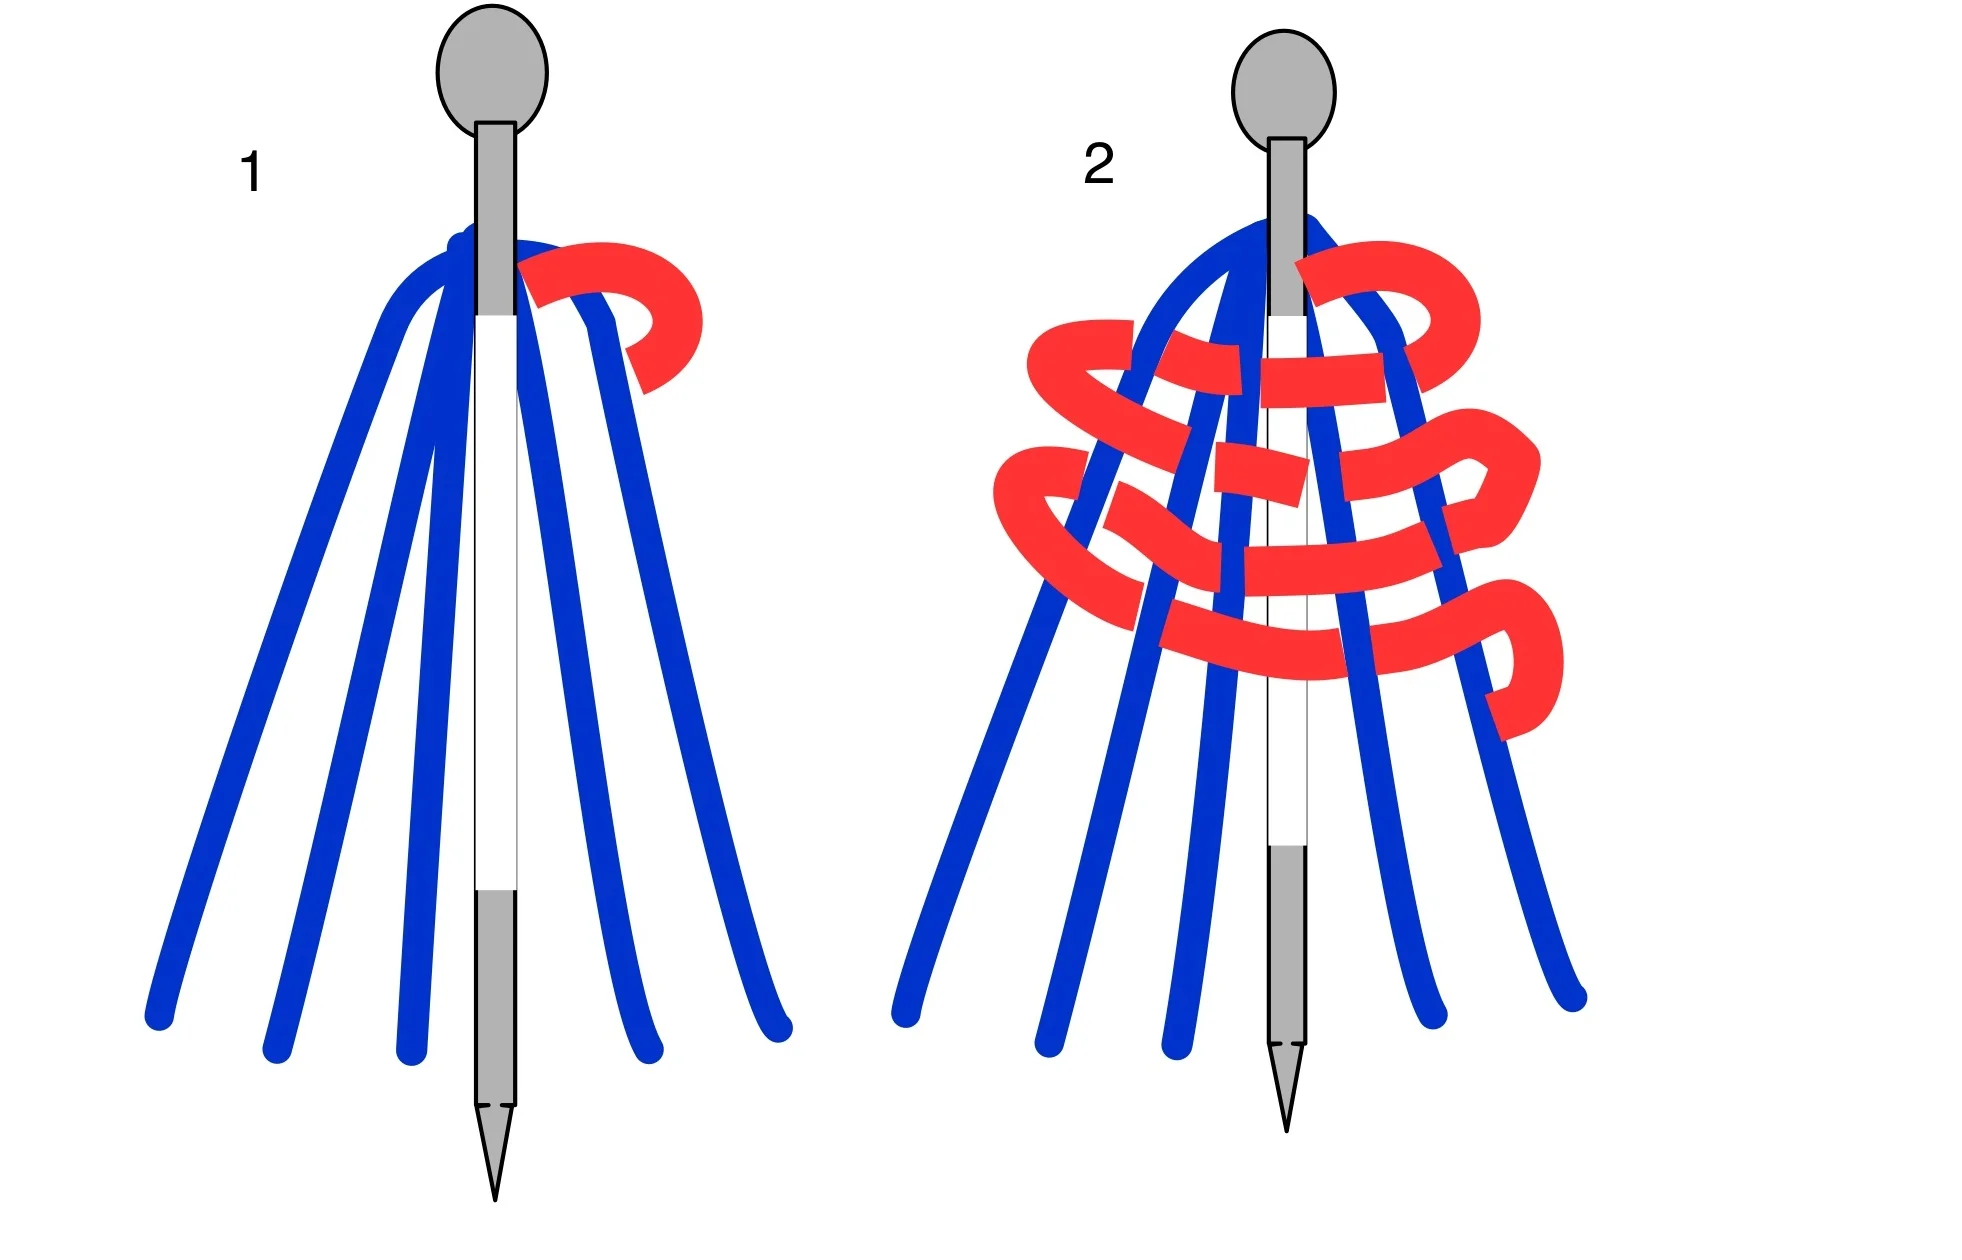
a.Place a pin in your fabric as a post to work around as
you weave the picot.
b.Bring the thread through the fabric at the base of the
pin and to the left approximately 1/4” then go behind the pin top and down. Put the needle and thread through the fabric at the bottom and come up 1/8” from the pin on the left side. Refer to drawing.
c. Put the needle in the fabric and go to the top of the pin starting to wrap it around but begin to weave it at the top of the pin. The illustration shows this in red however the same thread is used to weave with.
d. Go over and under and push each row up with the side of the needle as you weave each row. Complete until the whole picot is woven down to the fabric as shown in the photo. Place the needle in the fabric and knot on the back. Remove the pin.
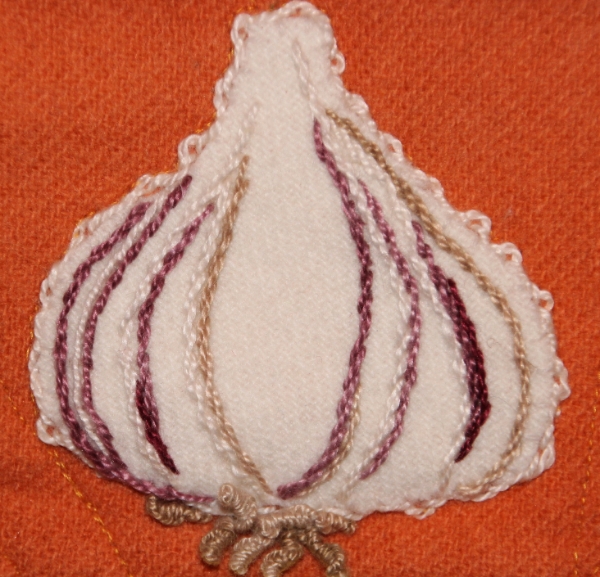
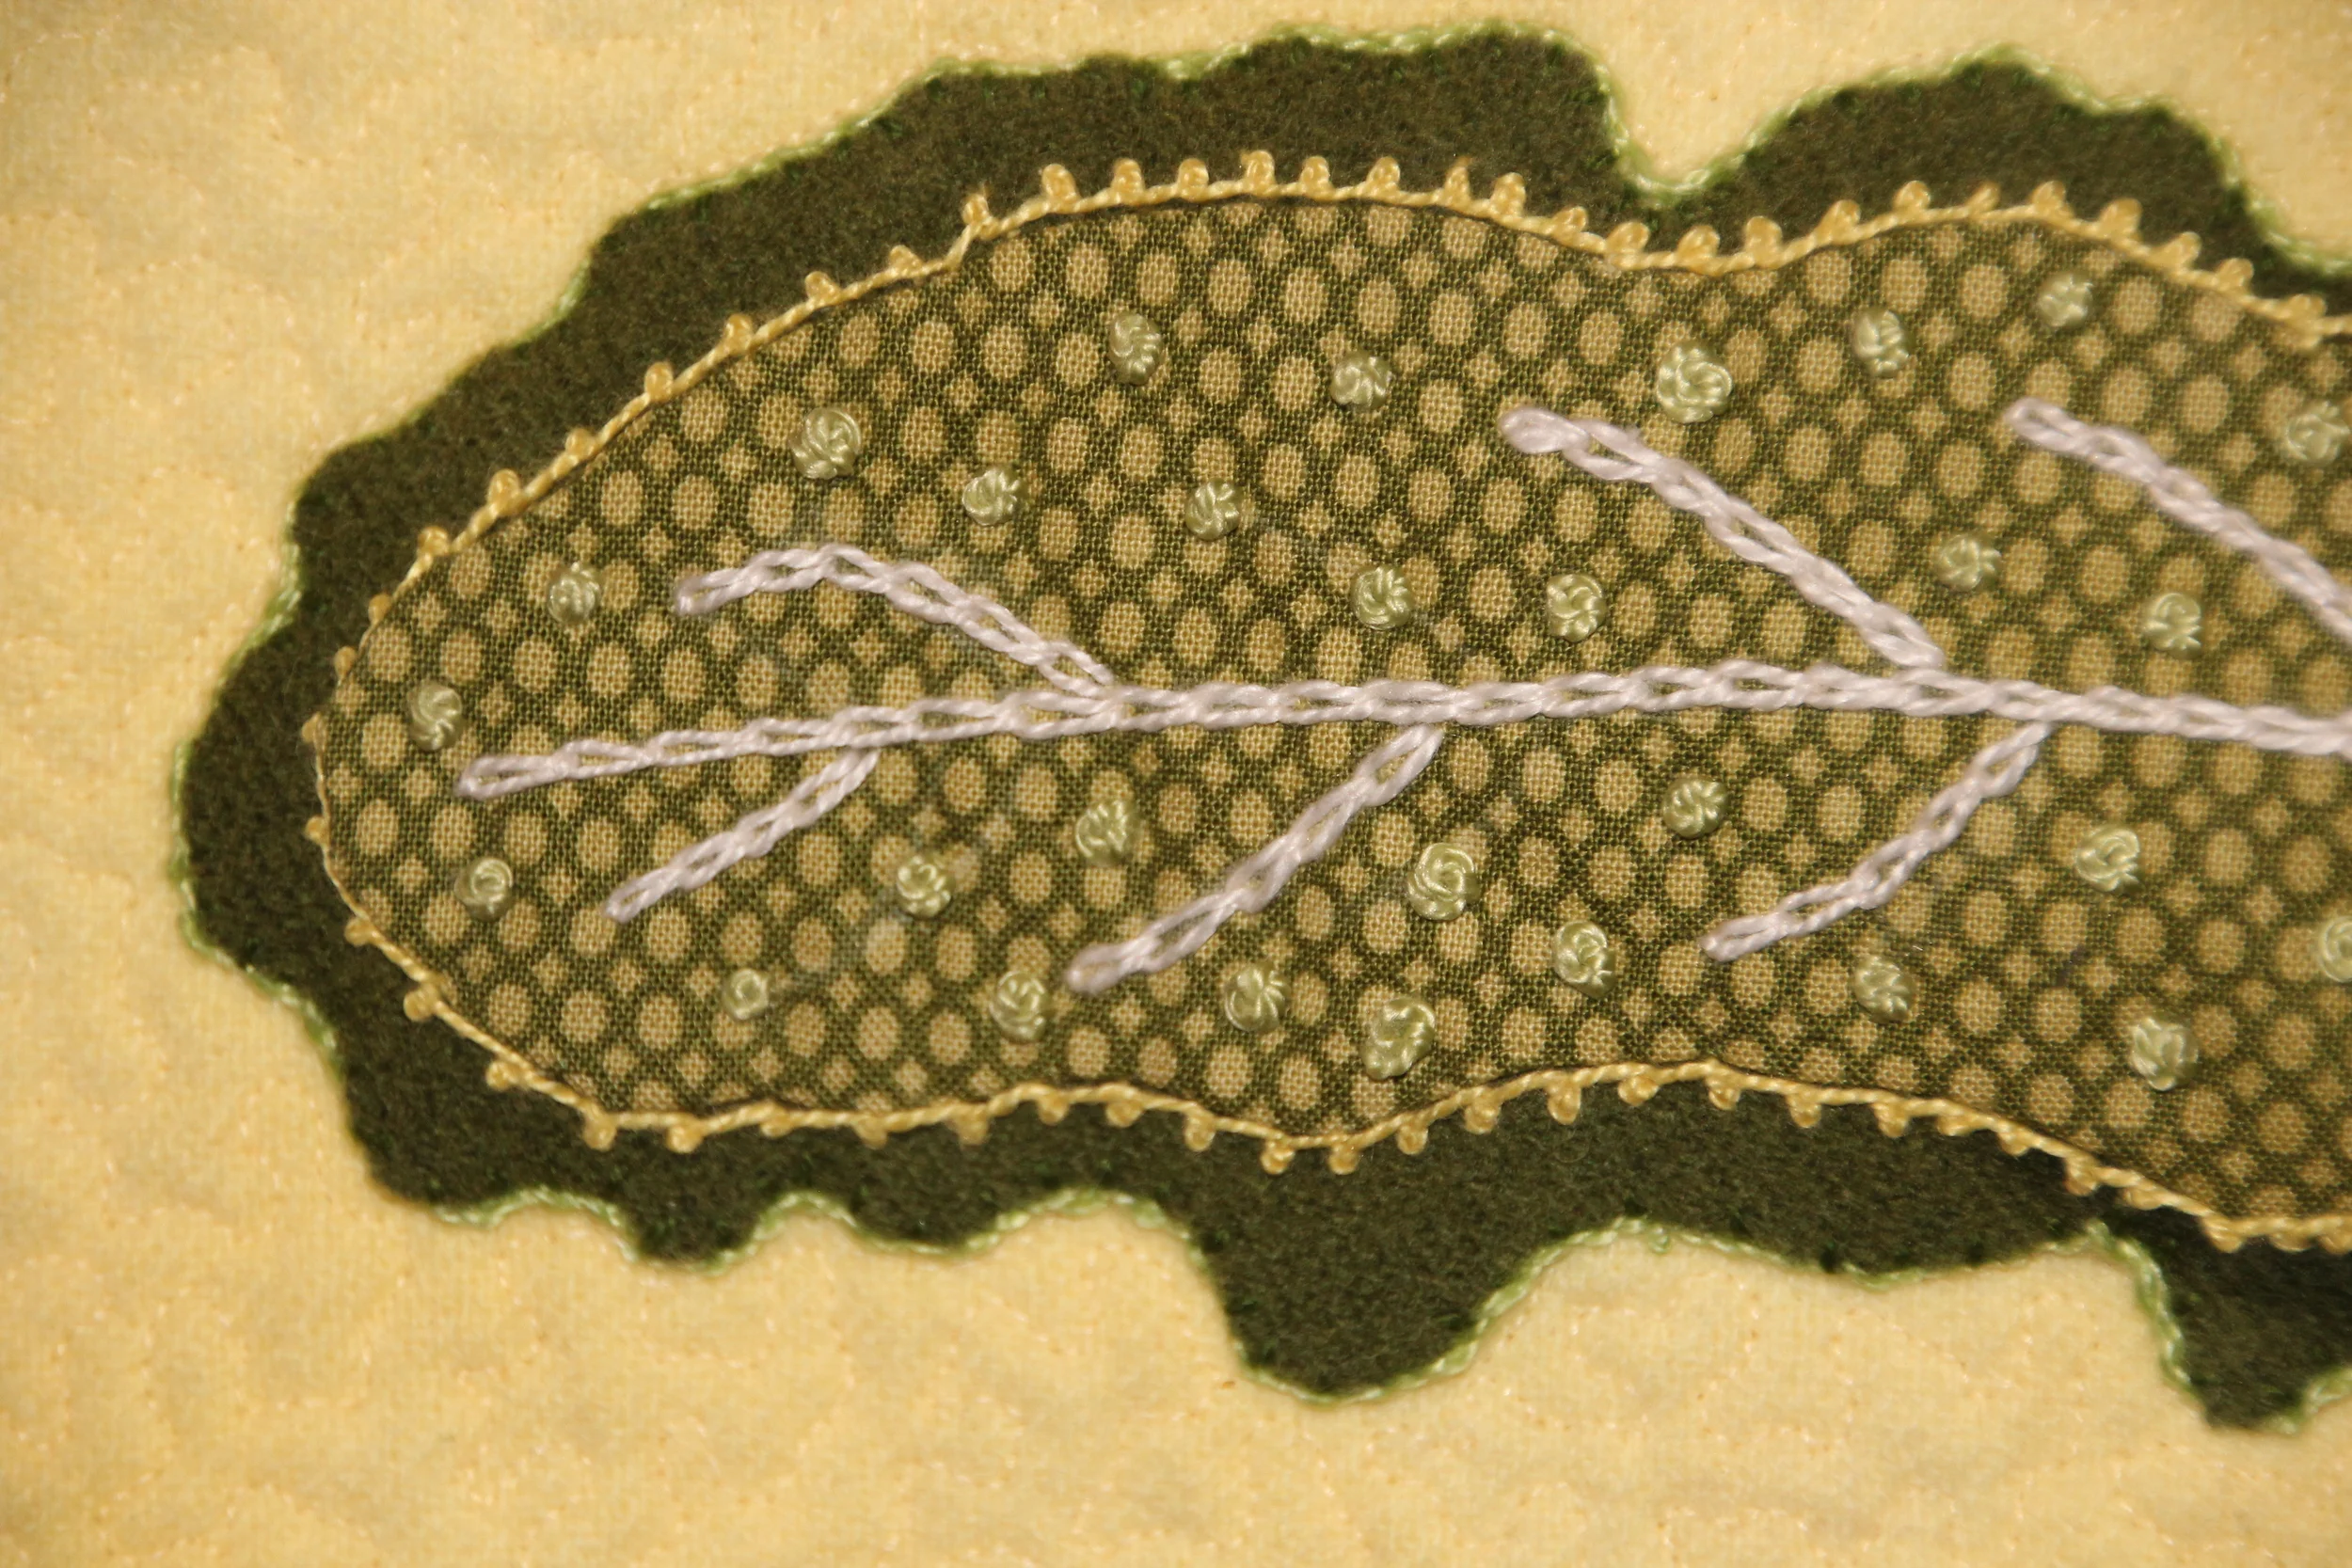
Stem Stitch
EAT YOUR VEGGIES pattern Felice Quilt Designs©2015
The Stem Stitch adds texture to the inside of the Garlic shape. For the lines on the garlic you would use a marking pencil to mark the lines to follow. Refer to the illustration for steps. Keep the stitches close.
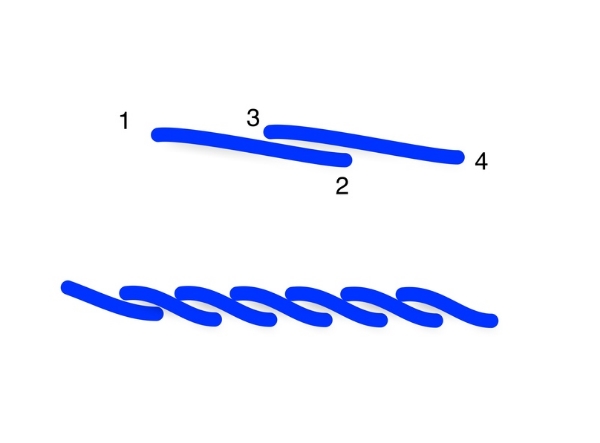
threaded Backstitch
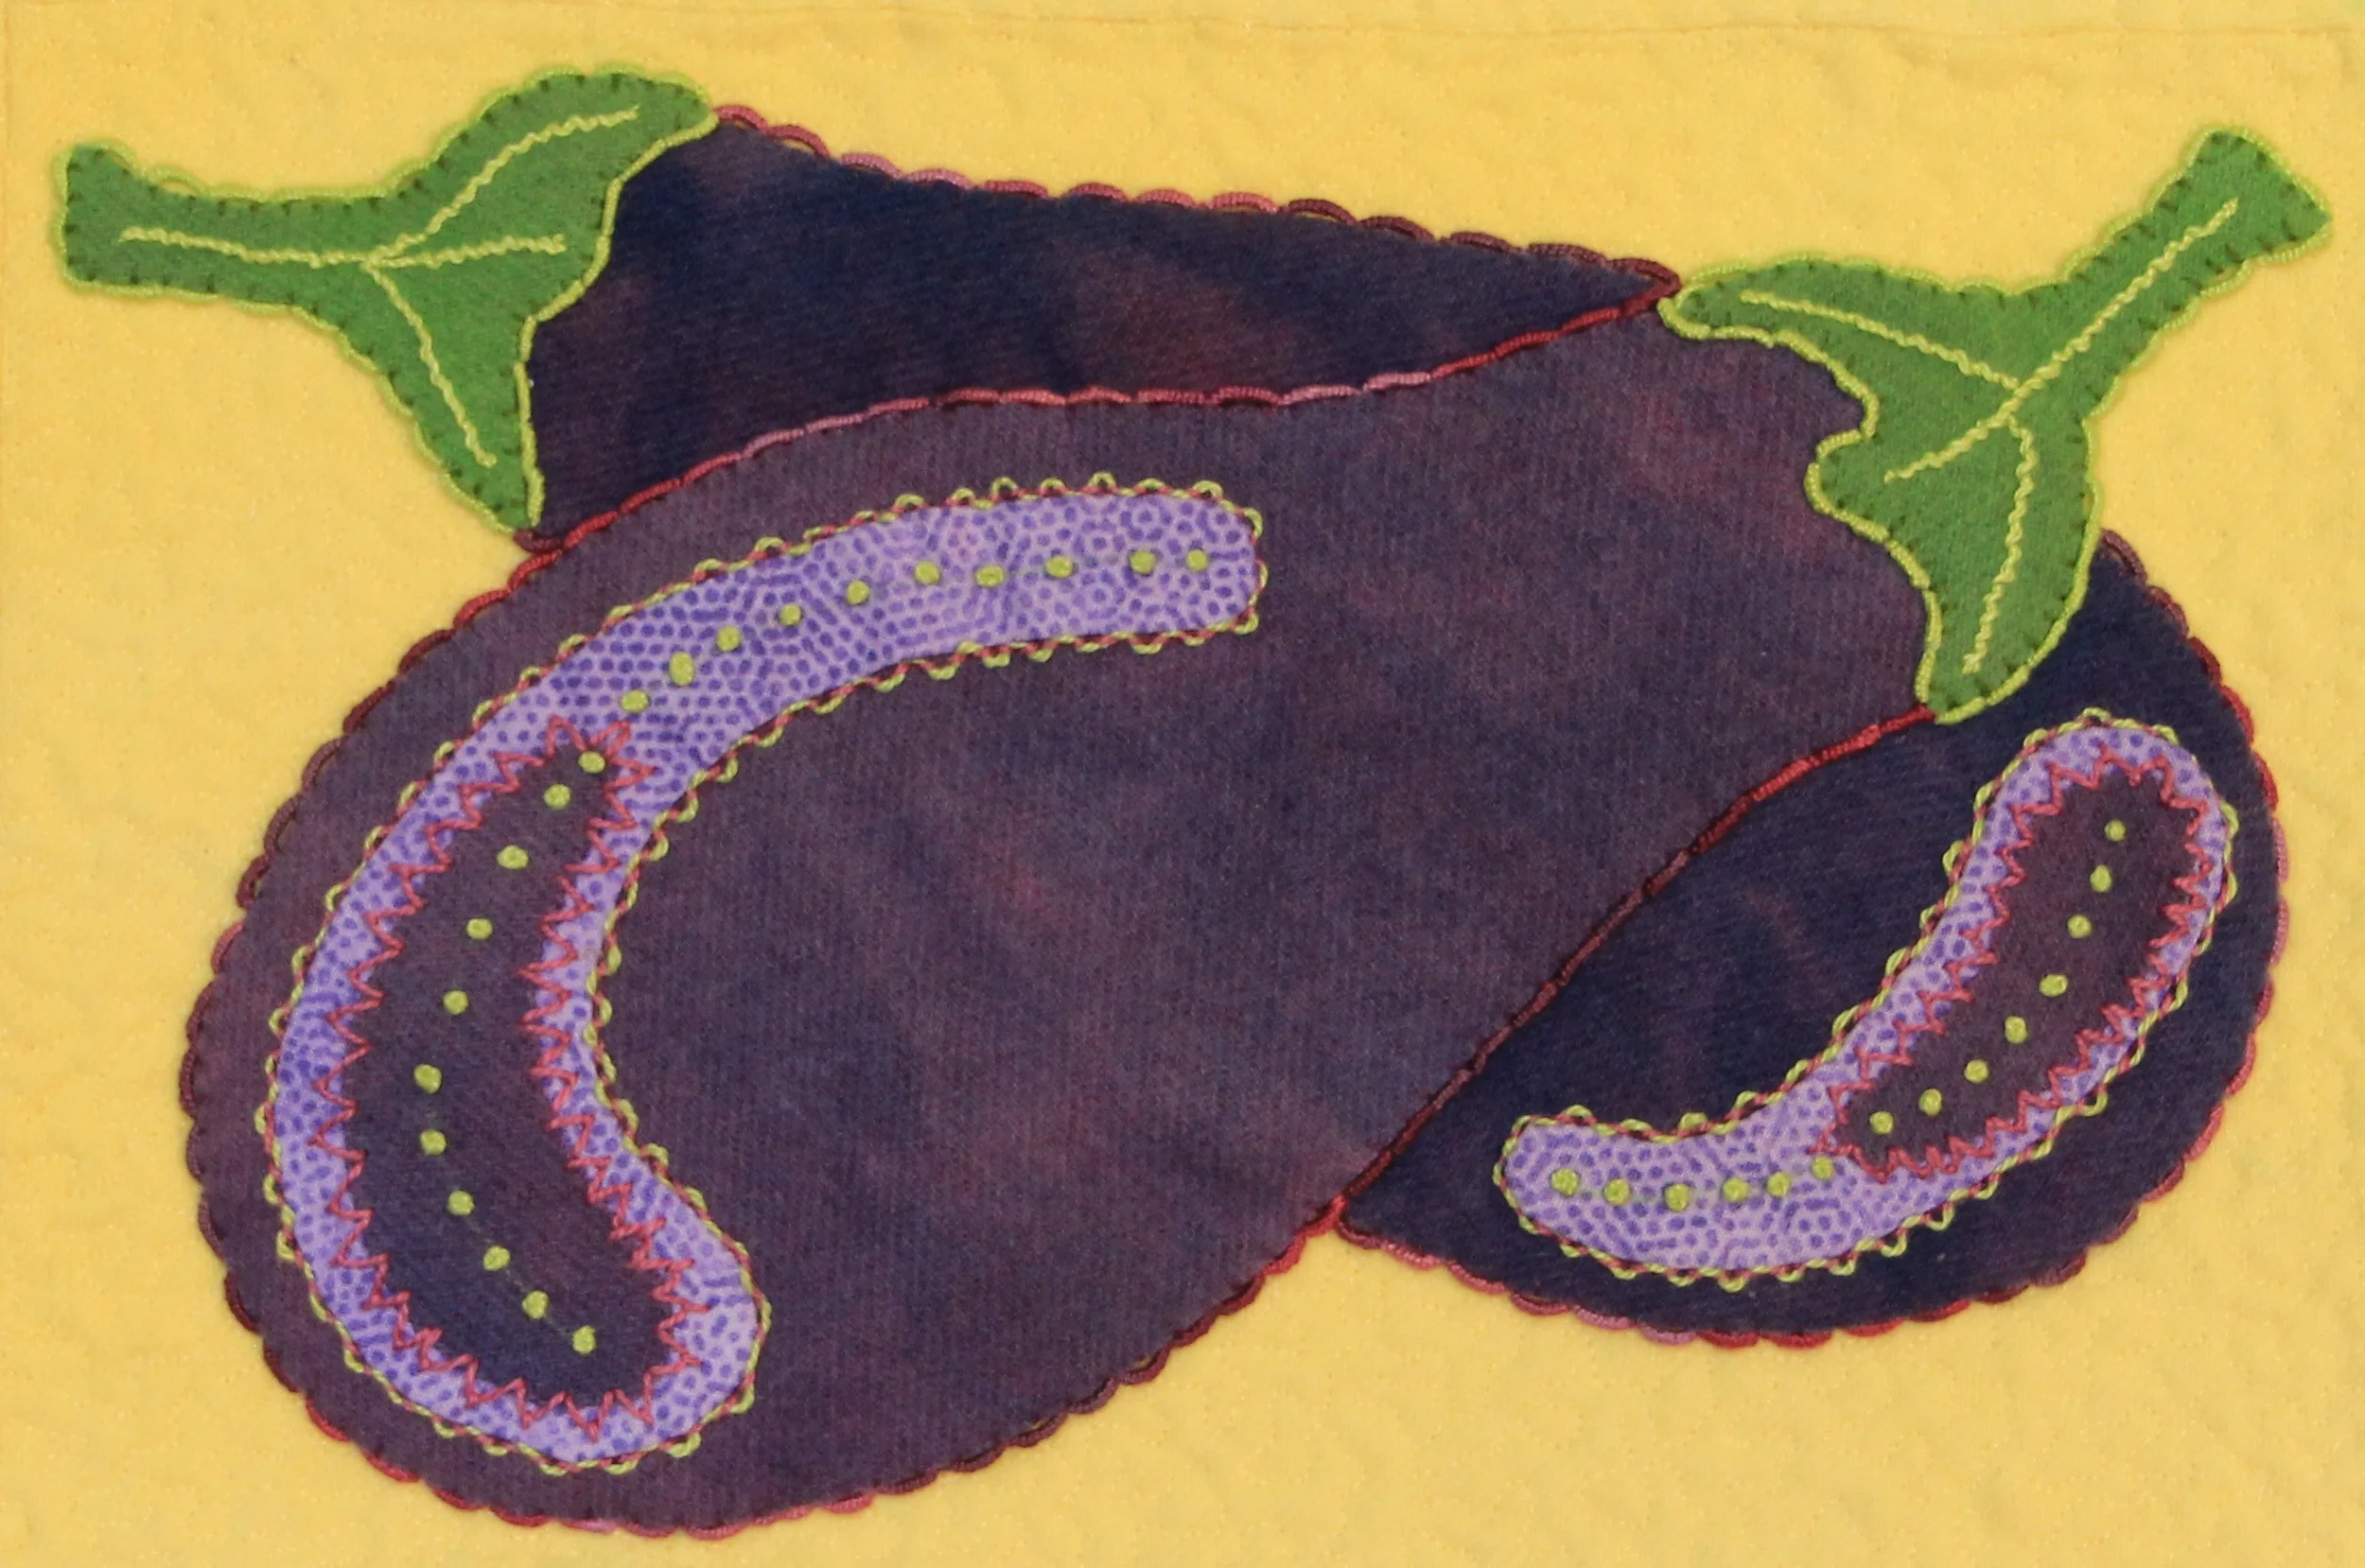
Eggplant from Eat Your Veggies 2015
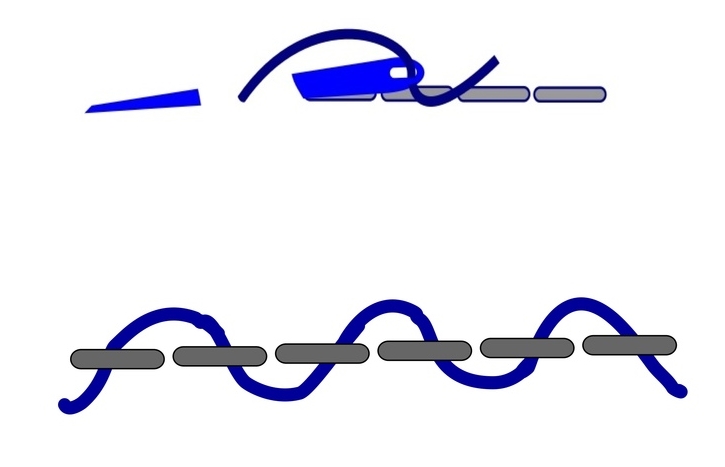
Create a row of Backstitch first as shown in the illustration. Then start a new thread. Bring it up at the start of the row and weave it under the first backstitch and then down through the next backstitch. This can be done with a different color thread than the backstitch. Experiment and see what you like.
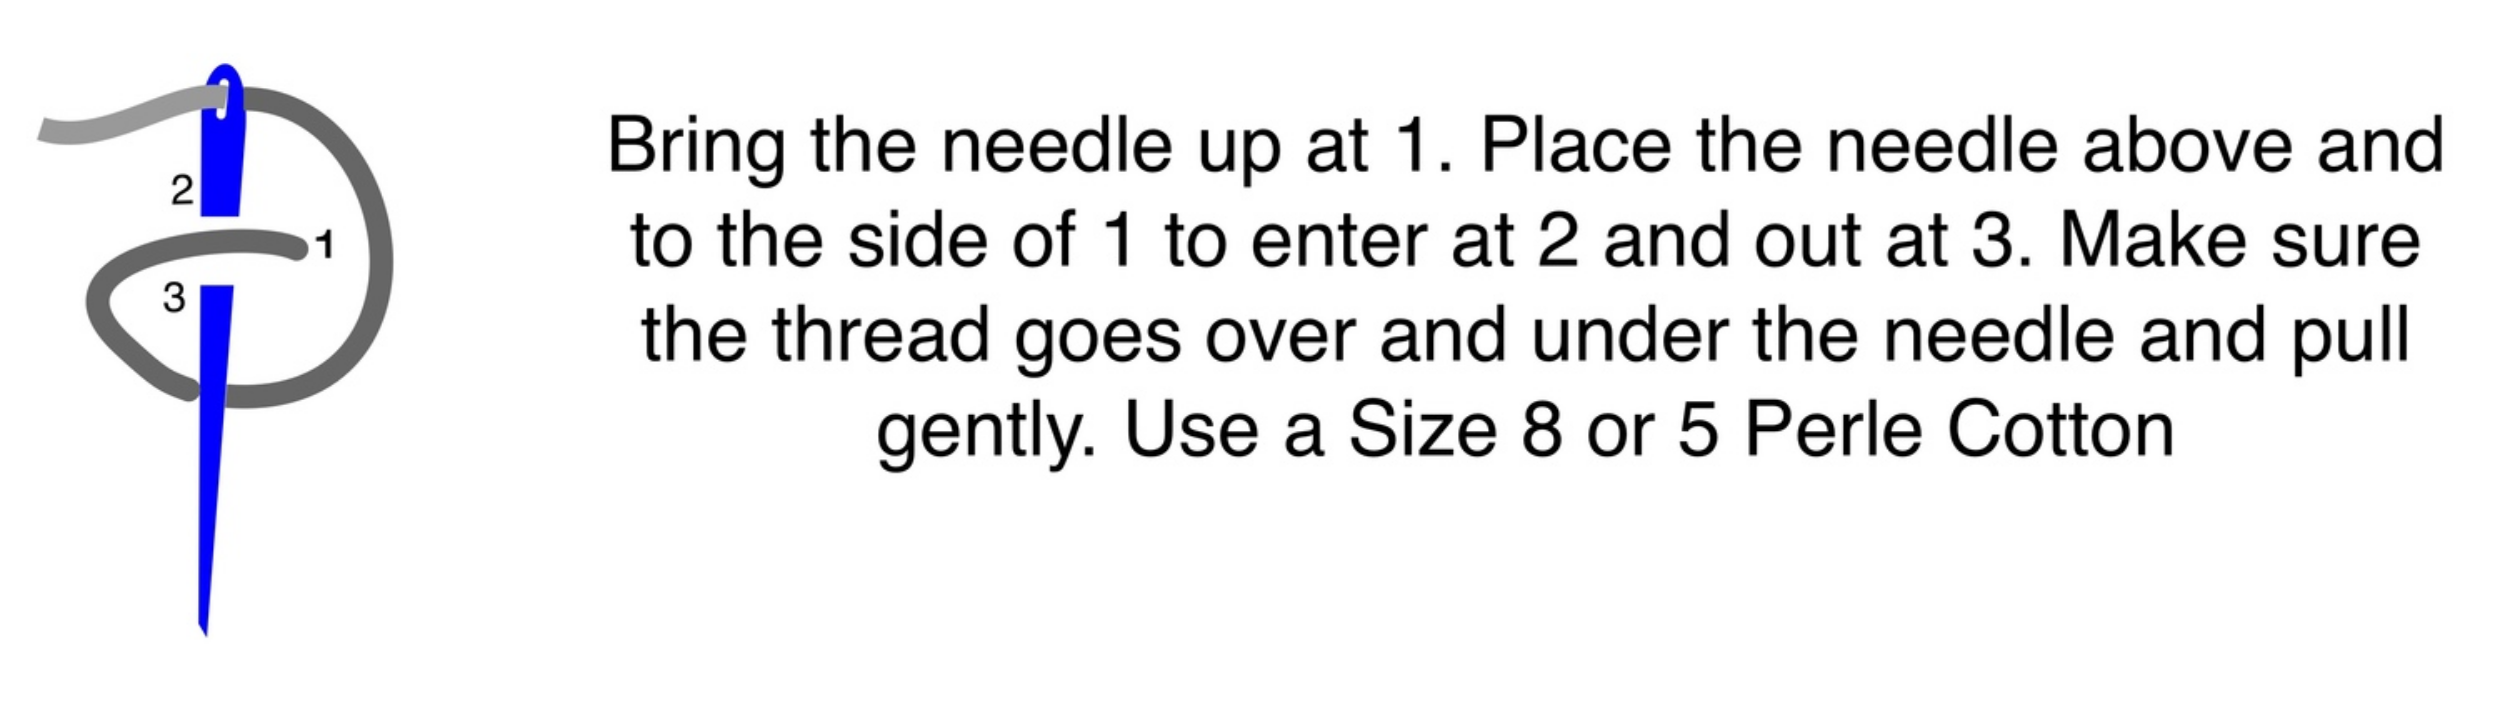
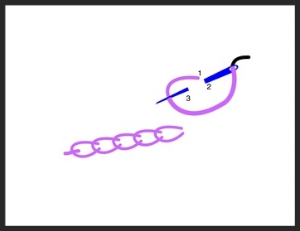
ROSETTE CHAIN STITCH
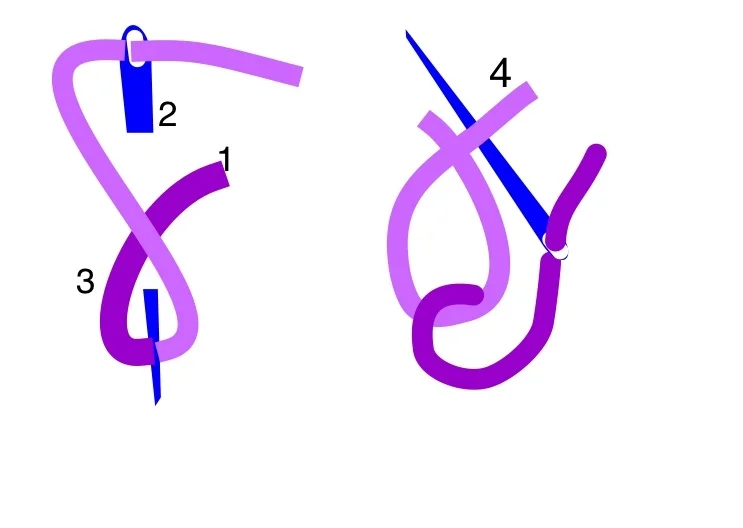
Bring the needle up at position 1. Form a twist in the loop and hold the thread in place with your finger. Put the needle down at 2 and up at 3 in the loop as shown.
Pull through. Bring the needle up and under the thread as shown. Pull gently and the first rosette chain is done. Move to the left and do the same thing.
Felice Quilt Designs©2015
STEM STITCH
Bring the needle up at 1 and down at 2. Bring the needle up half way between 1 & 2 as shown in the illustration. Keep the stitches close.
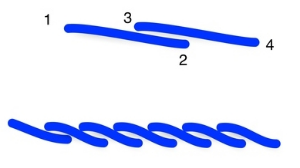
The Stem Stitch is used to create the anemone fingers.
CORAL STITCH
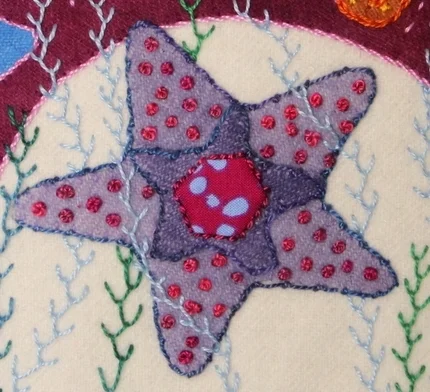
The Coral Stitch is done around the edge of the Starfish in a blue Valdani© size 8 cotton.
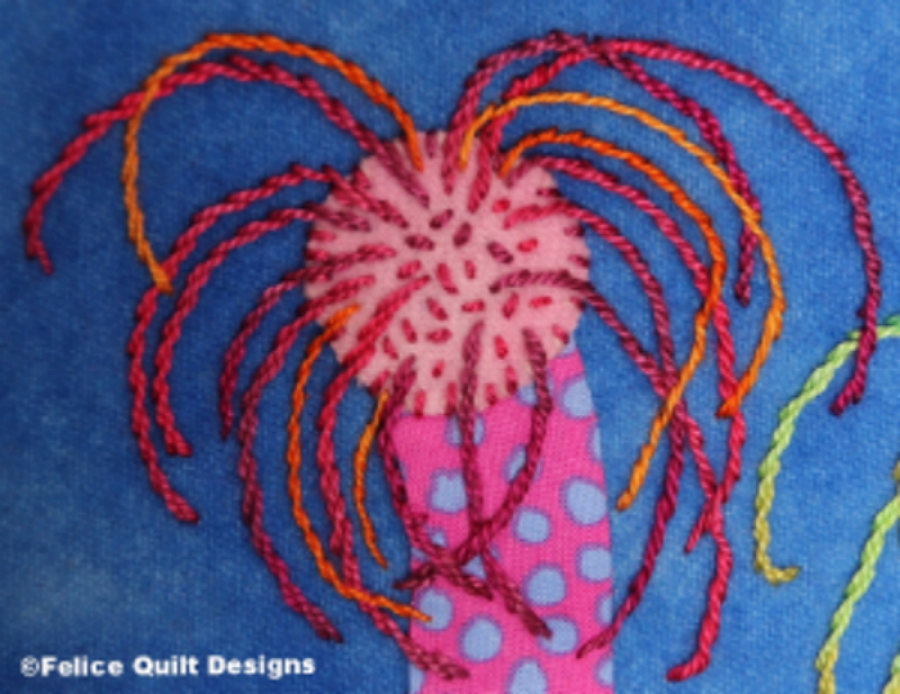
FRENCH KNOT
The French Knot is created in a size 8 Valdani Thread and is visible down the petals of the flower from the SUMMER Quilt.
Felice Quilt Designs

Felice Quilt Designs
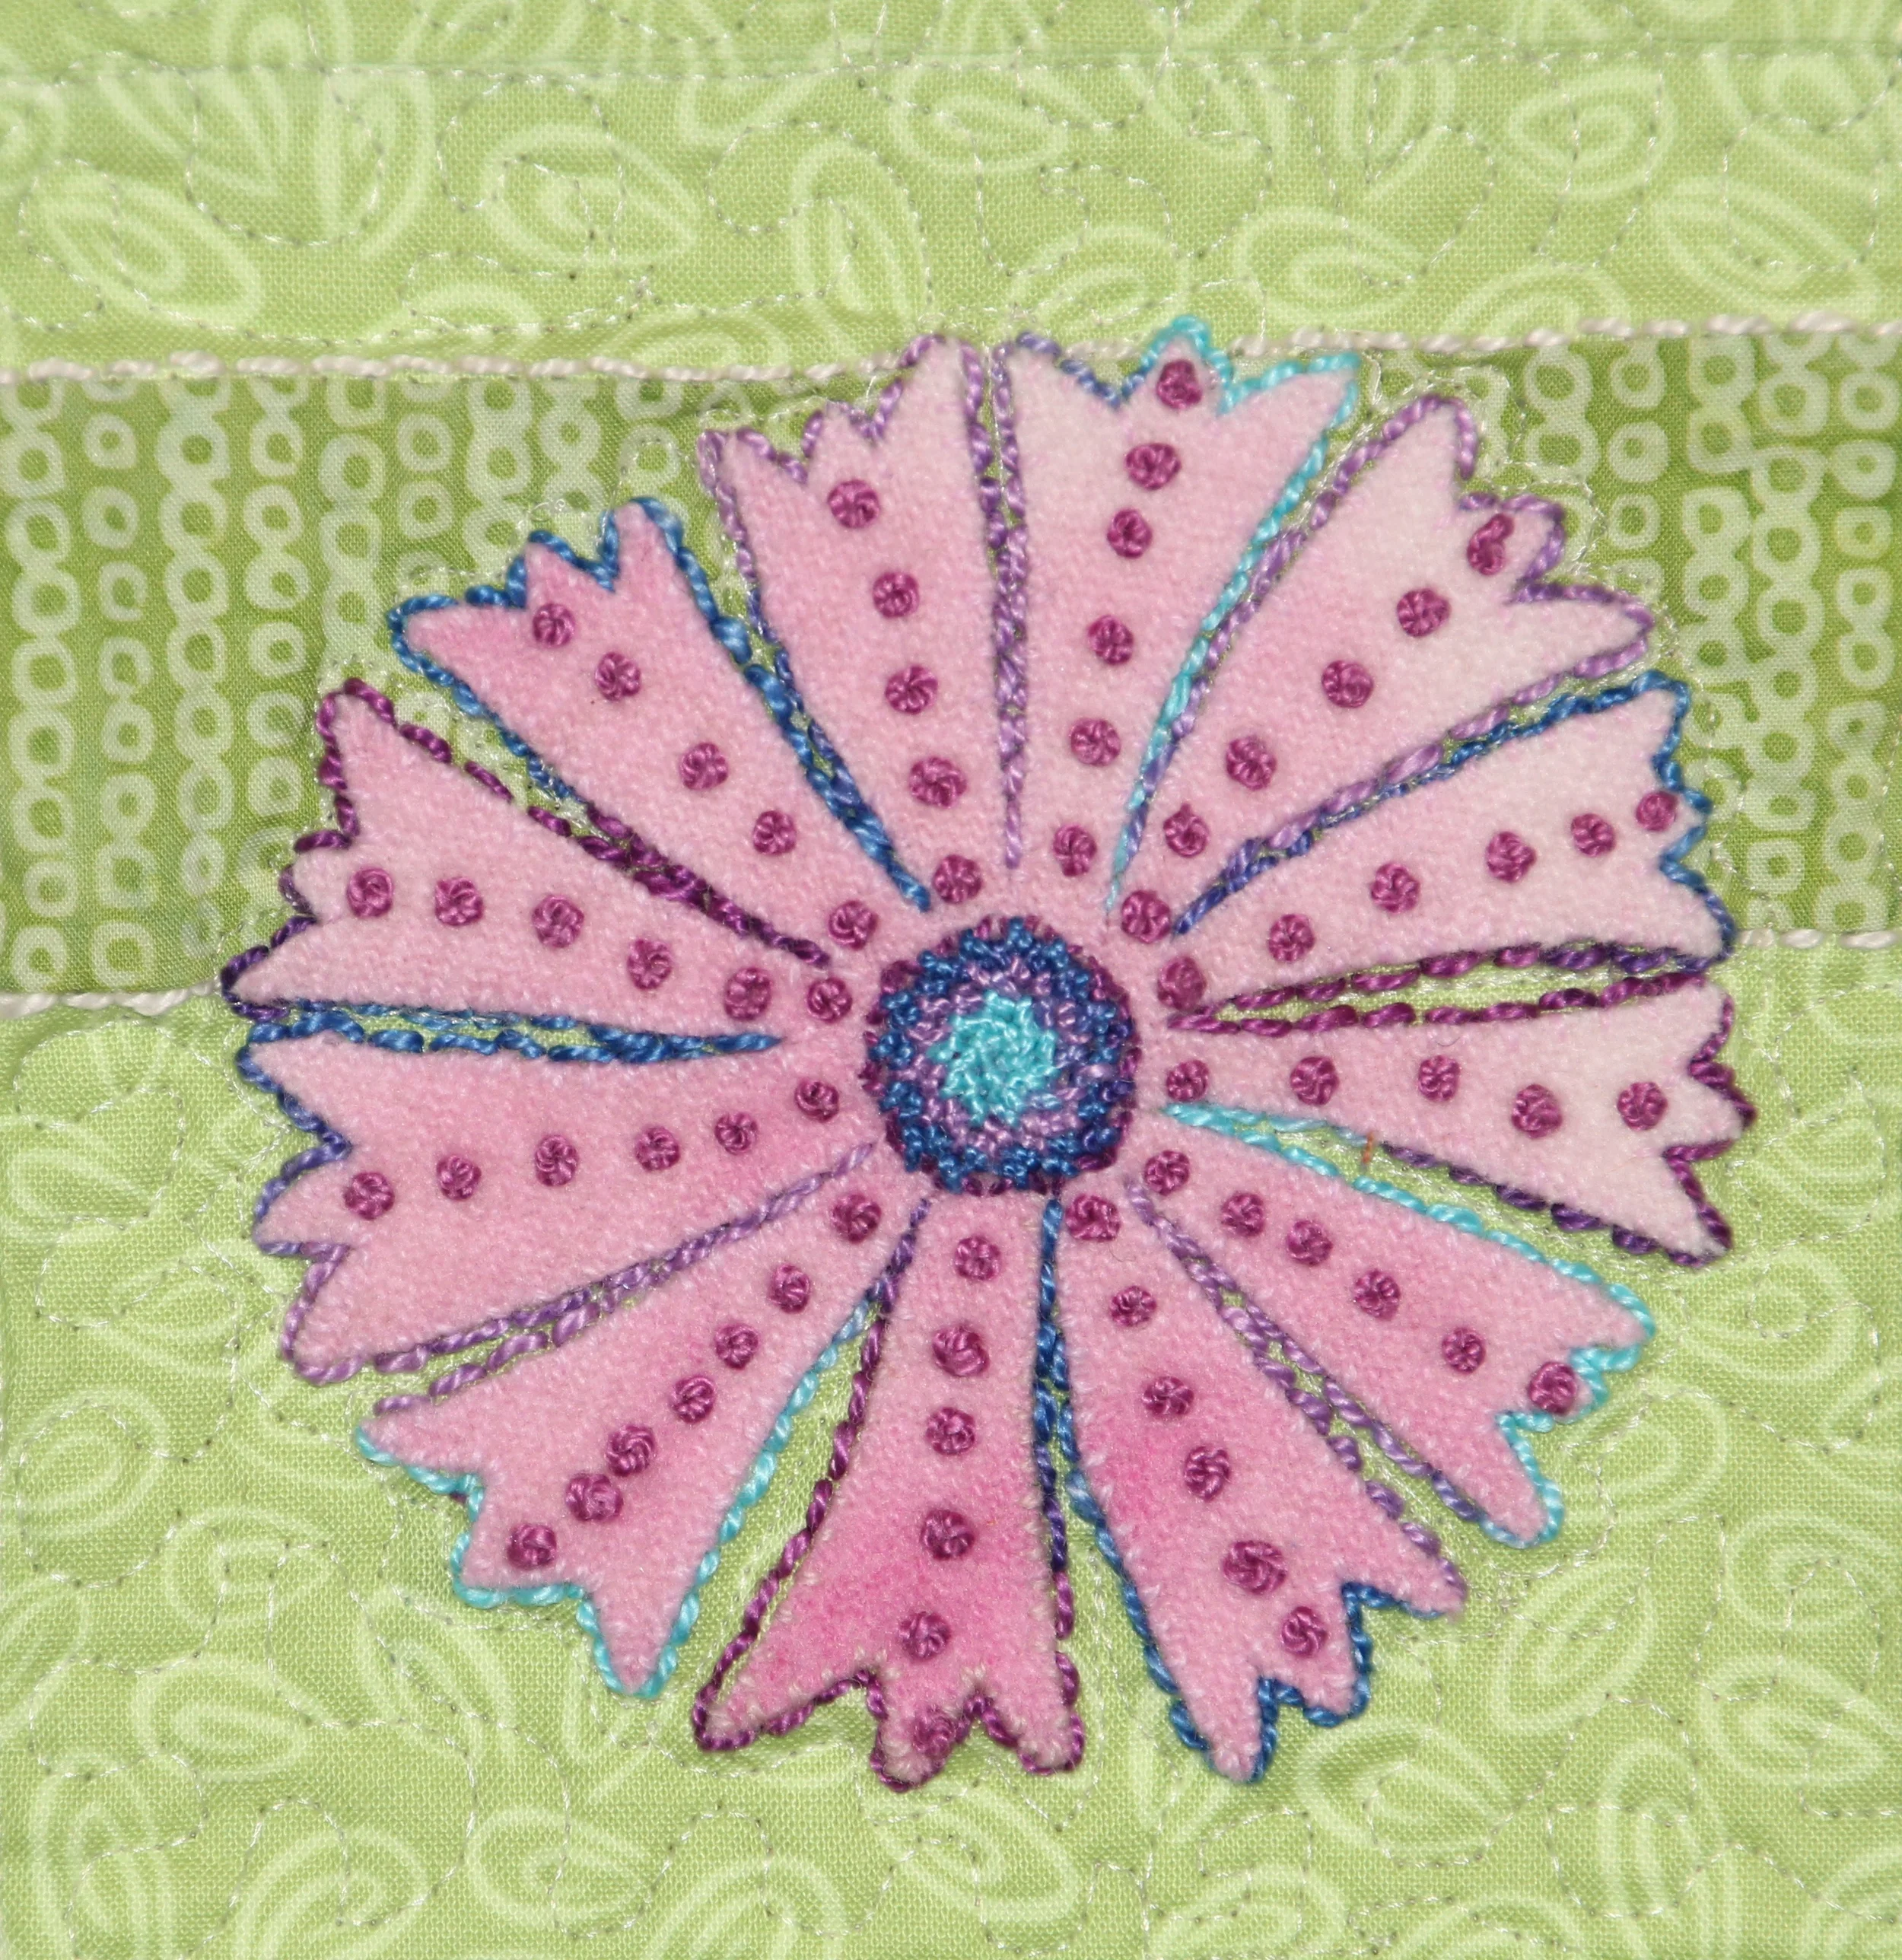
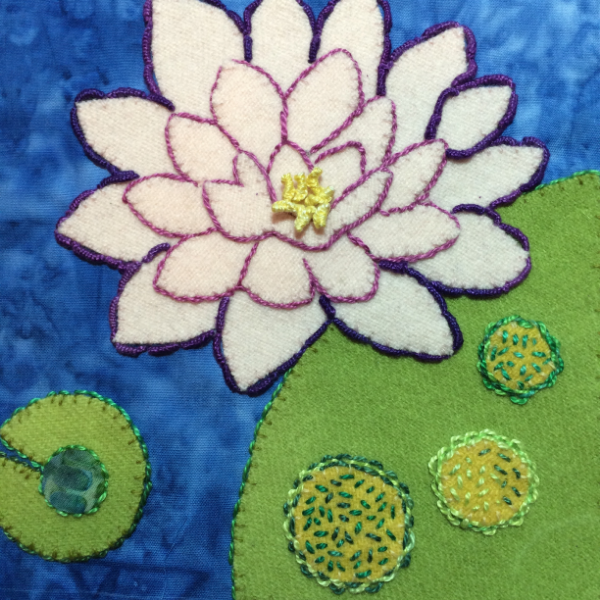
SEED STITCH
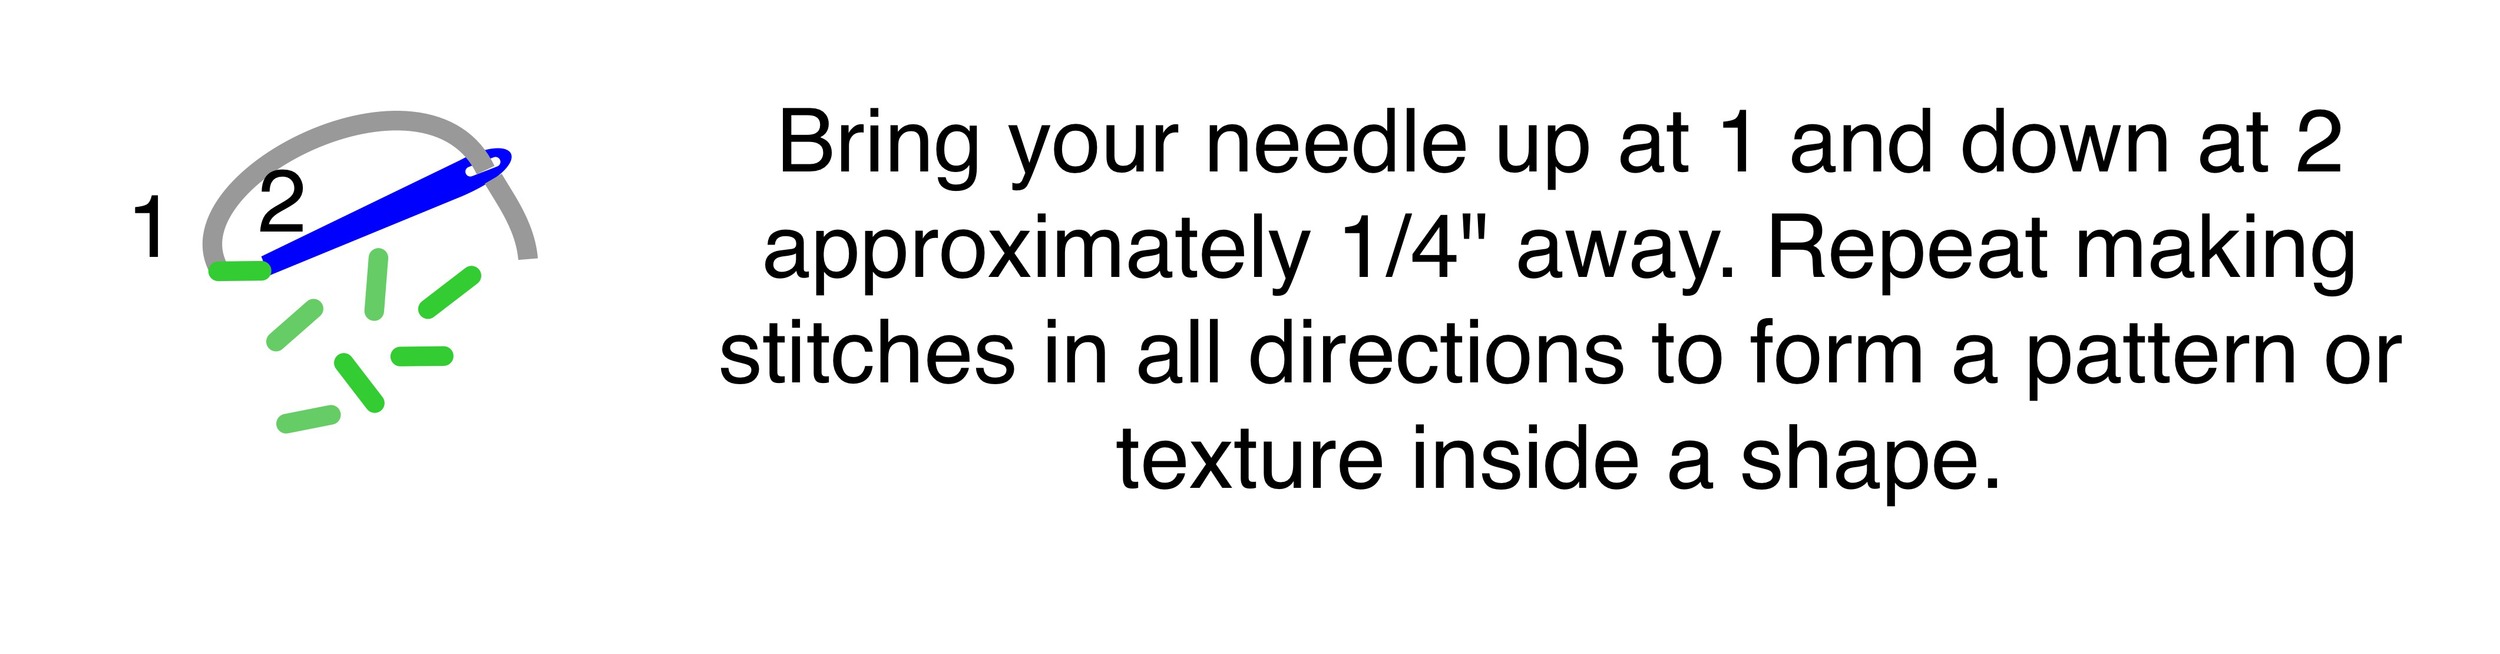
The Seed Stitch was used on the Lily Pad Circles from part of LIFE AT THE POND Quilt.
Felice Quilt Designs
Bullion Stitch
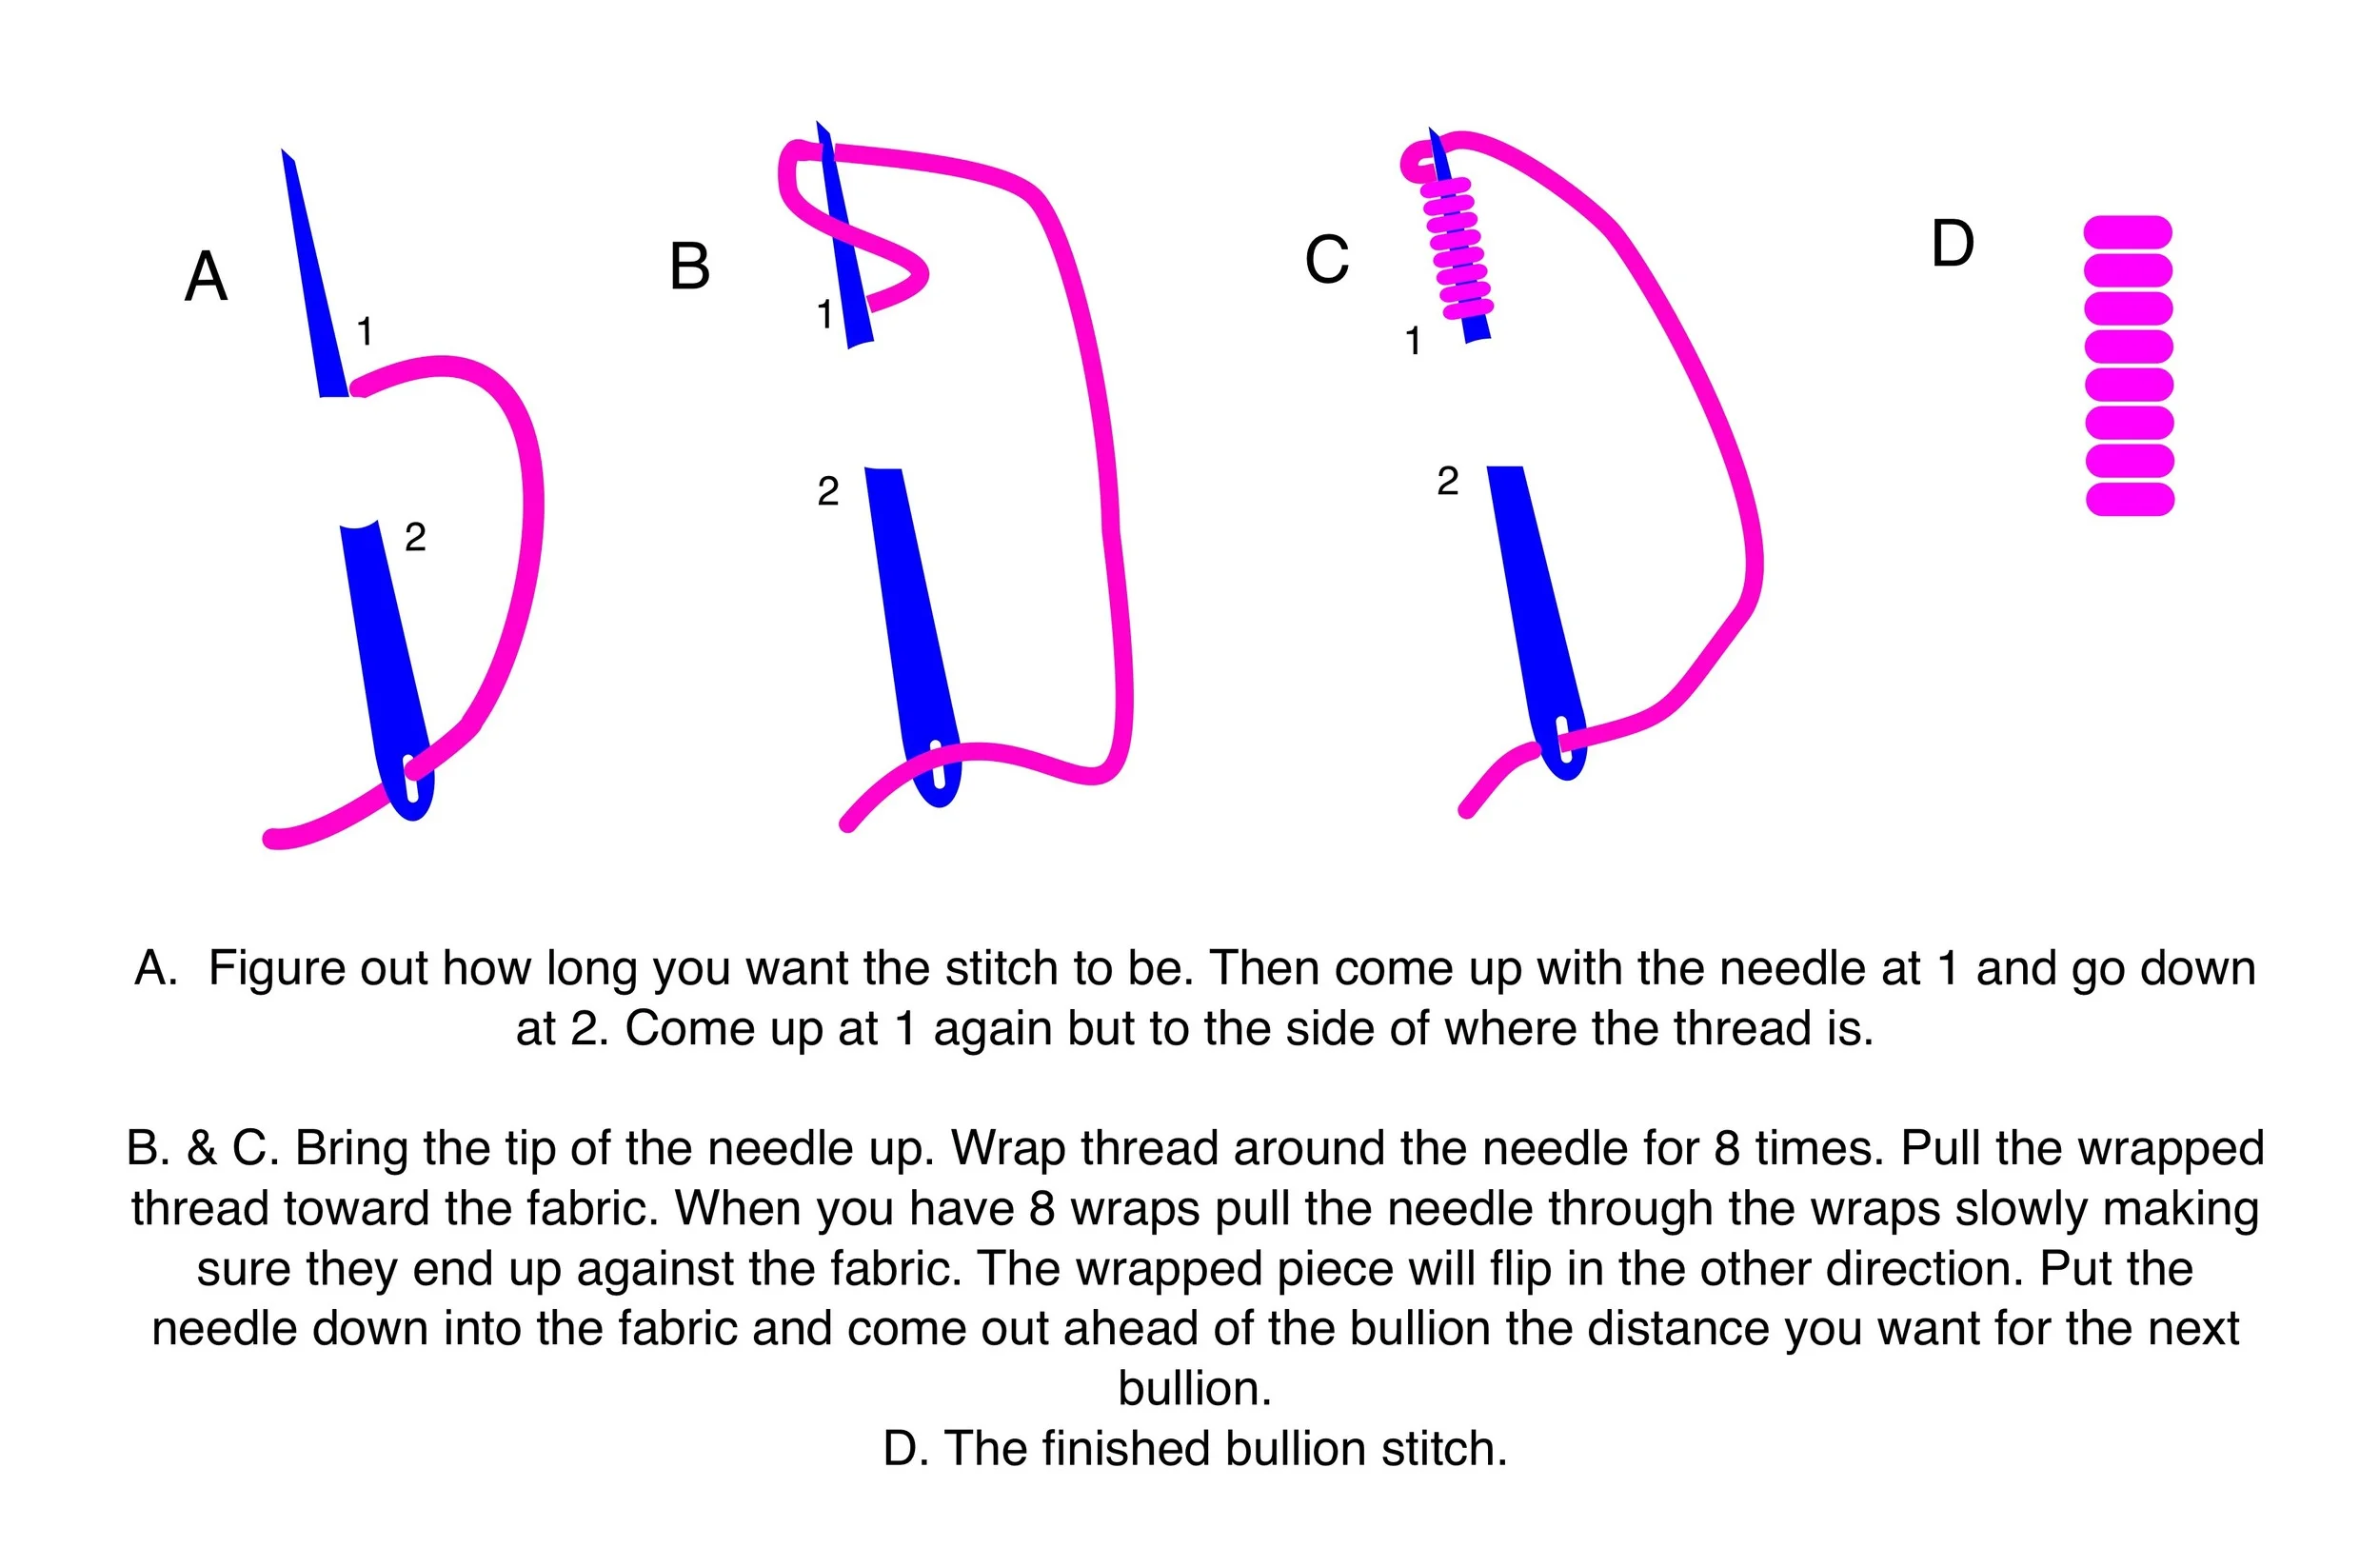
Felice Quilt Designs 2014
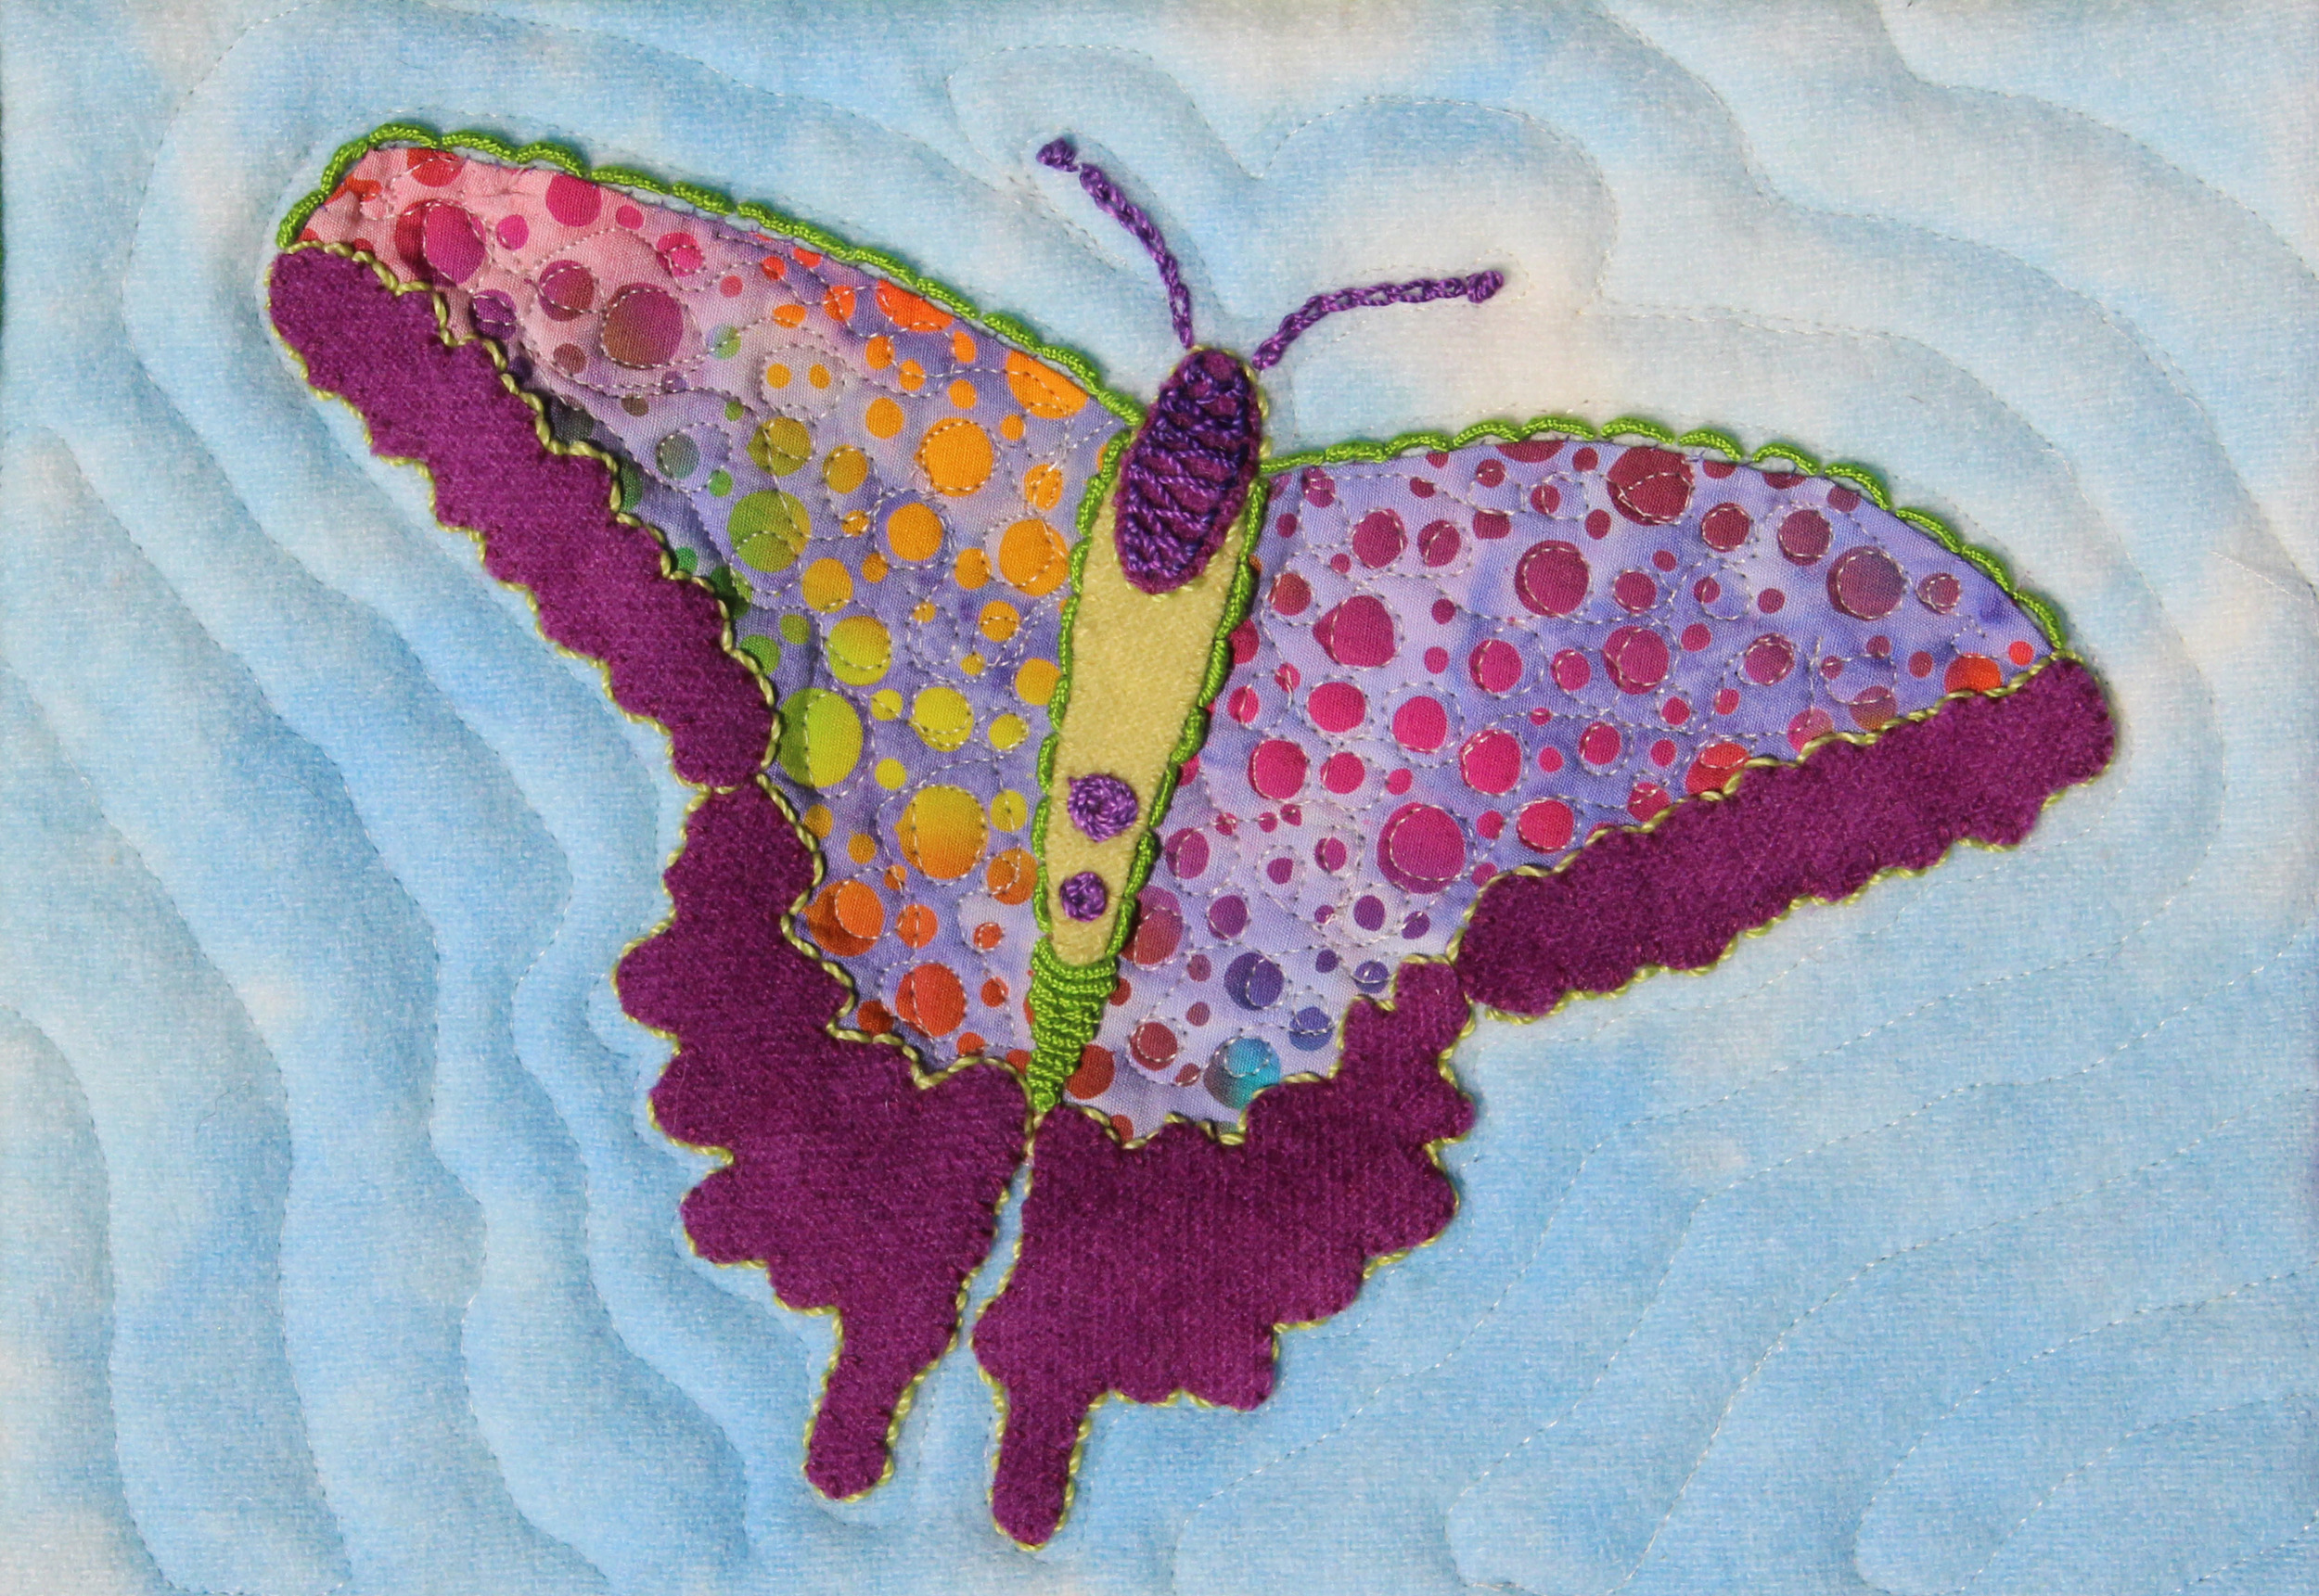
The light green stitches on the top of the butterfly wings are Bullion Stitches.
Felice Quilt Designs 2014
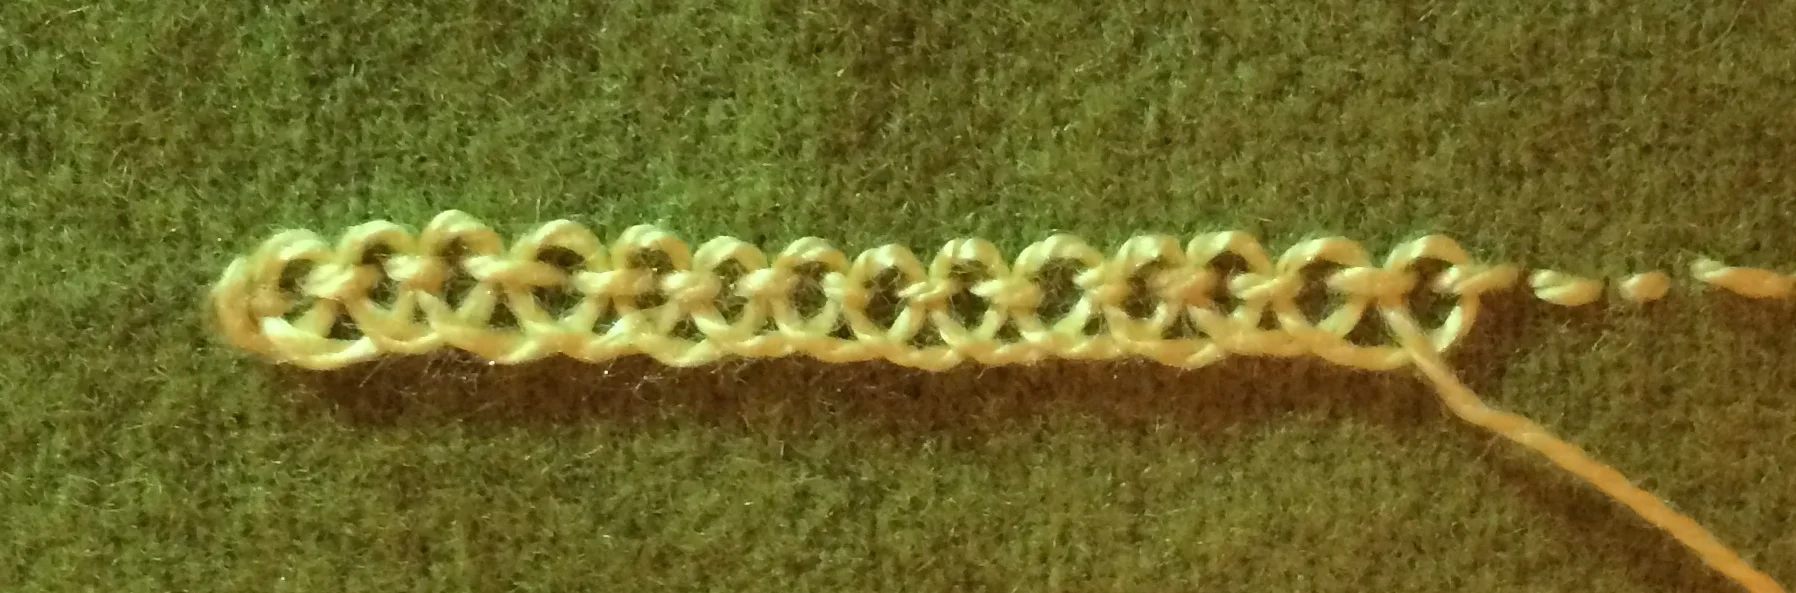
Pekinese Stitch
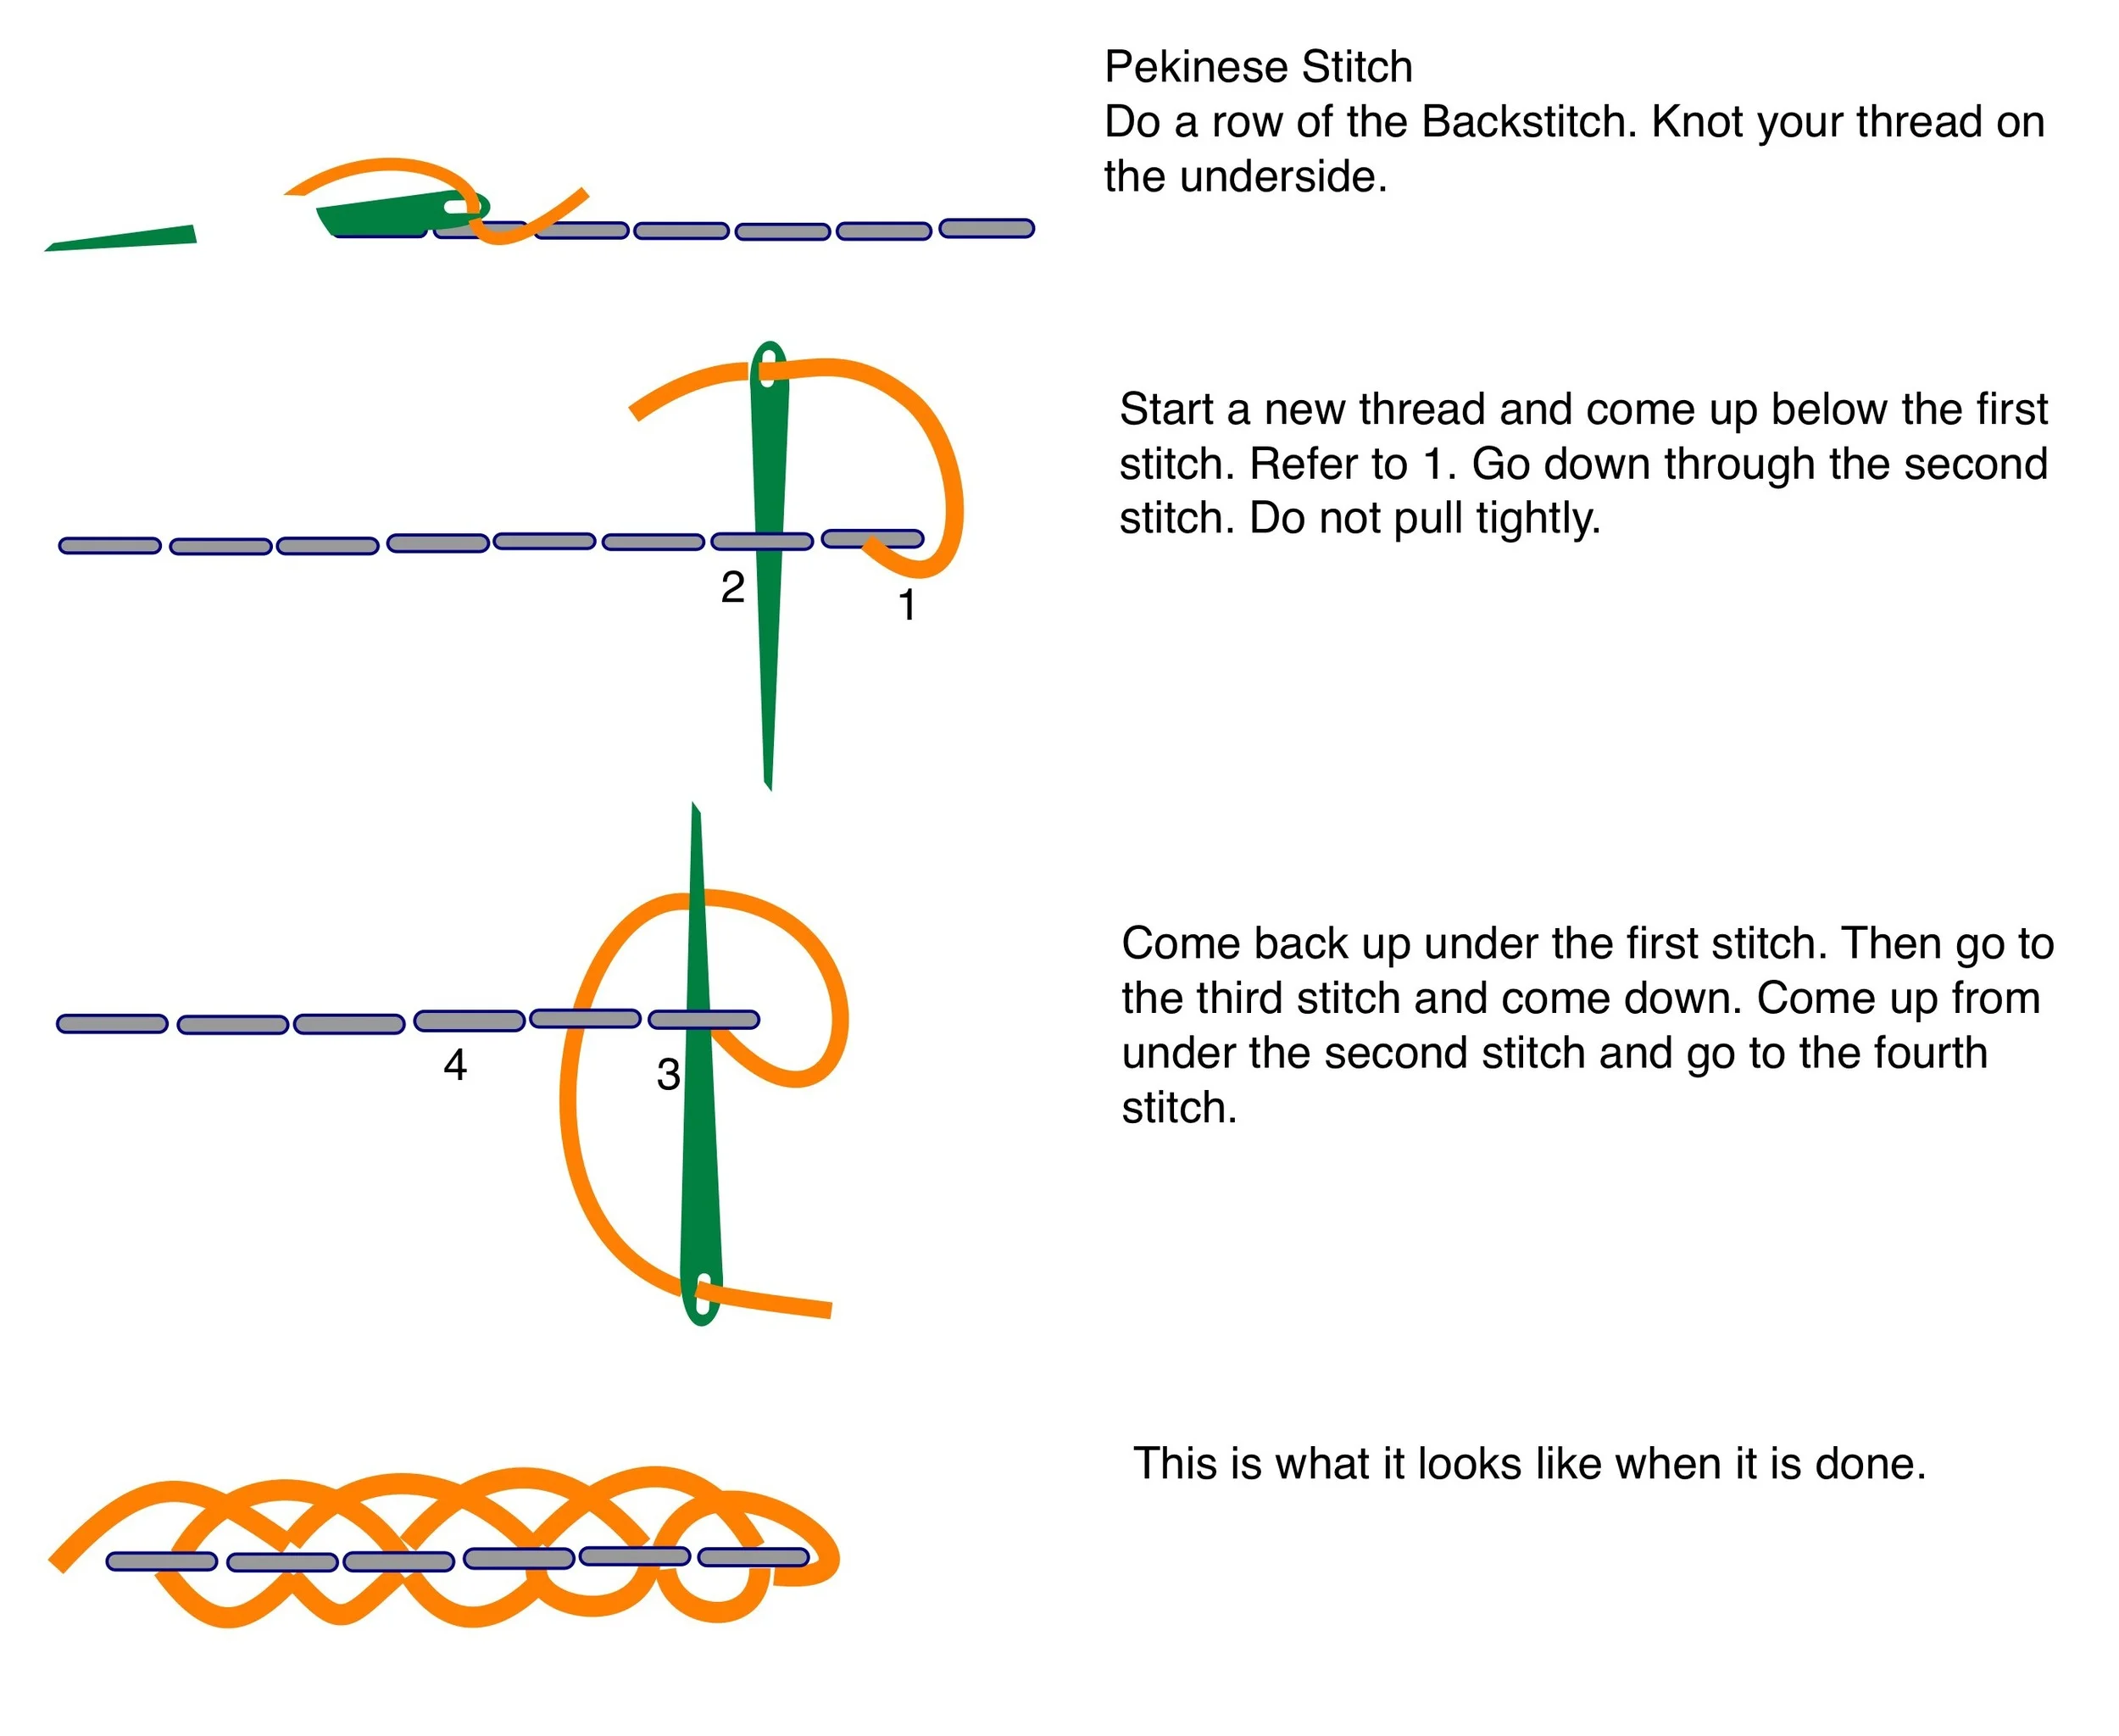
Felice Quilt Designs 2014
Felice Quilt Designs 2014
Fly Stitch
Needle up at 1 and down at 2.
Bring needle up at below and centered between 1 & 2.
Put the needle in at 4 to form a straight line from the V shape.
To make a row come up next to 2 and repeat.

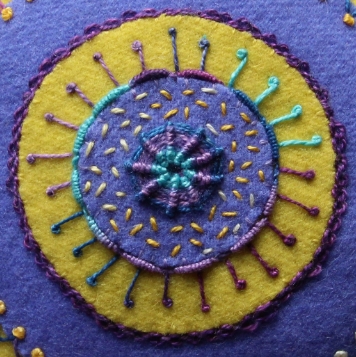
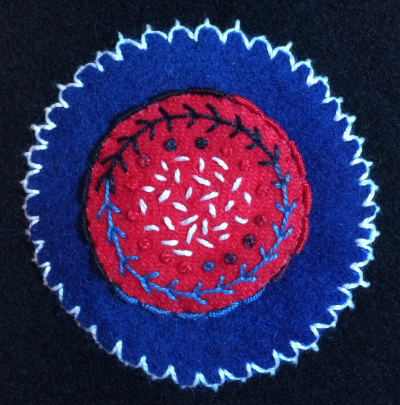
The Fly Stitch is the white stitch that surrounds the blue circle.
Felice Quilt Designs 2014
Chain Stitch
Start with a thread that is approximately 20" long. Tie a knot at the end.
Bring the needle up at 1 and form a loop.
Go down at 2 and bring the needle up at 3 with the thread below the needle.
Pull the thread gently till the stitch is complete.
Repeat but go down next to 3 and come up the same distance as you did before.
The Chain Stitch is the light green thread stitch that surrounds the purple circle.
Felice Quilt Designs 2014